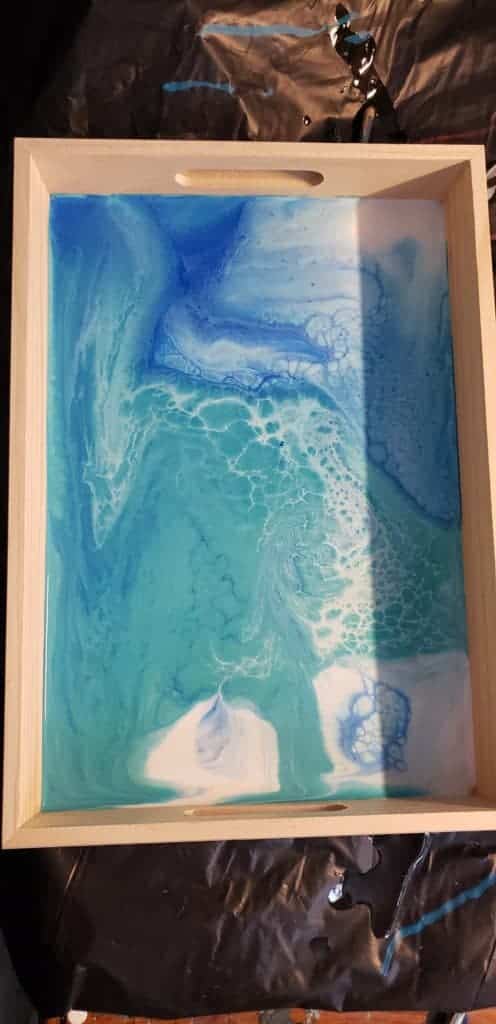
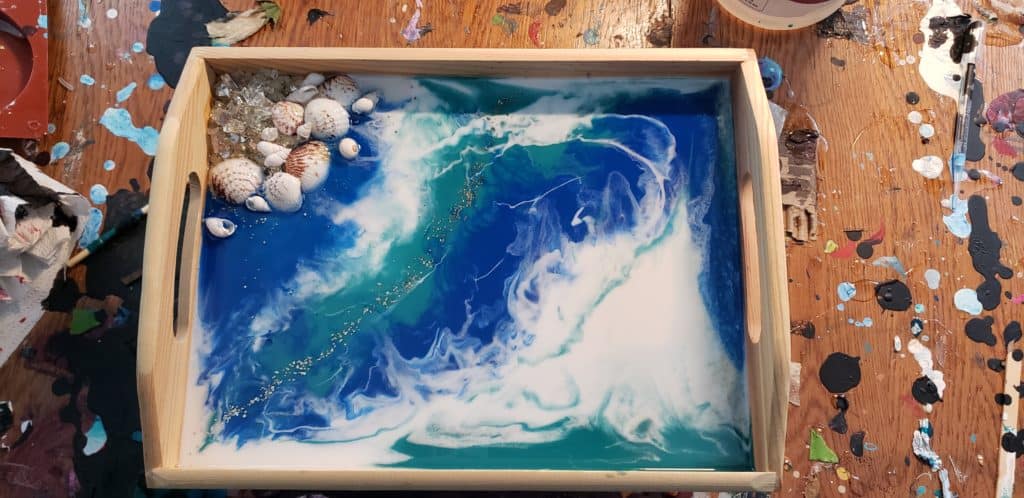
Lately, I’ve been obsessed with creating pieces I can use. Coasters, trinket dishes and bowls, and now, serving trays—all useful items for me, and great items to sell.
What to Use
If you’re looking for a budget-friendly tray to experiment on, I was able to find very inexpensive wooden trays at my local AC Moore, and I’ve seen other artists purchase trays from stores like Michael’s also. Smaller trays are typically less than $2.00, and larger trays were around $5.00. I also did find a set on Amazon searching for serving trays that looks pretty affordable with different sizes in the set.
When it comes to the pour itself, there are a few different techniques you can use; you can either do a standard acrylic pour in the bottom of the tray and then seal with resin or Polycrylic, or mix your acrylics right in with the resin and do it all at once.
Acrylic Pour Method
If you decide to go with the acrylic pour method, make sure that you use the right amount of paint! For a small tray (about six inches long on the inside and three or four inches wide), I use three ounces total of paint and floetrol. That means that my pour cup itself is three ounces, not three ounces of each color, just to specify. This is enough to get a good coverage and allow for touch ups if needed.
If you use this method, you will probably want to seal the paint before using the tray for any functional purpose; if you don’t, the paint may peel or chip. If you’re not using the tray for food, you can seal with Polycrylic to protect the piece. If you’re using the tray as a serving tray for food or you think that heat might be introduced at any time, I would recommend sealing with resin ; this will also give your tray beautiful depth and a very polished, professional look.
Resin Pour Method
You can skip the sealing step if you use resin as your pouring medium instead! Mix your acrylics right into your resin and then pour the colors in separately to achieve the desired look. Once the resin is cured, there’s no need to seal again, unless you have an uneven surface or added “chunks” like glitter, crystals or gold flake.
Art Resin and Pro Marine Supplies both have resin products that are food-safe; if you intend to use your tray for serving food without a barrier in between the food and the resin, just make sure to check with the manufacturer first.
Achieving a Clean Look
No matter what method you use, if you want to have clean lines in your tray, use painters tape on the inside to protect the sides of the tray. This will keep the paint off the sides when you’re manipulating the pour.
If you intend to use resin, keep in mind that this is a thicker product than using acrylic paint and standard medium, so you’ll want to move your tape up to leave a bit of room along the bottom edge of the inside walls of the tray so that the tape isn’t permanently affixed to the sides!
Sealing the Outside of the Tray
If you’re using an unfinished wooden tray, you may want to seal the outside to give it a more polished look. You can do this with Polycrylic, or, if you’d like a pop of color, you can use Unicorn SPiT to stain the wood.
Other Trays
Once you’ve experimented on less expensive trays, the sky’s the limit when it comes to creating these functional pieces! Metal and ceramic trays also work perfectly for this technique, and you can create some truly stunning, stand out pieces that customers will love.
Color Inspiration
Ocean: Ocean everything is very popular right now! Achieve an ocean look in your tray using shades of blue, teal, white and beige.
Marble: If you’d like to create a classic marble look, black, white, and gold can be used to create a stunning piece.
Bold: If you’d like to create a bold statement piece, try combining bright quinacridone magenta, cyan, and a bright yellow for a spicy rainbow look!

Added Bling
Crystals: Add a few crystals during your sealing process to the inside corner of your tray for some bling! You may need to add an extra coat of sealant during this process.
Gold Leaf: Using a crumpled up sheet of gold leaf or pre-flaked gold leaf, sprinkle a bit over your first coat of sealant or resin pour midway through curing; then, add another coat of sealant to make the gold pop.
Final Thoughts
Creating functional pieces as gifts or for sale is a lot of fun, and doesn’t have to break the bank! Make sure that you show us your beautiful creations in our Facebook Group, and don’t be afraid to ask for help if you need it!

Sara Wagner is an author and artist from Upstate New York. She is the owner of Studio Blackwater and can typically be found covered in paint, cats, or her two young daughters. You can find her on Facebook and Instagram as @studioblackwater.


Thank you for that great article Sara. I would like to try this. Just wondering where do you get your crystals or jewels? Thanks again!
Hello there! I bought some crushed glass from AC Moore (I think it was considered case filler). I think for bigger pieces and better crystals, I’d check out Etsy.
What a wonderful article, thanks so much for the information. I saw some trays at the Goodwill and was wondering if I could pour on them, and you have shown me how to do so. Much appreciated.
How do I upload pictures into the group from my iPhone.
Go to the group here: https://www.facebook.com/groups/acrylicpouring/ then click on the “write something” section next to your name. Then pick the “photo/video” option. Here’s a guide from facebook if you need more help: https://www.facebook.com/help/149759085093429?helpref=faq_content