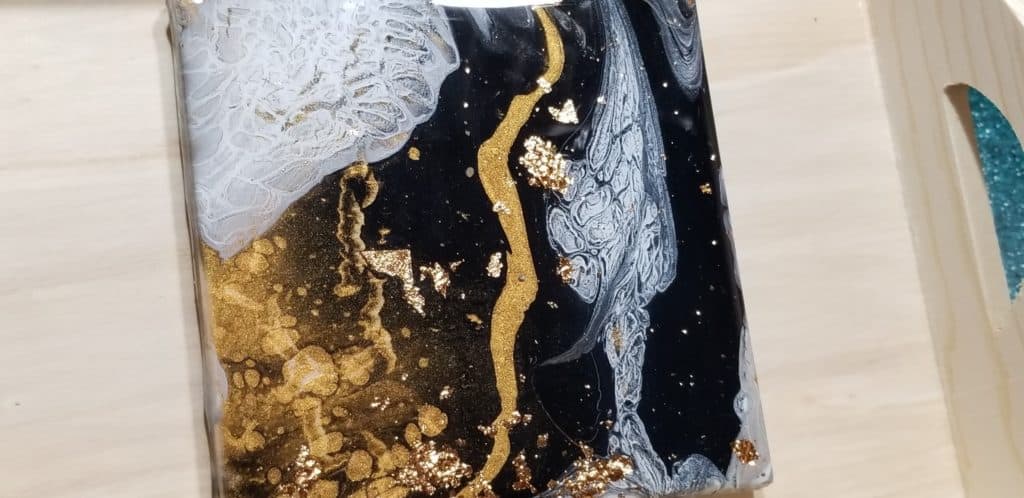
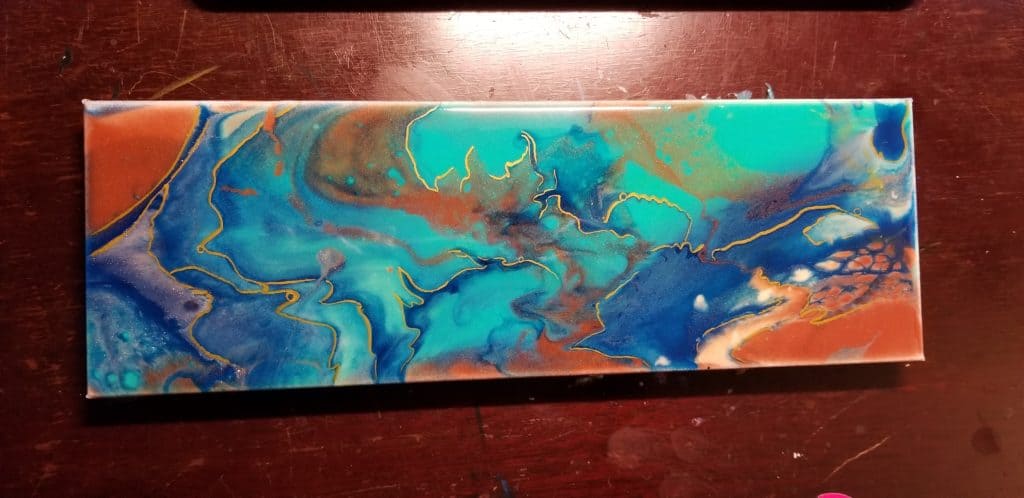
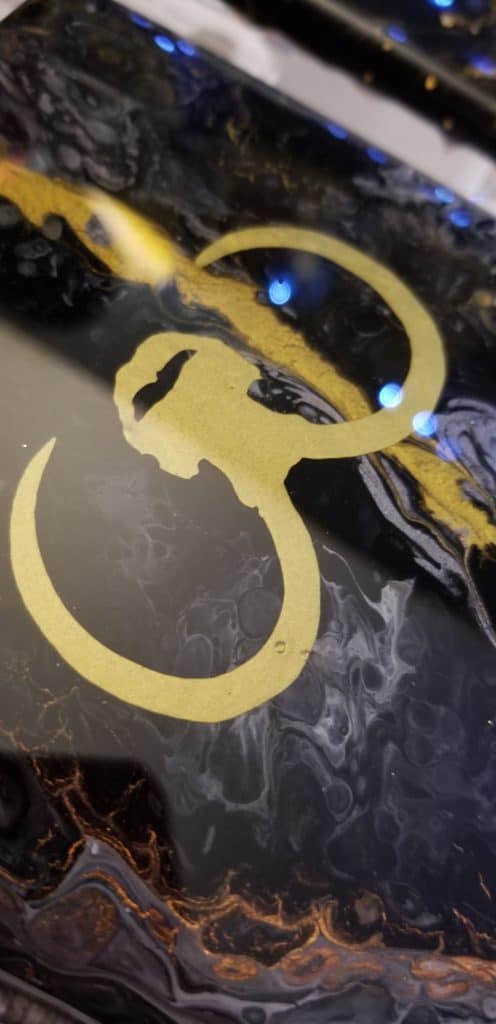
I have been on a resin kick lately—I love it! I’ve been sealing my paintings primarily with Polycrilic, I really enjoy using a product that gives my pieces a glassy, brilliant finish, and I’ve noticed a definite uptick in sales since I started sealing coasters and paintings with resin.

I’ve seen a lot of acrylic pour artists suggest Pro Marine Supplies resin, so I ordered a half gallon set and waited impatiently for its arrival!
Supplies I used
Pro Marine Supplies Resin
Pro Marine resin is a two part resin system; it consists of the resin, Part A, and hardener, Part B. I ordered a half gallon set which yields a gallon of resin.
Pro Marine resin has very specific instructions for use—instructions you definitely should not ignore. Exact measurements and temperature adherence can be tedious, but you are pretty much guaranteed a failed final product if you don’t take the time to follow the directions properly.
First, be sure that you are working in an area that is at least 75 degrees. Working in temperatures even slightly cooler than this will result in a thick, difficult to work with product that may not set properly, which will result in an uneven finish.
Next, you’ll want to have cups that you can measure with accurately. Since Pro Marine resin is a two-part system that’s mixed at a 1:1 ratio, it is very important that you have exactly equal measurements. If you have unequal parts, the resin and hardener will not combine equally which will result in a mixture that cannot cure.
After you’ve measured the two parts, pour Part A (the resin) into Part B (the hardener). Then, mix the two parts together smoothly, with deliberate motions; I did this using a broad popsicle stick. You’ll want to mix this initial mixture for at least three minutes. After the three minutes are up, pour the mixture into a clean cup or container and mix again for three to five minutes.
Pro Marine is very specific on this second part—mixing the second time for more than five minutes can result in a hot, smoking resin. Personally, I didn’t think this sounded like a ton of fun, so I stuck with three minutes, which worked perfectly!

Once you’ve done your mixing, you’re ready to apply the resin to your desired piece. I like to pour the resin directly on the surface and then tilt the canvas or tile until the resin has completely coated the top and sides. Then, I use a popsicle stick to even out any unruly areas.
Finally, you’re ready to walk away and let your masterpiece cure! I did not move the coasters I sealed with Pro Marine resin for about 24 hours; then, I set them on my drying rack and did not touch them for an additional 48 hours. After 72 total hours of cure time, those coasters had a glassy, even shine with no imperfections and it was absolutely crystal clear.

Overall Impression
Pro Marine Supplies resin is only the second resin I’ve experimented with (the first being Rust-Oleum Parks Super Glaze), and I think it’s a great product for the price. Unlike Super Glaze, Pro Marine has a shorter work-with time; I noticed that it was becoming too thick to work with after about 10 minutes, versus 20 minutes with Super Glaze. Because of the shorter work-with time, be sure to plan ahead and mix the appropriate amount first.
Any bubbles present after pouring the resin quickly dispersed with a light sweep of a torch, and honestly, there was not a single flaw visible in the final product. I am very impressed with this brand and would heartily recommend it for anyone looking for a superior, easy to work with and affordable resin.

Sara Wagner is an author and artist from Upstate New York. She is the owner of Studio Blackwater and can typically be found covered in paint, cats, or her two young daughters. You can find her on Facebook and Instagram as @studioblackwater.

A lot of these are toxic. Do you wear a respirator?
Pro Marine does not release harmful fumes, but does have an odor. Although you should always work in a well ventilated area, unless you are particularly sensitive to smell, a respirator is not necessary.
So I am assuming you elevate your coasters before pouring the resin? How do you handle the resin drips over the edges on the underneath side of the coasters?
Yes, elevating is a necessity. You can either tape off the back and remove when the resin has set (not when it is cured), or you can use a Dremel to remove the drips.
I use ProMarine, love it. I do not do the 2 step process you describe. I mix the 2 parts together and stir slowly and steadily for 4 minutes. Works fine. I may get a bit more working time out of it that way.
That’s great that this works for you! It’s always good to experiment. For the purpose of this review, I followed their instructions directly and had a great result.
What polycrylic do you use and how is it vs: pro marine? I am resin challenged! Never a smooth finish. TIA
I use Minwax. To be honest, there really isn’t a comparison; Polycrylic and resin offer different finishes. With Polycrylic, you have your choice of satin, matte, semi or full gloss, and with resin, you get a smooth finish that looks a lot like glass.
Polycrylic is great on its own, while resin offers durability and extra protection. It all comes down to your vision for the final product!
I’ve read that some resins yellow with time and sun exposure. Do you know if this brand will stay crystal clear. Thanks for sharing your experiences with us.
I’ve read that some resins yellow with time and sun exposure. Do you know if this brand will stay crystal clear. Thanks for sharing your experiences with us.
This is directly from the Pro Marine website:
Our product has a UV resistant additive which makes it ideal for indoor tables and art, especially near windows. If you want to use the product for use in direct sunlight, we suggest additional steps to protect the coating, such as applying a 2 part polyurethane as protection, after your project cures.
Thank you for the great article, Sara! I bought some ProMarine recently and will try it out soon. I have a question about Minwax polycrylic, actually. I have been using it successfully for quite a while, but recently read in the Acrylic Pouring group that it yellows over time. Have you ever experienced this problem? Thank you for your help!????
I’m glad you liked the article!
I have been using Polycrylic for over a year now, and have not experienced any issues with yellowing, even on pieces where I’ve used only Polycrylic and not resin. There’s always the chance of factors in play like a bad batch, so perhaps that’s what others have experienced-on my end, I’ve always had crystal clear results, even on pieces I’ve done over a year ago.
Since it has been several months since you wrote this article. Can you say if you have experienced any yellowing on your pieces yet? I was using artresin but it is too expensive to continue using. I am using resin to coat my landscape photography prints that I mount on either wood or aluminum panels.