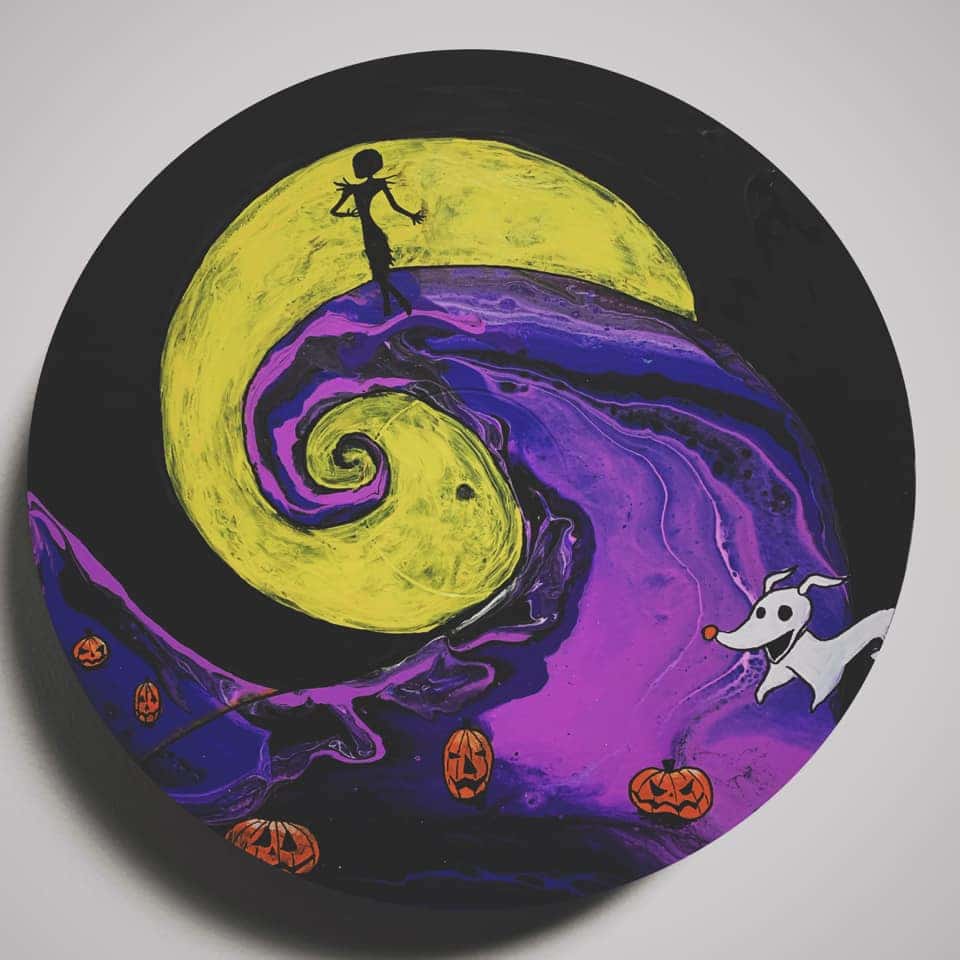
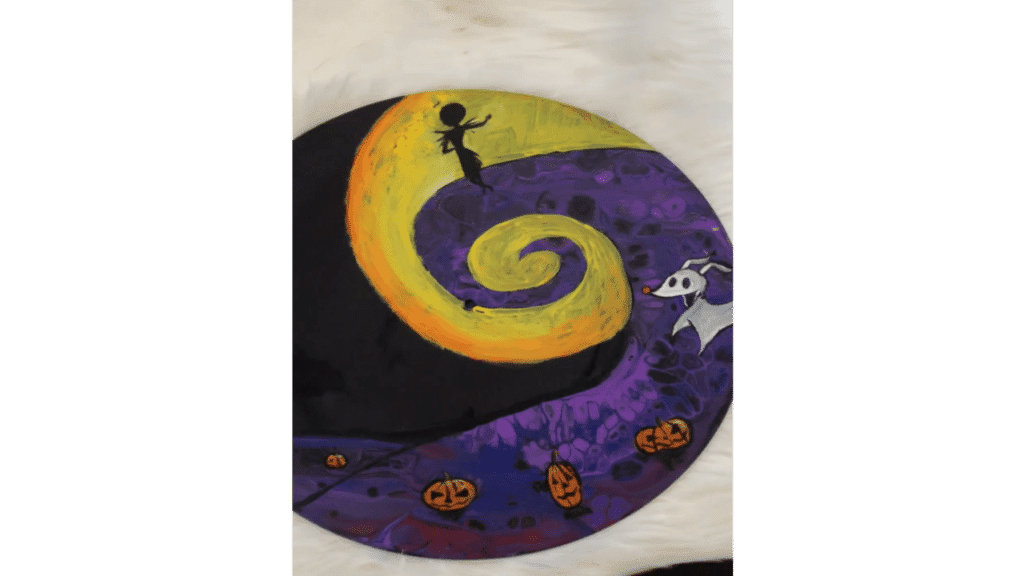
This Nightmare before Christmas scene is perfect for Halloween and all Tim Burton fans alike. Not only is this an easy acrylic pouring technique to accomplish for either beginners or pros, but you can also make it your own by adding whatever you would like, such as pumpkins, trees, gravestones, and more. This is comparable to a wave swipe, but not quite! Follow along with my step-by-step tutorial on how to recreate a spooky NBC night scene.
Colors Used
I only used 4 colors total for the initial swipe. I started out with a basic purple and added colors to create 3 different hues.
* Petunia Purple
* Light Pink + Purple = light purple
* Navy Blue + Purple = indigo
* Red + Purple = mauve
You can choose to add silicone or other additives to achieve cells, but no worries if you don’t have any on hand, it won’t make that much of a difference!
Consistency
Mix your paints with the medium you normally use, but make the consistency a little thinner than usual. It should be similar to the consistency from a Dutch Pour.
How To
Start by applying a layer of black paint, thinner than your other colors. Make sure it’s spread evenly around the surface.
Layer your colors on just the bottom of your canvas, starting with mauve on the bottom as it can be an overpowering color. Don’t add any black to these colors! The goal is to have little definition and instead let the colors blend together.
You can use whatever tool you would like for your swipe. Some people use wet paper towels, pieces of plastic, popsicle sticks, etc. For this particular swipe, I chose to use a pallet knife to be able to work with that small swirly at the end of the cliff.
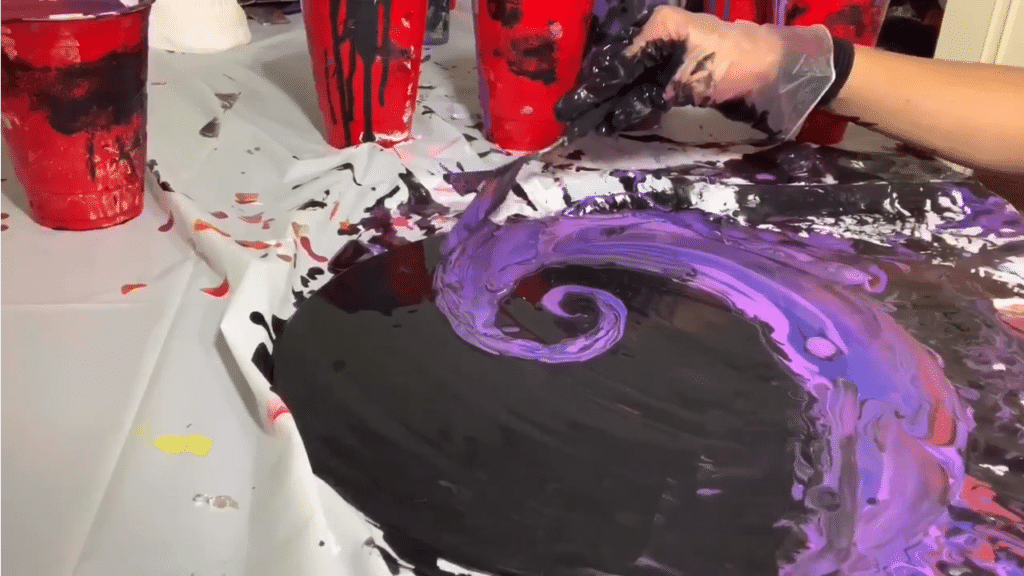
This particular swipe takes more motion and movement than a typical wave swipe so just let your wrist relax and go with the flow.
You’ll want to make sure the “cliff” isn’t too high up on your canvas, you want to have Jack Skellington standing on top of it.
Let it Dry
Once your swipe has dried, you can start embellishing it with whatever you’d like! I chose some simple pumpkins and Jack’s dog, Zero.
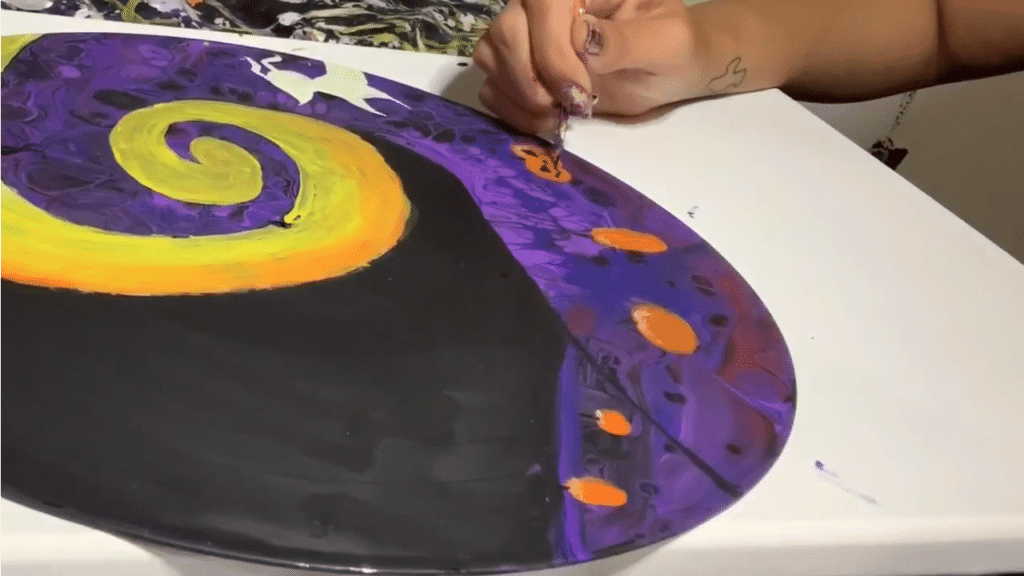
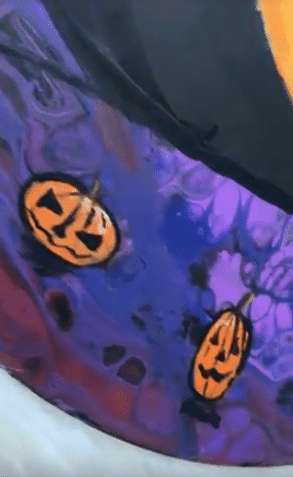
Use a fine tipped paint brush and black paint, or a Posca pen, to outline the cliff and clean up any bumps, imperfections, ridges, etc.
I used a bright yellow for the moon; you can create an ombré effect by using orange on the edges or leave it as is, it looks very Tim Burton like either way!
Conclusion
A simple Nightmare before Christmas scene that is similar to a wave swipe. Customize this piece to be yours! Jack & Sally standing at the top? Spooky trees on the bottom? Halloween Town in the distance? The possibilities are endless.
What to Read Next…
Embellishing an Acrylic Pour with Lanterns
How to Create Daily a Art Habit

I’m a self taught artist based in Colorado, specializing in fluid & abstract art. I suffer from clinical depression & bipolar disorder, and my work tends to show that with my signature moody color schemes. Art has taught me that there is beauty in the darkness, that there is grace in the shadows. My hope is that my work makes you feel something.

Love you Nightmare painting for Halloween! I love experimenting also and like to use black in my paintings for Halloween.