Resin is not the cheapest art supply; a gallon of good quality two-part epoxy resin can run over $100 (USD), and even hardware store epoxy can be costly. That’s why it can be incredibly annoying when there are bubbles in your finished product…and you didn’t want those bubbles there!
If you are wondering “How to get rid of bubbles in resin with alcohol?”, we have the answer for you!
Bubbles in resin are common and can occur either in the pour if it’s deep (like when you’re casting), or on the surface of your piece (when you’re sealing). Within a casted piece, bubbles can cause irregularities and even holes; on a sealed piece, bubbles can ruin an otherwise glass-smooth surface. Neither is ideal!
In this article, we’re going to show you seven ways to get bubbles out of your resin!
Don’t Mix So Fast
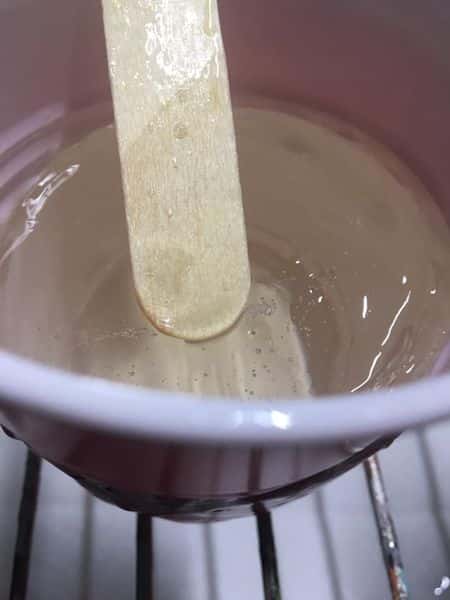
The speed at which you mix your epoxy resin with the accompanying hardener can cause air bubbles to be introduced into your resin mixture.
Mixing resin too quickly causes a “whipped” effect, which can produce foam-like, tiny air bubbles into your mixture. As you mix, you’ll introduce those bubbles deeper into your resin until they’re present throughout.
You can also introduce air bubbles into your epoxy resin at this stage by pulling your mixing tool out and putting it back in multiple times.
To avoid “whipping” your resin, mix slowly; it’s not a race! Most companies have a set time that the two parts need to be stirred; on average, 3-6 minutes in one cup, and then 3-6 minutes in a second, clean cup. Mixing quickly won’t make that time go by any faster! Mix slowly and methodically.

Additionally, take care not to pull your stirring utensil out of your resin/hardener mixture during the mixing process. Keep the utensil in the resin at all times so that you don’t lift it out and then push air down into your mixture when you reintroduce the stirring stick.
This is by far the easiest stage to eliminate epoxy resin bubbles in your final product; don’t mix too fast, and keep that stirring stick in the resin!
Give it a Rest
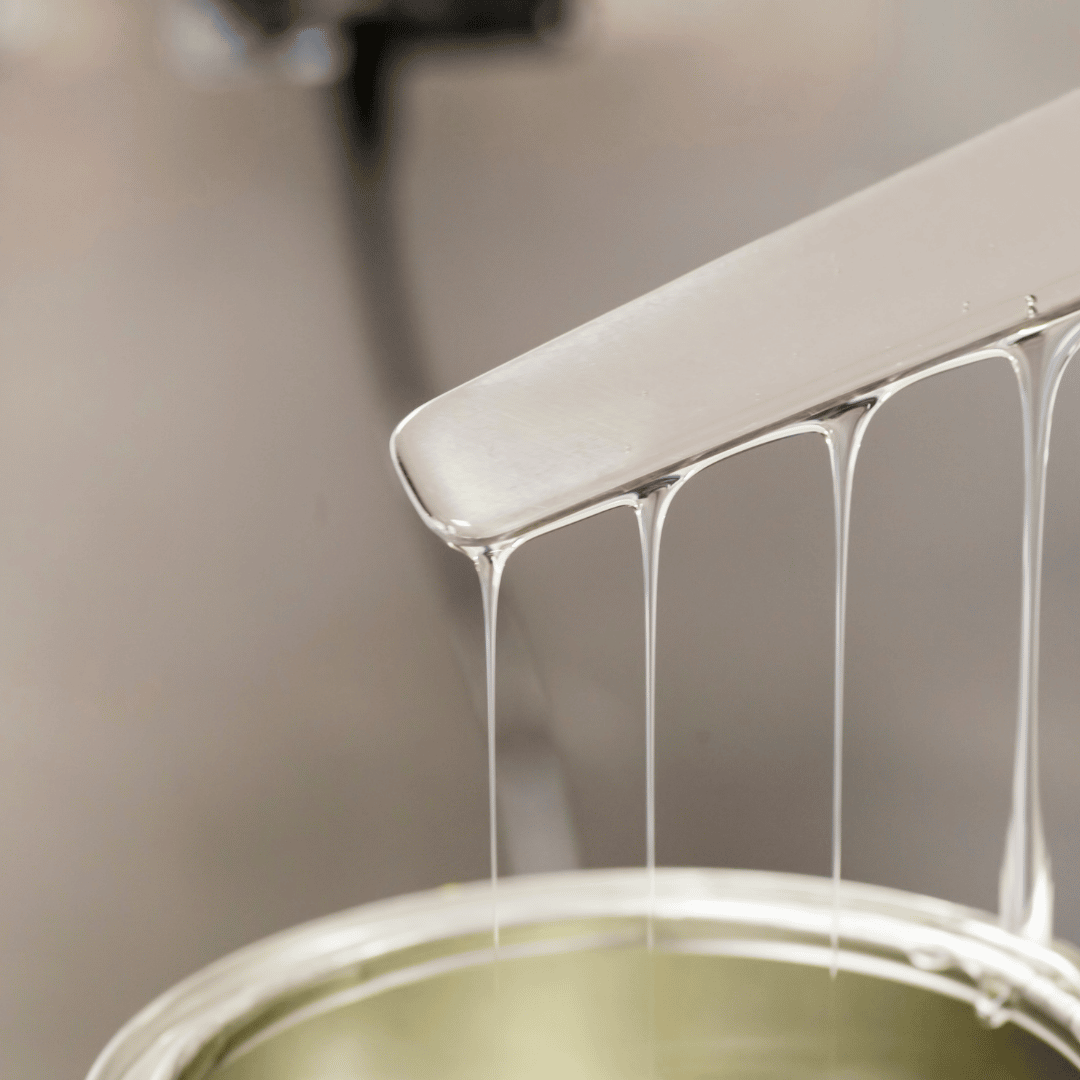
Resin has what’s called a “working time”; this is the amount of time that you’ll have to actually work with the resin before it begins to set. Some resin brands have very short working times, whereas others are workable for up to 30 minutes!
If you’re working with resin that has a longer working time, and your project won’t take very long to cast or pour, consider letting your resin sit for 5-10 minutes after you mix it, but before you work with it.

Allowing the resin to sit for a few minutes gives any tiny bubbles time to rise to the surface, which you can then disperse by blowing gently through a straw on them, or by popping all the bubbles with a clean toothpick. You can gently tap your cup on a flat surface to help the bubbles rise faster.
Make sure that you check your working time before you try this though so that you don’t end up with unworkable resin!
Warm the Resin
Most resin has a temperature range at which it needs to be poured; for example, if the resin company states that the product should be used at a room temperature of no less than 68 and no more than 74 degrees Fahrenheit, using the resin outside of this temperature range may result in a ruined final product.
It’s much easier to avoid an excess of bubbles when the pouring resin and hardener are at the proper temperature; this is because the resin pours easier, and requires less vigorous mixing to incorporate it properly.
To warm up your liquid resin dye, heat water to a lukewarm temperature and place in an appropriately-sized vessel. Then, set your resin bottles in the lukewarm water for up to ten minutes. This will help bring your resin up to an acceptable, workable temperature.
Do NOT place your resin in boiling water, in a double boiler, or in the microwave, EVER.
Drag the Bubbles Out
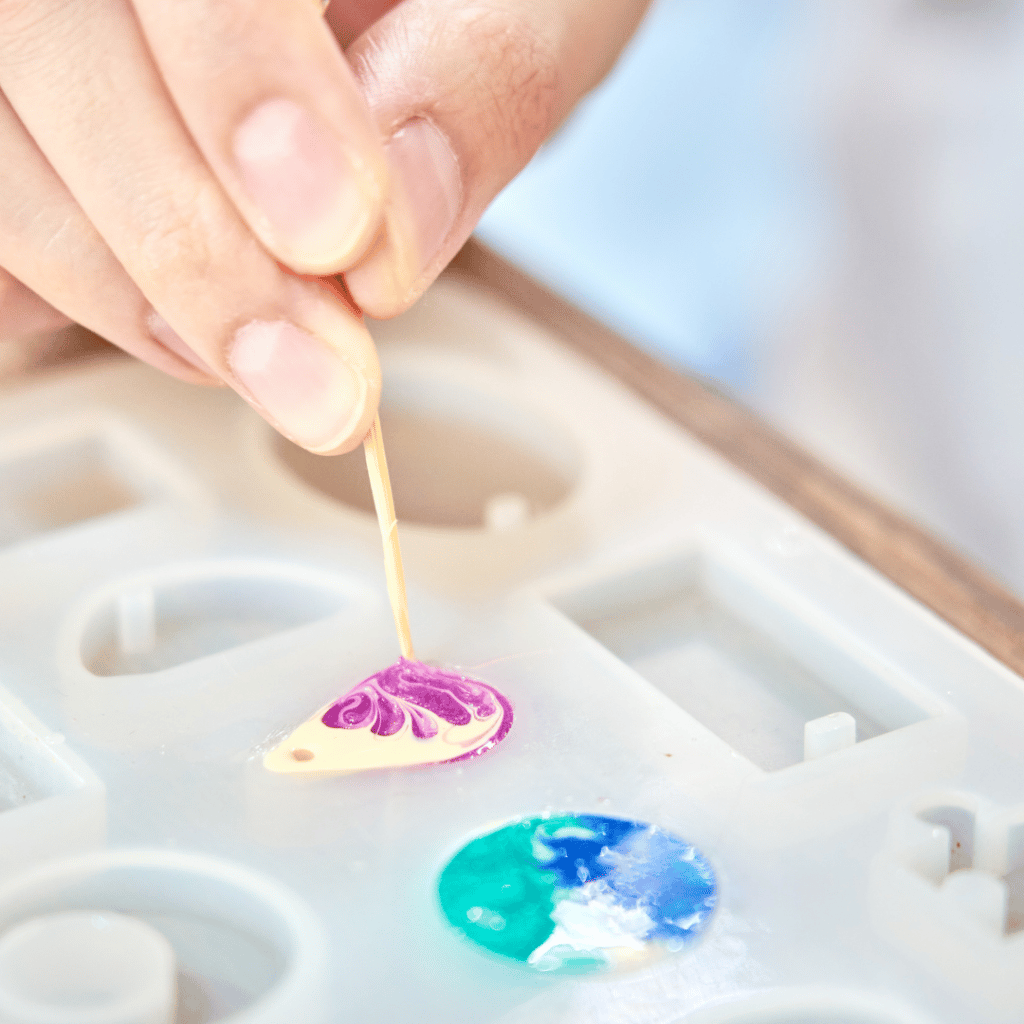
Do you have stubborn bubbles that are still hanging in your mix? Drag them out! To remove bubbles in resin that has just started to set, you can use a clean toothpick to drag the bubble to the surface and pop it.

You can also use a toothpick to pop bubbles on the surface. If you decide to pop your bubbles this way, using a torch over the surface of the piece after you’ve popped them will help the resin to coax the resin into the bubble holes.
This method only works while the resin is still in a workable state; if you wait too long or have cured resin on your hands, you’ll need to re-pour the piece to fill in any holes or divots created by the resin. This also works well with pieces like acrylic pours that you’re finishing with epoxy resin, where the bubbles are close to the surface.
Use a Straw
Did you know that you don’t need a fancy torch, or any fire at all, to pop bubbles? You can pop micro bubbles in your resin mix or from your freshly poured resin surface with your breath!
Using a straw, blow gently with the straw positioned about 2-3 inches over the piece. The carbon dioxide in your breath will pop surface bubbles just as effectively as using a torch, without the fire.
A word of warning: don’t get too close! Many an artist has accidentally dipped their straw into their resin and then picked up the straw again, only to inadvertently put the wrong end in their mouth! Pay attention and stay at least 2 inches away from your piece while removing bubbles.
Because you should not breathe in the fumes from resin, it’s also a good idea to turn your head when you need to take a breath. Whatever you do, don’t accidentally breathe in through the straw! Resin is not tasty.
Use a BBQ/Long Neck Lighter
If you’re not keen on the straw method, but don’t want a full-blown blowtorch, a long neck lighter is a happy balance between the two.

Most long neck lighters have adjustable flames; use the lowest or medium setting, but not the biggest flame option if you can help it.
While your resin is still fresh, pass the flame about a half inch from the surface of the resin; do not focus on one spot for too long. If your resin smokes or pops, it is too hot; stop using the flame and let it cool for a moment before continuing.
Use Rubbing Alcohol to Pop Bubbles in Resin
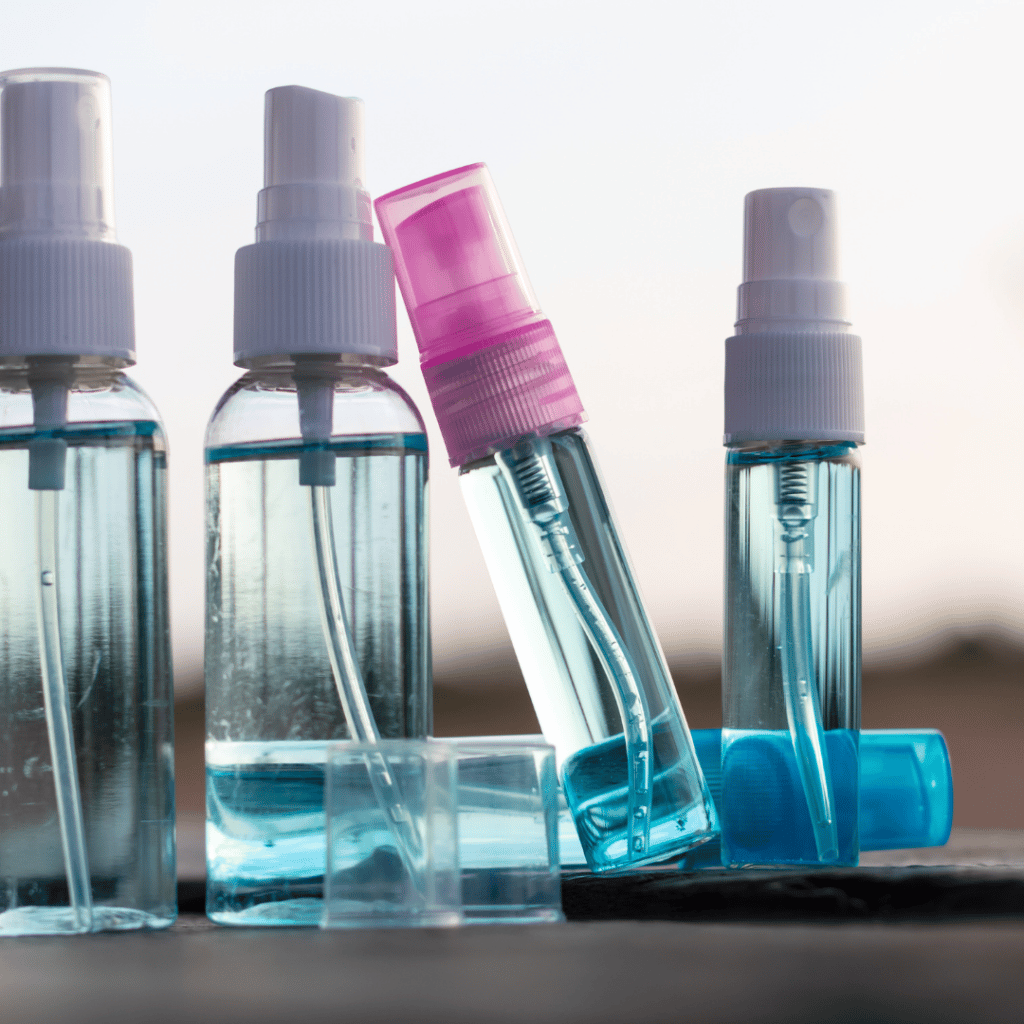
This is an easy method that involves isopropyl or rubbing alcohol and a spray bottle!
If you notice bubbles on the surface of freshly poured resin, gently spritz the top with rubbing alcohol. Use a spray bottle that has a fine mist option as opposed to a concentrated stream; the force of a concentrated spray may penetrate the surface of the resin, which will cause irregularities in curing.

Mist a light coat of rubbing alcohol over the piece wherever there are bubbles and allow it to rest. Do not over spray! One light coating is plenty; if bubbles still remain, you’ll need to use the straw method to pop them.
Do not use a lighter or torch after you’ve sprayed the top of your piece with alcohol! Alcohol is extremely flammable and will start on fire if you use a flame on your piece while the alcohol is still present. If you still have a bubble, use a straw!
Final Thoughts
Working with resin has its challenges; if you mix too fast, you’ll get bubbles. If you pour resin that’s too cold, you’ll get bubbles and potentially a poorly mixed product.
Don’t let this intimidate you! There are plenty of ways (at least seven!) to remove bubbles from your resin piece without having to scrap it; and, if you pay attention to your mixture in the very first steps when you mix resin and hardener, you can avoid bubbles right off the bat!
We’d love to see your resin pieces in our Facebook Group!
Other Resources
How to Color Resin Like a Pro: https://acrylicpouring.com/how-to-color-resin/
Epoxy Resin Art Techniques: Developing the Right Art Skills: https://acrylicpouring.com/epoxy-resin-art-techiniques-developing-the-right-art-skills/

Sara Wagner is an author and artist from Upstate New York. She is the owner of Studio Blackwater and can typically be found covered in paint, cats, or her two young daughters. You can find her on Facebook and Instagram as @studioblackwater.

Thanks for info! I finally have mastered the deep pockets left on some of my pieces so exasperating!! Make sure to clean your piece with all hole when the paint is dry. I had a really bad piece that had the deep holes, I sanded Ali till holes were smooth then re-resigned turned out smooth as glass!!!!
Another great article Sara. Thank you.
Thanks so much for sharing those tips! I’m still a newbie when it comes to resin and appreciate anything that helps me learn. I have found that in some pieces, after removing the piece from the mold, that bubbles have burst on the edges leaving a sharp corner. Can you hell me how to deal with that so it doesn’t happen? I use a heat gun to move the resin and (hopefully) pop the bubbles. I have tried a torch but think it gives off to much heat. Thank you.
when pouring resin over acrylic paint pour, I get all the bubbles out. I then put a box over it to prevent ddust or particles floating in the air, but when I go back later and look at it I always see bubbles or pits that were not there to begin with. What causes this and how to prevent it?
Thanx for sharing tips amazing website for learning.
want to increase your knowledge Pekraft is a great place to learn everything about art and craft. you can become a penkraft certified teacher. Penkraft provides you Handwriting Improvement, Calligraphy, ethnic art, modern art, phonic abacus, and vedic art.
Thanks for sharing shillong teer teerstoday.