Being able to color or dye resin opens our imaginations and allows us to create more depth in our projects. Clear resin makes our art shine while giving it more dimension, but color brings us a whole new world of possibilities and excitement. For this reason, we decided to write this in depth guide on how to color resin.
While it may seem like there is an endless number of options to color or dye resin, it is best to start with the supplies you have on hand to learn the technique. Once you have an understanding of how resin works with color, then you can invest in and explore other options.
I have created a video on coloring resin and I thought it would be helpful to share it with you so that you can learn from my experience. In this video, I use 10 different methods to color and dye clear epoxy resin.
How to Embellish Any Pour Into a Gorgeous Geode Style×
Coloring and dyeing resin is a simple and easy process. Follow the directions provided by the resin manufacturer as you mix the resin. Once mixed, you can then add the desired color into the mix. The rule of thumb is to add no more than 5% color to the clear resin or 1-part color to 20 parts resin. Once done, stir thoroughly.
Products You Need to Dye or Color Resin
It is best to use products that you already have at home to learn how to color or dye resin. Most crafters’ closets are full of hidden treasures. I recommend purchasing color options that you do not have on hand once you have practiced coloring resin and understand the process.
Here’s a list of what you can use to color resin:
- Acrylic paints
- Mica powders
- Alcohol Inks
- Glitters
- Kitchen spices
- Food coloring
- Pigment powders
- Rit Dye powders
- Pearl X powders
- Air Brush paint
- Resin tints
Only a small amount of product is used for coloring, so don’t worry if there is only a small amount on hand. The phrase “less is more” is true when coloring or dying resin.
Acrylic Paint
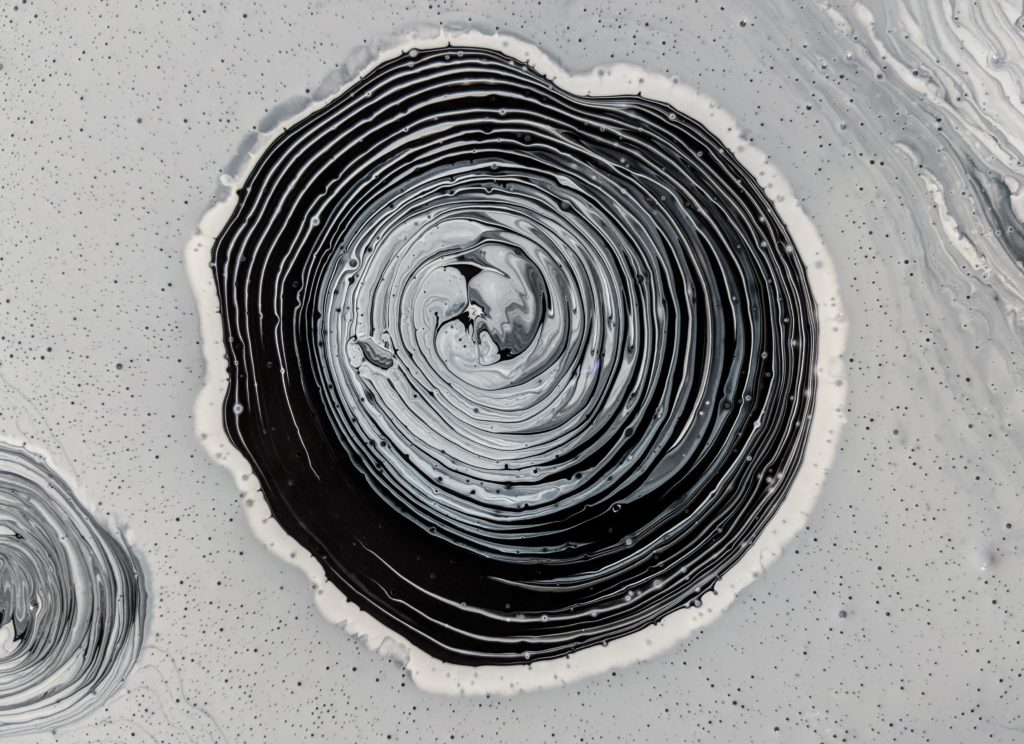
If you’re looking for a flexible resin-coloring medium that can be used on canvas and paper, acrylic paint is the way to go.
We recommend using high-quality acrylic paint, also known as professional grade (Liquitex Basics, Golden Fluid Acrylics). Add the acrylic paint to your resin mixture a few drops at a time and mix well until you achieve the color you want.
Points to Remember
- When working with resin, it’s easier to add more color than it is to take it away! If you add too much acrylic paint to your resin, you may run into issues with the behavior of the resin during curing; you can check with the resin manufacturer to see what their recommendation is for acrylic paint use in resin.
- Keep in mind that acrylic paint can sometimes affect the gloss and shine of the final product; we recommend testing your acrylic paint/resin mixture in a small mold first to make sure it looks the way you want.
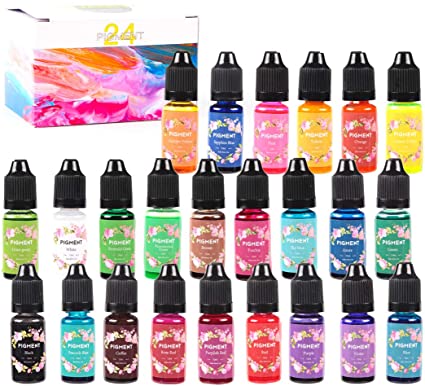
Resin Liquid Pigment
Using a coloring medium that’s specifically formulated to be used with resin seems like the obvious choice, and resin liquid pigment really is the “holy grail” of pigments!
These pigments have been tested and formulated specifically for resin, so unless you use them completely incorrectly, you’re likely to get the result specified on the package.
Upside: Because resin liquid pigments are created specifically for use with epoxy, you won’t have to worry about the issues with glossiness you might have with acrylic paint, or curing issues you may have with alcohol ink.
Downside: It is only one, and it is that they really can’t be used for anything else; they aren’t multi-functional.
If you’re looking for a solid, consistent pigment that won’t affect the functionality of your resin, resin liquid pigment is the way to go! If you’re looking for something that can pull double-duty as a resin pigment and as a colorant elsewhere, this might not be the product for you.
Alcohol Ink

Alcohol ink is the best medium for those who are looking for semi-transparent results or highly pigmented results; both can be achieved with alcohol ink. The same rules as with using acrylic paints as pigments apply, however; it only takes a few drops to get the color you need, and less is more!
Alcohol inks are great for 3D molds to create the petri dish look, or to create semi-transparent water.
Resin Powdered Pigments
Resin coloring mediums come in powdered form too. These concentrated pigments come in a huge variety of colors ranging in matte to metallic, and every finish in between.
A little definitely goes a long way with these pigments, and it is crucial that you check with the powder pigment’s manufacturer before using the pigments to see what their recommended usage rate is. If you use too much pigment, you run the risk of your resin becoming clumpy and gritty…which is great if that’s what you’re looking for!
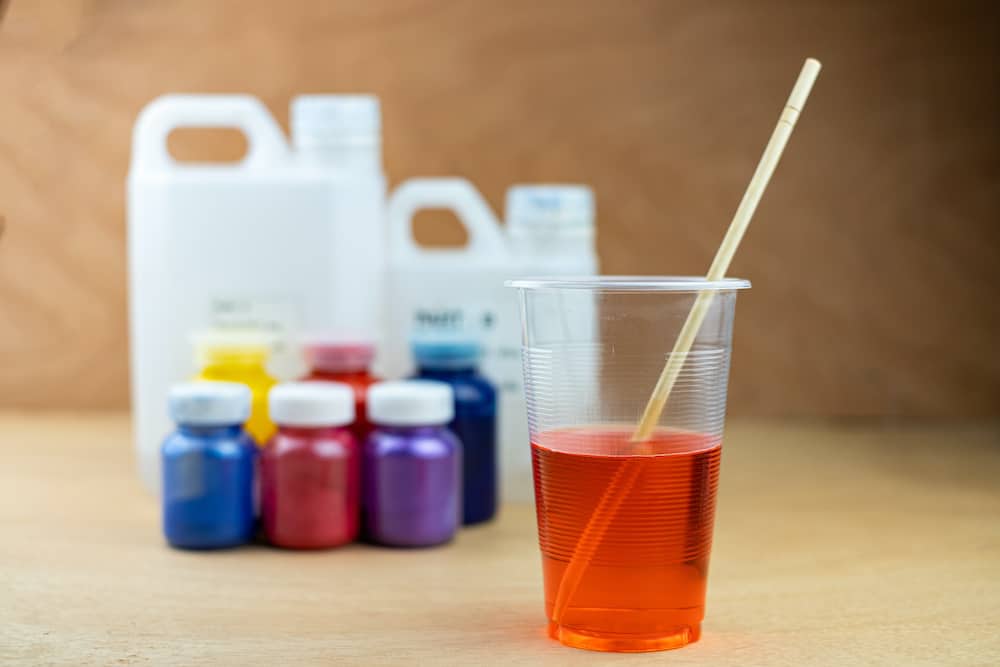
Other Colorants for Resin
Oil Paint: Oil paint is not chemically compatible with resin. Its lipids simply won’t dilute like water-based mediums will, like acrylic paint. Although it can be used to create an interesting speckled consistency, we don’t recommend it.
Glass Paint: Glass paint produces a crystal-like, low-saturated effect. This is definitely worth experimenting with in small batches!
Airbrush Paint: Airbrush paint can yield vibrant, saturated results. Make sure that you purchase a high-quality brand if you decide to go this route.
How to Achieve a Transparent Color in Resin
Resin-specific coloring mediums usually indicate their transparency on the packaging, or on the manufacturer’s website.
Of the mediums featured above, alcohol ink produces excellent results in getting that transparent, glass or water-like effect.
Be aware that the more transparent your project is, the more visible defects and bubbles will be! Tapping your mold can help in bringing bubbles to the surface. A heat gun or a small handheld torch is also handy to help pop unwanted bubbles.
How to Achieve Opaque Colors in Resin
Again, it’s best to use a medium that is already labeled as “opaque” for the best results.
Of the options we featured earlier, thicker mediums work great in achieving a more opaque finish. Liquid and gel-type colorants are preferable, although more pasty colorants like acrylic paint will also produce a non-transparent effect.
The best way to achieve a nice uniform, opaque color is to make sure you have mixed everything as thoroughly as you can.
Is the Coloring Method Different for UV Resin?
Those who enjoy working with UV resin will find the methods and mediums we’ve shared in this article helpful. You just need to consider the following factors:
- Translucency: It can make a significant difference if your projects are colored translucently, allowing the UV light to pass through better.
- Layers: Those who want to achieve a more opaque result will find UV resin easier to process if they work their projects in layers.
- UV-Resistance: Finally, there are coloring mediums that are not UV-resistant and because of this, they can fade when exposed to UV lighting. If you’re working with UV resin, it’s important to check with the manufacturer about the colorant’s UV resistance first.
Other supplies needed to color or dye resin
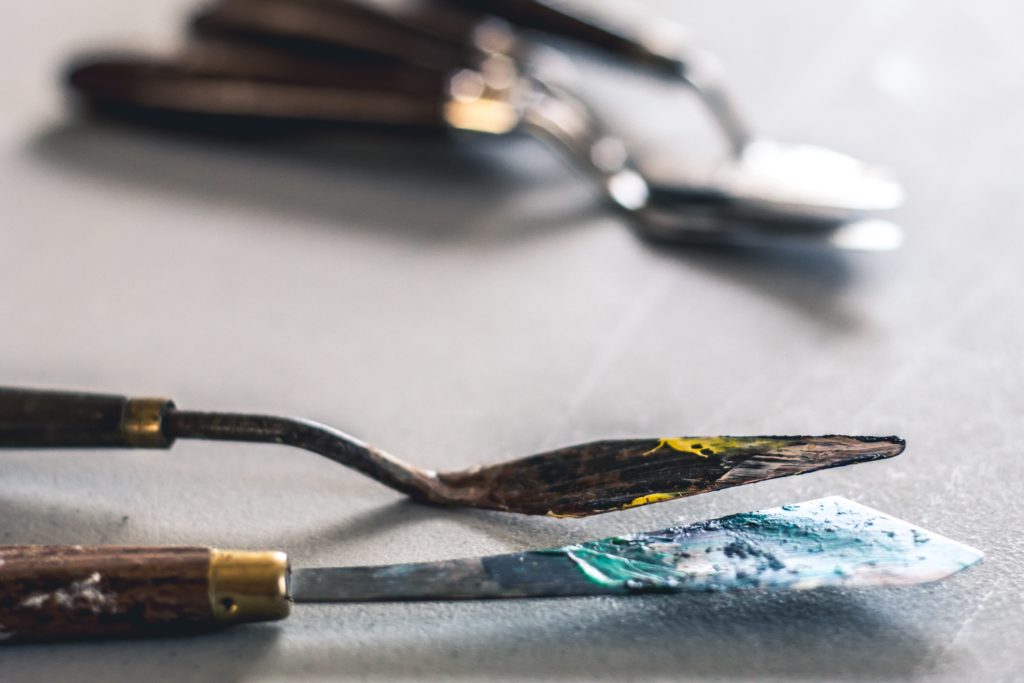
You will need:
- Clear resin that is not fast curing. You want a resin that will give you more time to work. Some popular brands are Pro Marine Resin and Art Resin and you can’t go wrong with either of those.
- A plastic table covering. Plastic trash bags will work just fine for this.
- 3 cups at a minimum – You will need 2 cups to mix the resin, and a cup for each color you choose to use.
- Popsicle sticks, or other small sticks – you will need one stick per color.
- Gloves
- Respirator
Remember, resin is toxic, and it is important to be cautious and take the steps needed to be safe. It is recommended to color or dye resin in a well-ventilated area. Using proper safety measures now will allow you to enjoy this craft for years to come!
Best surfaces to use colored or dyed resin on
Once you start to work and experiment with resin, you will find that some surfaces take to the resin better than others. Canvas, tiles, old vinyl records, ply-wood boards, cradled birch wood, wood cutting boards, and resin molds all work well with resin.
A very popular surface to use colored or dyed resin on is wood. While I have not experimented with wood I have seen some amazing results online.
The resin brings out the natural grain in the wood and gives it a shine that is hard to duplicate with other products. The combination of the colored resin and the natural characteristics of wood make this a popular surface to use.
How to Color Resin – a Step by Step Tutorial
Once you’ve chosen the coloring medium you want to work with, we can now start coloring. Below is a quick step-by-step guide you can follow:
- Prepare your workspace. It is important to protect the surface of your table with plastic sheeting or even a plastic trash bag. Ensure there are no holes in it before placing it on your table. Anything that is not covered by plastic can be ruined if it gets resin on it.
- Prepare your additives. Select the coloring additives you would like to use and place them on the table.
- Prepare for accidents. Have some loose paper towels available in an easy to grab location on the table in case of any potential accidents.
- Put on protective gear. Put on your gloves and your respirator. Open any windows, if possible, to assist with ventilation.
- Mix your resin. Mix your resin according to the directions provided by the manufacturer. Then, divide your resin into smaller containers.
- Add color. Add the color additive to each container. You will use a very small amount of color: 1-part color to 20 parts resin or less than 5% of the amount of resin in your container.
- Mix thoroughly. You will be stirring a lot. Scrape the sides of the container, the bottom of the container, and scrape your stir stick occasionally. Powders can take a little longer to mix so it is important to be patient.
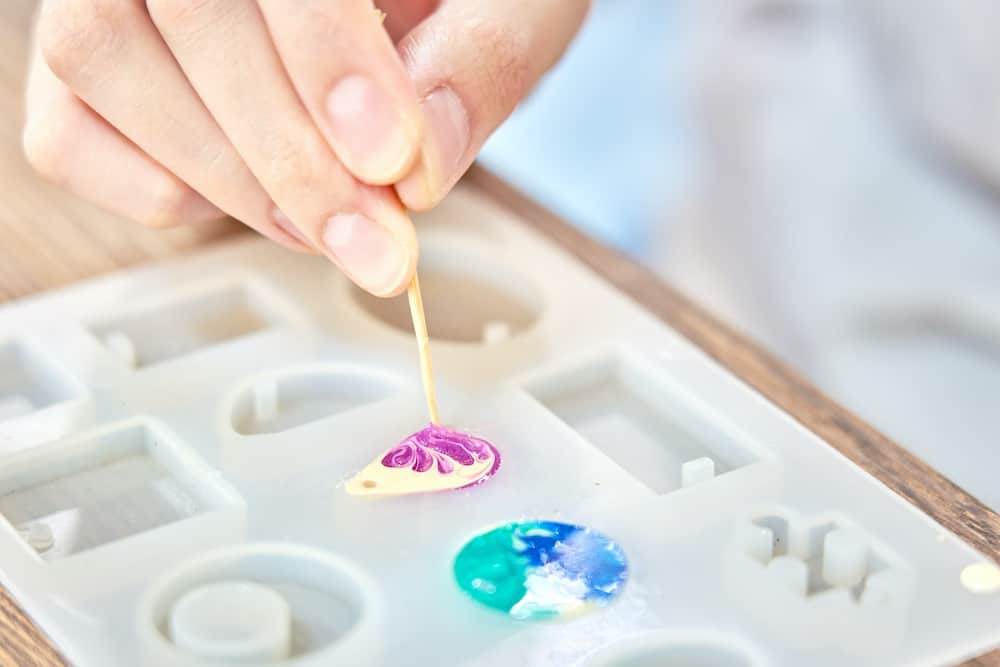
Common mistakes people make coloring resin (and how to avoid those mistakes)
Working with resin is an advanced technique that requires patience. It does take some practice and trials to see how resin reacts and how it works with additives.
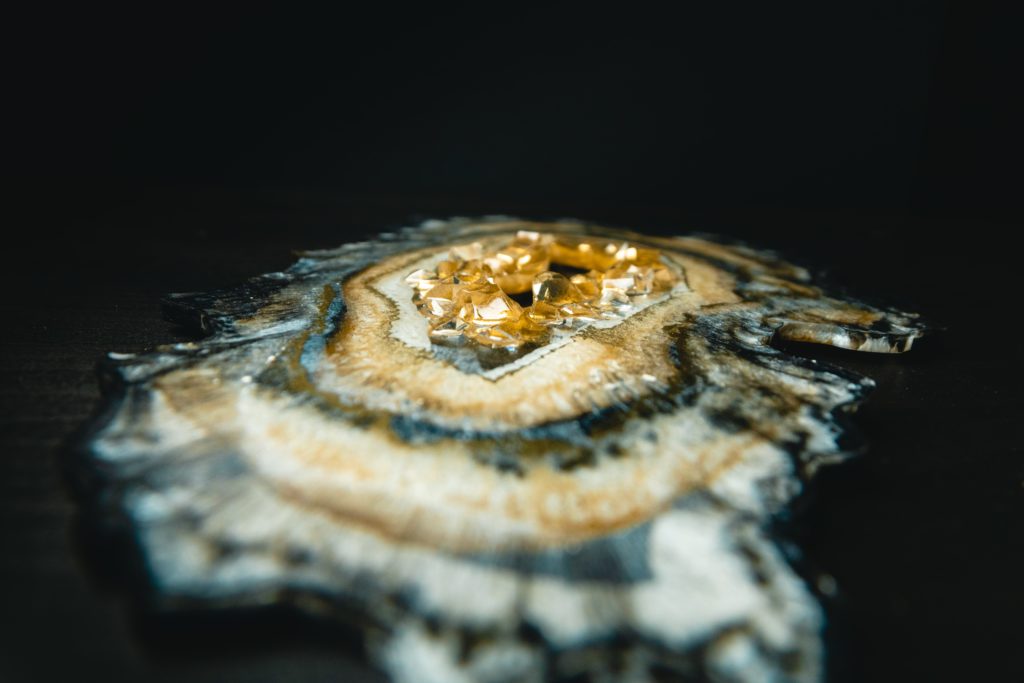
Mistake 1: Buying any resin
Solution: Not all resins are created to be colored. Look for a resin that is in a 2-part system and that has a long work time.
Mistake 2: Not mixing the resin thoroughly before adding the color.
Solution: Each manufacturer has precise directions on how to mix the resin. Follow these directions to cure the resin properly and to avoid ending up with a sticky mess.
Mistake 3: Improper mixing of resin or “eyeball” the measurements incorrectly
Solution: Also, make sure you are measuring the clear resin properly or it will not cure. Resin usually comes in two parts, Part A and Part B. Read the instructions provided by the manufacturer for the best results and appropriate cure.
Mistake 4: Using too much color.
Solution: Resin is a chemical and if you add more than 5% color to the resin or more than 1-part color to 20-parts resin then you are changing how the resin will react and cure. In most cases, using too much color will create a sticky mess before you even get the chance to use it in your projects.
Tips and tricks for coloring and dyeing resin
- A small amount of color goes a long way!
- Familiarize yourself with the manufacturer’s directions for mixing the clear resin including the safety and application direction. In order to color resin successfully, you need to make sure the resin is mixed properly and safely.
- It is best to use a resin that has a longer work time so that you have more time to mix the color. This is especially important if you have several colors you are trying to mix.
- When your project is complete, save the colored resin drippings that are on your plastic table covering. Resin does not stick to plastic when cured so you can peel these drippings off and use them in a fun future project.
- Work in small batches. Even though you may be working with resin that has a long work time, you might find it helpful to work in small batches to color. This ensures that you are not wasting resin if you spend too much time in one area.
Don’t Use These to Dye or Color resin
- Try to stay away from Polyurethane resins. These are extremely sensitive to moisture and most likely will be problematic for beginners.
- Do not use oil paints to color your resin. Oils paints do not mix well with the resin and in most cases your resin will become a sticky mess before you use it on your project.
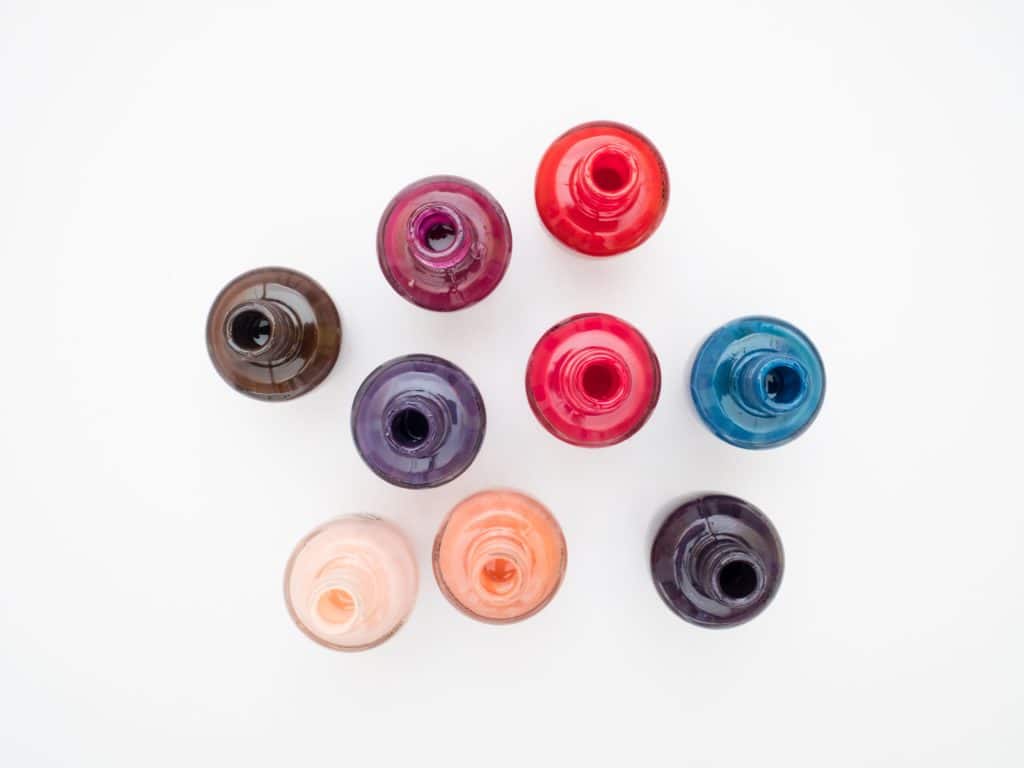
- Nail polish is not recommended to color resin because of how it reacts with the resin. Nail polish does not want to mix well and can become a lumpy mess, depending on the brand of nail polish. The colors can turn muddy when mixed with other colors and they can change how the resin cures. With so many other alternatives that work well to color resin it is best to stay away from nail polish.
- Glitter paint or glitter glue does not work well with resin. It gives the resin a cloudy look that takes away from the sparkle. It is best to use glitter itself, not glitter paint.
- Latex paint often has challenges when adding to clear resin. Think of Latex paint as being plastic paint. Resin and plastic do not play well together. I have been successful with using the Glidden Premium Interior Paint but only if I use less than 5% paint in my resin.
What types of resin can you color and how do they differ?
Choosing which resin to use is a personal preference often guided by ease of use. To understand resin and how it works, here are a few terms that you should familiarize yourself with:
CURE TIME: This is the amount of time that is needed for the resin to finish its process after the initial demolding time. This could be 3-4 weeks or longer depending on your environmental conditions.
POT TIME or WORKING TIME: This is the amount of time that you must work with the resin, including coloring the resin, before it starts to cure.
DEMOLDING TIME: This is the amount of time that is needed for the resin to cure (harden) in the mold or on your canvas before moving it. Your resin will appear to be hard, but this is only one part of the process and it needs more time after this part in order to fully cure.
When selecting the type of resin to use, it is important to understand the qualities of the product. Be sure to check with the manufacturer’s product guide before using it. I have created this Quick Guide to help you select and understand which resin is best for your needs:
Epoxy Resin is the most common type of resin that is used for crafters due to it being the easiest to work with. This resin type has the most color options that work well. It has a pot time of several minutes, a demolding time of approximately 24 hours, and the cure time can range from 24 -72 hours
Polyester Resin can be of interest to crafters because of the initial lower cost, but there is more work required in order for it to be ready for coloring. Since this type of resin is used mostly for clear casting, this type of resin is also limited to what you can use to color it. Resin colorants and Castin Craft pigments are designed to work well with this type of resin. The pot time is 15 – 20 minutes, a demolding time of 20 – 30 minutes, and the cure time ranges from 1 – 24 hours.
Polyurethane Resins are quick curing and have a short work time. While this type of resin does have its own coloring kits it is not recommended for beginner crafters to use because it can be a little picky when color is added to them. It does not work well with acrylic paint or any other water-based colors, but it does work well with Alumilite Dyes and Pearl Ex powders. It has a very short pot time of 8 – 10 minutes, a demolding time of around 12 hours, and it can take approximately 24 hours for the cure time.
Coloring Product Quick Guide
Here is a quick coloring guide that I have put together to aid you in your projects. Since resin is an expensive product to use, it is best to make up a small sample batch of resin to see how the resin will work with each color option.
| S. No. | Dye or Resin Color | Compatibility |
| 1. | Alcohol Inks | Epoxy, Polyester, and Polyurethane resins. |
| 2. | Food coloring | |
| 3. | Glitters | |
| 4. | Powdered Pigments | Epoxy and Polyurethane resins. |
| 5. | Pearl Ex Powders | |
| 6. | Castin Craft Color Pigment | |
| 7. | Rit Dye (powder) | |
| 8. | Mica Powders | |
| 9. | Kitchen spices | |
| 10. | Aluminite Dyes | Polyurethane resins |
Can Resin be Painted?
Some of you may be wondering if it’s possible to paint over resin after it has cured, and the answer is yes.
Yes, you can paint over resin, especially if you’re thinking of creating images within the resin project for layering.
Example: A popular project you may have seen is teacup aquariums. The finished piece looks like there’s an actual fish swimming inside the cup! In reality, the clear water is resin and the fish is painted using an intricate 3D layering technique called stereopsis or binocular vision. It’s basically an optical illusion that signals the brain to perceive more depth than there actually is. It takes a lot of patience and practice to achieve this hyper realistic look.
Pro-tip: The secret to this project is in your patience between layers. The more layers you create, the more vivid your results will be! With that said, it’s critical to plan your project before you even start painting.
Step-wise Procedure
Let us take an example of a chosen mold as a teacup.
Step 1: To start, prepare your resin to the proper mixing ratio.
Step 2: Pour layer-by-layer into the mold or bowl you want to use. Firstly pour the thin layer on the teacup and let it cure completely.
Step 3: Paint the desired painting, the first layer of your fish painting, or any 3D shape, and let it dry.
Step 4: Pour the next layer of resin and let it cure.
Step 5: Paint and then let it dry.
Step 6: Simply repeat the process until you finish your work.
Note: A single piece can take several days, or even a few weeks, depending on your resin’s drying time and the number of layers you’re planning on painting. You can create very simple layered pieces, or intricate masterpieces; it’s a long process, but the results are worth it.
Now, if you’re wondering whether you can just paint a whole layer of resin instead of mixing in colorant, the answer is also yes: but it would be MUCH easier if you just mixed in your colorant!
Conclusion
The first step in learning how to color resin is to choose your preferred colorant. There is a large variety of them, from the multi-functional acrylic paint to the one-trick pony resin liquid pigment.
Ultimately, you can read a million articles about how exactly to color your resin, but what works best for you comes down to you and your project. You don’t have to use any one specific pigment to achieve one specific result; experiment!
We do recommend that you mix your colorant into your resin right after you’ve mixed your resin and hardener solution; remember that most resins have a short working time, which means that waiting to add colorant for a prolonged period of time might result in unwanted thickening in the resin before pouring.
As far as how much to use, you shouldn’t worry about your coloring medium messing up your resin formula as long as you stay at a usage rate of less than 5%. If you’re not sure though, or can’t get the right results, reach out to the colorant and resin manufacturers for guidance.
As long as it’s safe, we encourage you to try out other types of pigments as much as you can to see their results for yourself! We hope you’ll share your results in our group on Facebook, too!
Frequently Asked Questions About Coloring and Dyeing Resin
Can I use food coloring in resin?
Yes, you can use food coloring in resin, but it does require a lot of mixing. The color is more concentrated than most other options, and it can look “spotty” until thoroughly mixed.
How much pigment do you put in resin?
The rule of thumb is to add no more than 5% color to the clear resin or 1-part color to 20 parts resin. It is best to make a small sample batch using the pigment of your choice to see how it reacts to the resin.
Can I mix acrylic paint with the resin?
Yes, if you use a resin that is not polyurethane resin. Those types of resin are very sensitive to water-based additives. Because acrylic paints are water-based paints you must make sure you use less than the recommended 5% rule. Also, if you use acrylic paint your resin will be more translucent and not opaque along with not having the shiny finish that clear resin has.
Can I use nail polish to color resin?
Yes, but it is not an effective way to add color to the resin before it cures. The results are often ineffective, can be muddy when blending with other colors, and can alter how resin cures. Using nail polish also is not cost-effective for your project. With so many choices to color it may be best not to use this product. Nail polish is effective after resin cures if you brush it on but be advised it will take a few coats to get an opaque look. I like to use gold or silver nail polish on the edges of my resin pieces I pull from molds. This gives a nice, finished look. Here is an experiment I recorded so you can see my process and results:
Can you color resin with enamel paint?
Yes, but you need to make sure you are staying with the 1 to 20 rule or your resin will end up a sticky mess.
Can you use eye-shadow to color resin?
Yes, but make sure that it has not clumped. It must be dry powder with no moisture. It may also require longer mixing times.
Can I mix coloring additives to create my own colors?
Yes! Be sure to practice your color mixing in a smaller amount of resin to ensure you achieve the result you desire. Also, keep a notebook handy so you can write down your recipes for future use.
How do I dye UV resin?
UV resin is a polymer resin that is used for small projects such as jewelry or miniatures. It cures while under an ultraviolet light or using the sun. You can dye UV resin by using all the options that are available to Epoxy Resin. Just remember, a lot goes a long way especially with the smaller projects! Here is a video I found that will help with learning on how to use UV resin:
What is the best way to mix resin and color?
The best way to mix resin and color is to start with a small amount of color and gradually add it to the resin, stirring thoroughly after each addition. It’s important to use a compatible colorant and to mix it well to avoid streaks or uneven coloring. You can also experiment with different techniques, such as layering or swirling colors, to create unique effects.
What is the difference between pigment and dye for coloring resin?
Pigments are insoluble particles that are mixed into the resin and give it a solid color. Dyes, on the other hand, are soluble and are absorbed into the resin, creating a translucent or transparent effect. Pigments are better for achieving solid colors, while dyes are better for creating a more subtle, translucent effect.
Can you mix different brands of resin colorants?
It is generally not recommended to mix different brands of resin colorants, as they may have different chemical compositions that could affect the curing process and final result of your resin project. It is best to stick to using colorants from the same brand or to test a small amount before mixing larger batches.

Mijn schilderij in acryl is klaar, kan ik daar gewoon hars opgieten?
Thank you , this has been very helpful.
HELP, I have coated 3 of my pours three weeks ago and they are still sticky. are they a lost cause?
yes.
This article was very informative. I would like to view the video you mentioned, but I can’t find it. Can you help please?
Thank you for sharing all the useful information.
This is a very helpful article, thank you so much!
THIS WAS THE BEST INFORMATION AND ANSWERS TO MY QUESTION THAT I HAVE EVER GOTTEN. THANK YOU FOR BEING SO DETAILED AND FOR ALL THE EXTRA INFORMATION THAT YOU SHARED, I LEARNED MORE FROM WHAT YOU SHARED IN ONE SITTING THAN I HAVE LEARNED IN THE PAST 3 YEARS SINCE I HAVE BEEN EXPLORING WITH RESIN, THE BEST PART IS THAT IT’S FREE!