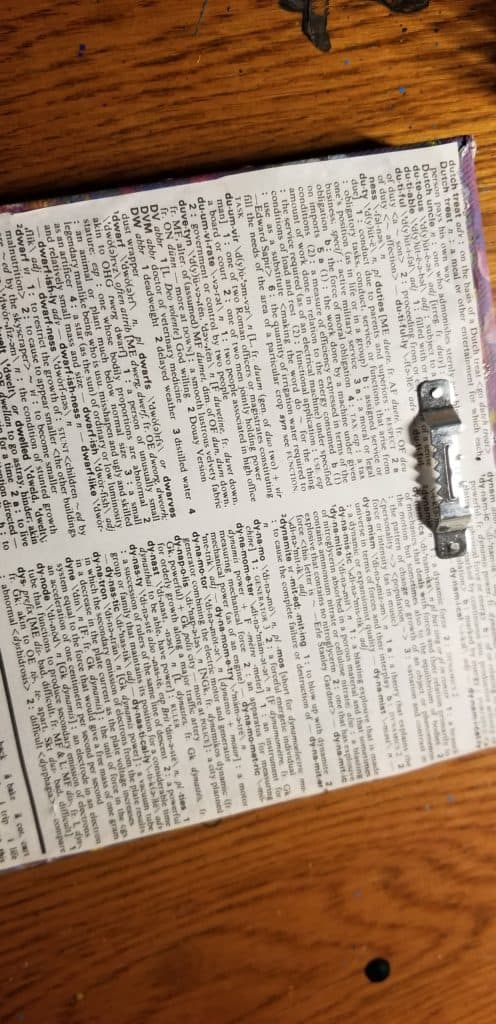
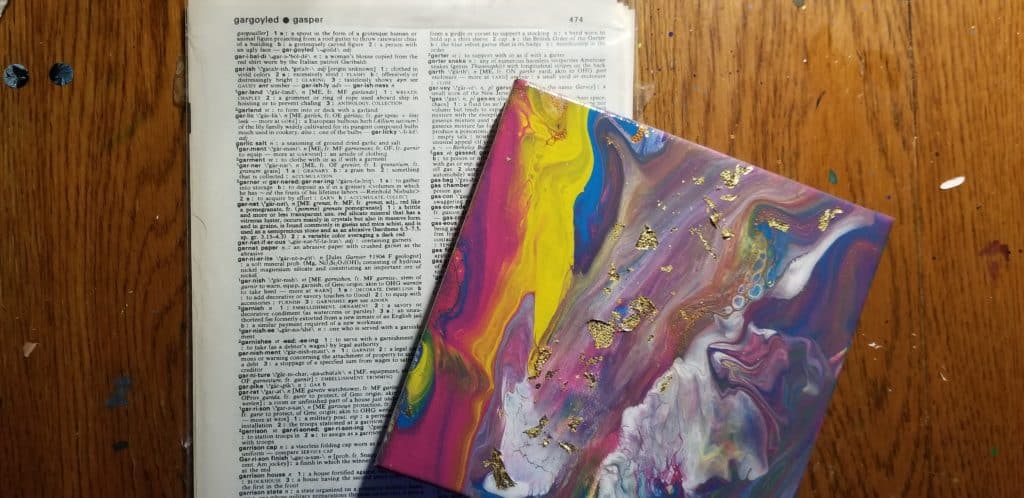
If you’re not keen on the appearance of an unfinished canvas, don’t worry—you have options. Simple, easy to find things like cardboard or brown paper are a great way to seal the back of a piece and they provide dust protection, too.
And if you’re looking for a creative way to seal the backs of your pieces that won’t break the bank, there are lots of those as well! Using newspaper, old dictionary pages, and even discarded sketches adds extra interest to your pieces without the need to buy additional materials. Read on for how to make it happen.
Supplies I Used
-
- Super Glue
- Butcher Paper
- Sawtooth Picture Hangers:
- Double-Sided Tape:
- Gold Craft Labels (for printing company name and contact info):
- Reclaimed Dictionary Pages:
I do not use Amazon for this. I buy my pages from DatedPaper on Etsy:

Newspaper
There are many different ways to recycle newspaper, and using it to seal the back of a painting is a very creative way to keep it out of a landfill. Newspaper also has the added benefit of size; you can cover the back of larger canvases with one seamless page.
If you are going to use newspaper, I would recommend using a thicker newspaper and using pages that are at least 75 percent covered in newsprint, instead of pictures, for a nice, uniform look.
Old Book Pages
I love the smell and feel of old books, don’t you? Antique pages are usually thick enough to hold up against wear and tear, and they come in a variety of sizes. You’ll likely find it difficult to finish a very large painting with book pages, but anything under 8×11 inches is relatively easy.
If you hate the idea of ripping pages out of your own books, don’t worry! You can still use this method. I purchased some antique dictionary, reader, and math book pages from an Etsy store and have found a lot of great ways to incorporate them into my artwork.

Unwanted Artwork
Along with acrylic pouring, I love to sketch. Unfortunately, my sketches don’t always turn out the way I expected! Using cutouts from these sketches for smaller canvases is a great way to repurpose unwanted artwork, and it keeps it out of the garbage. I’d recommend using thicker pieces like watercolor paper or sturdy sketch paper for this purpose.
Time to Seal
When you’re ready to seal off the back of your painting, you can follow the same steps you would use to attach standard paper backing to your canvas: Measure your paper; cut nice, straight edges; and either glue the paper to the canvas with super glue or use heavy-duty double-sided tape. Make sure all of your edges are firmly sealed to the canvas to avoid any lifting around the back of the piece.
Signing Your Piece
I personally like to sign my acrylic pour paintings on the back; this way, the owner of the piece can hang it however they like. This can be challenging if you are using something like newsprint that has a lot of words, but the solution is simple; either sign in the margin of the page, or place a blank, square label over the print and sign on that. I also recommend attaching a business card to the painting back so that your information is readily available.

Special Consideration: Language
An interesting issue I ran into recently when sketching on a dictionary page was a rather private definition. While I am not easily offended, some consumers would prefer to keep their pieces G-Rated. Because of this, if you are using newsprint, book, or dictionary pages, I strongly suggest that you read them thoroughly. Make sure that the print on the page is appropriate for your targeted audience so that you don’t face issues later on.
That’s it!
Finishing that back of a canvas gives it a clean, professional look—and using antique pages, newspaper, or upcycled artwork adds extra interest to your already stunning piece! Make sure to show us your finished paintings in the Acrylic Pouring Facebook group so we can see how you’ve applied this technique.
After being told in high school that she was so bad at art that she should switch to another subject, Deby didn’t paint again for 35 years. Then a stroke released a new wave of creativity and she began exploring with dot painting, abstract and eventually acrylic pouring, and at last the joy of working with color returned. You don’t need ‘talent’ to be an acrylic pouring artist – just enthusiasm, some basic instruction, and a willingness to try, fail and try again. Paint along with her and learn from her many mistakes, and you’ll soon make great art together.

Hi Sara!
Many thanks for this “how to” article on finishing up the backside
of Acrylic pour artwork.
Can I ask a question about the Gold Craft Labels?
I gather they come in sheet? How do you personally print
on your “company/artist” name and contact details
What is the best way?
Many thanks! Mary
Hi Mary!
The gold craft labels are on a sheet-you can see the ones I used in the article if you click on the link for them. I used Avery labels because they have downloadable templates for Microsoft Word, which is what I primarily use.
I put my name, my studio name, and my email typically. I recommend putting your name and business name if you have one, and the best way to get in touch with you-whether that’s email, phone or your physical address.
I hope this helps!