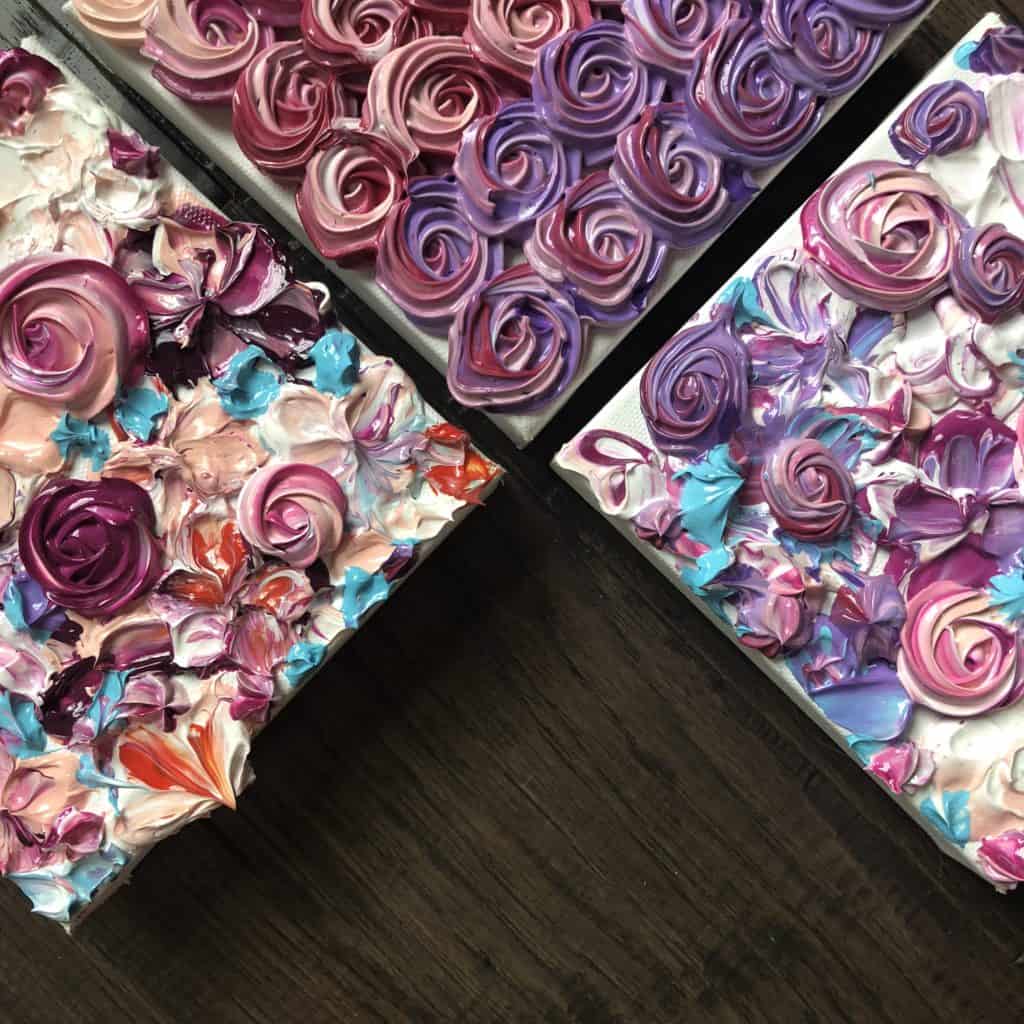
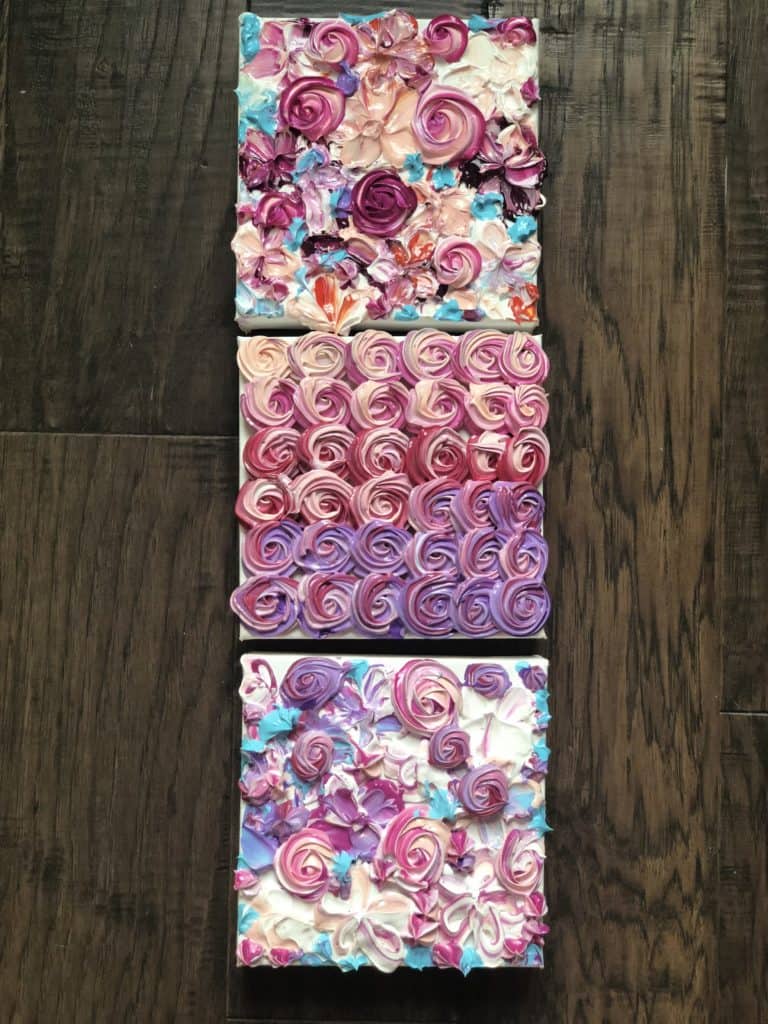
This site is usually all about acrylic pouring, but today we are venturing beyond pouring and into what else you can do with acrylic paint. Acrylics are an incredibly versatile medium that can be used in a range of applications, from resin work to heavy texture mimicking oil paint. One of my favorite applications is with a palette knife or piping bag to create flowers and roses.
Supplies I Used
- Heavy body acrylic paint
- Heavy gel medium (Liquitex or Golden)
- Palette knives
- Canvas or Panel
- Pastry piping bags and tips

Technique
I highly recommend viewing the accompanied video for these techniques, as the instructions could be confusing without a visual.
This technique is probably one of the more challenging ones we have tackled, but with some practice, anyone can achieve textured flowers. I have a background as a pastry chef, so my cake decorating skills come in handy here. The great thing about this is once your acrylic is thickened in this way, you can truly use it in a variety of ways—not just to create flowers.
First, take roughly equal parts pouring medium and heavy body paints and mix thoroughly with a palette knife or spoon. The medium appears white and may alter the color of your paint, but rest assured it will dry transparent and all your color will return. For flowers, I like to mix white and shades of pink and rose.

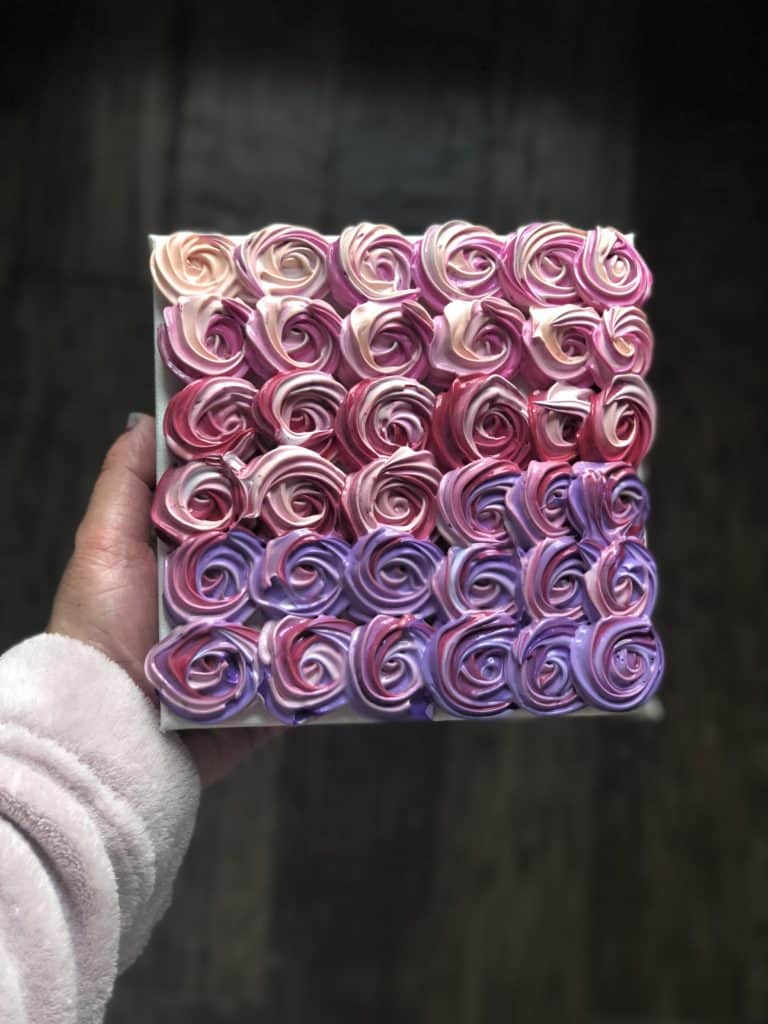
Next, fill a piping bag with your choice of pastry tip—a star tip works very well for roses. I like to mix a few colors in the bag, so that as I pipe the flowers the colors blend together. Once your bag is filled, test out shapes of flowers, textures, and designs you can make with each pastry tip.
To do a rose, start with a star tip in a filled pastry bag. Begin in the middle of where you want your rose to be, hold firmly with one hand on the bag, and rotate the whole bag in a circular fashion while squeezing with equal pressure.
This may sound confusing, but the more you practice, the easier the rose shape becomes. If the rose is too challenging, use your thickened paint and tips to add abstract texture to one of your acrylic pours.
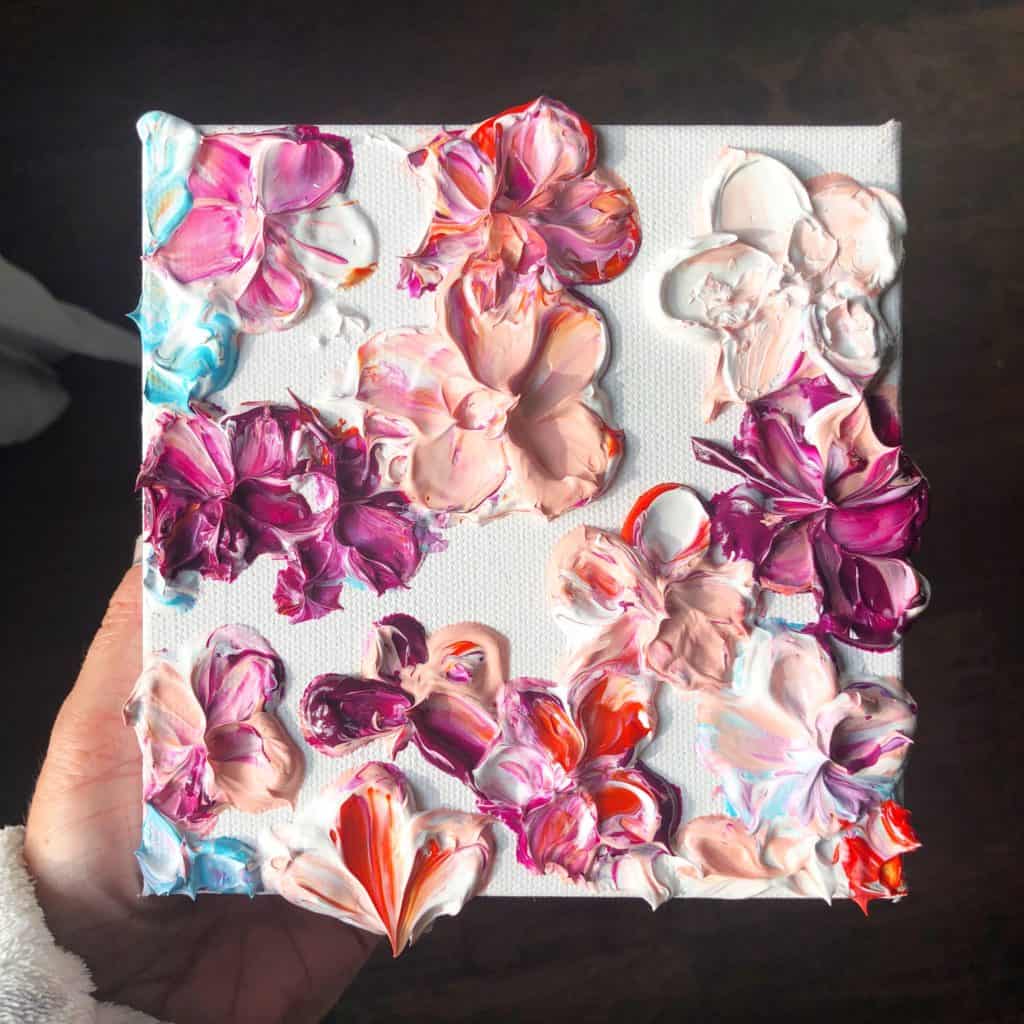
Another way to create flowers is with a palette knife or a baking knife. Put about a dime size amount of paint down and, using your palette knife, gently pull the round of paint to the center. Do this in a circle with five rounds to create a cherry or almond blossom.
Again, you can use your knife and paint on other paintings to create texture; this technique doesn’t have to just be used for flowers. I like to use this thickened paint to add texture to my waves on a beach pour.

Final Tips
- Only use heavy-body acrylic paint. High-flow acrylic or fluid acrylic will thin the medium too much, and it won’t hold the structure.
- Consider using a wood artist panel, since the amount of paint could cause sagging on a normal canvas.
- Once you use your pastry tips for paint, do not use them for food.
- You don’t have to worry about the paint cracking when drying, even at this thickness, as the medium keeps it together.
The uses with thickened acrylic are endless, so break out your cake decorating tools and see what you can create!!


Ann is a wife, mom to 5 kids, and pastry chef turned full time artist. In 2017 she was diagnosed with Lyme disease and discovered painting as a new creative outlet. She went from having never painted to becoming a full time artist in less than a year.
Her art is inspired by the beauty and mystery of Hawaii, and she specializes in resin, acrylic, watercolor, and heavy texture. Discover more of her work, including timelapses and art to purchase, on her instagram @annupton.art. You can also check out Ann’s resin course that teaches the basics of resin and techniques she uses to make her beautiful art.

Very intrresting…thank you for demo. Do you seal snd how fragile is the finished piece?