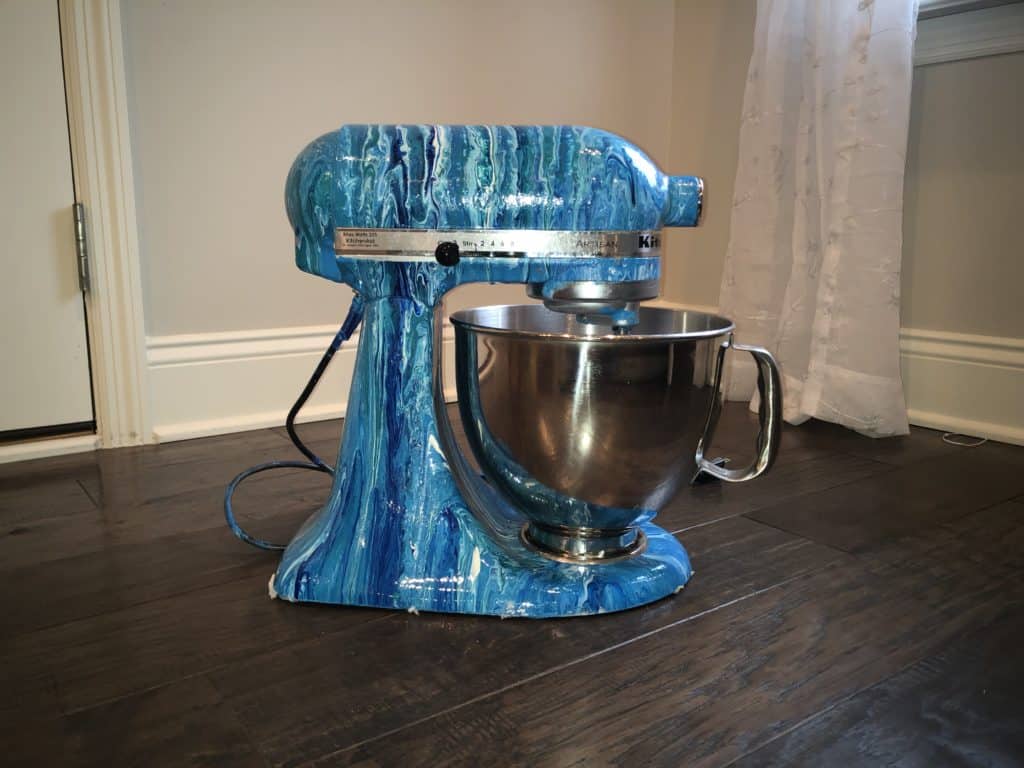
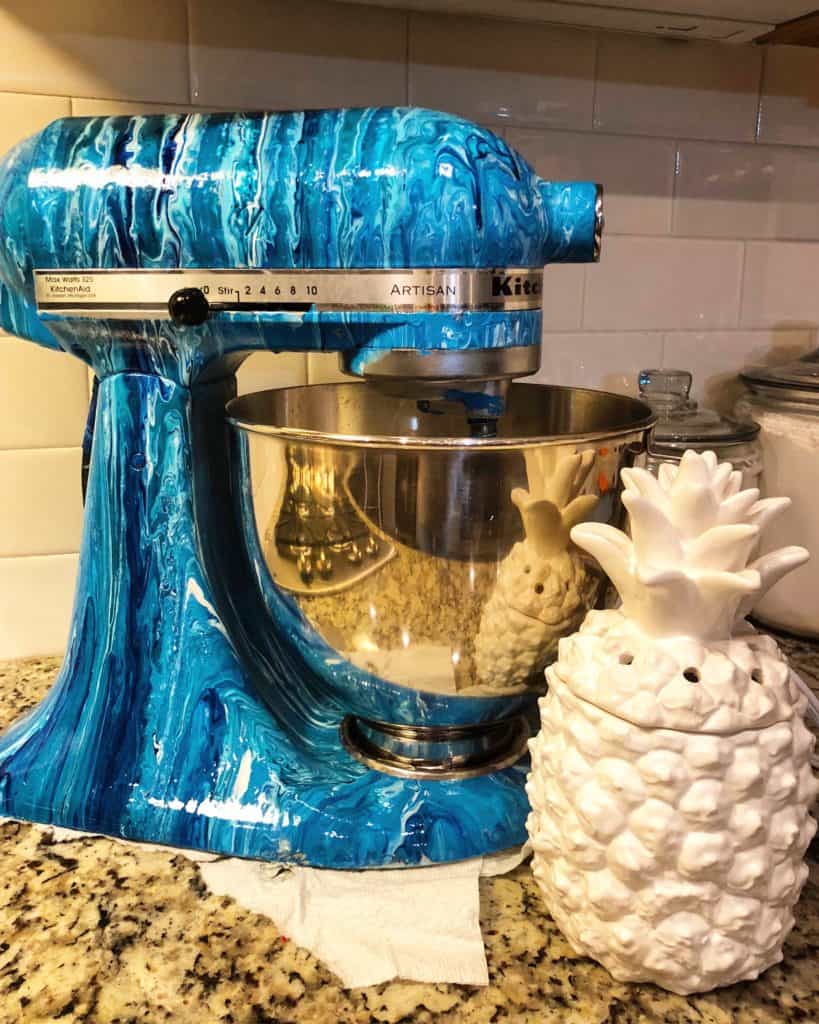
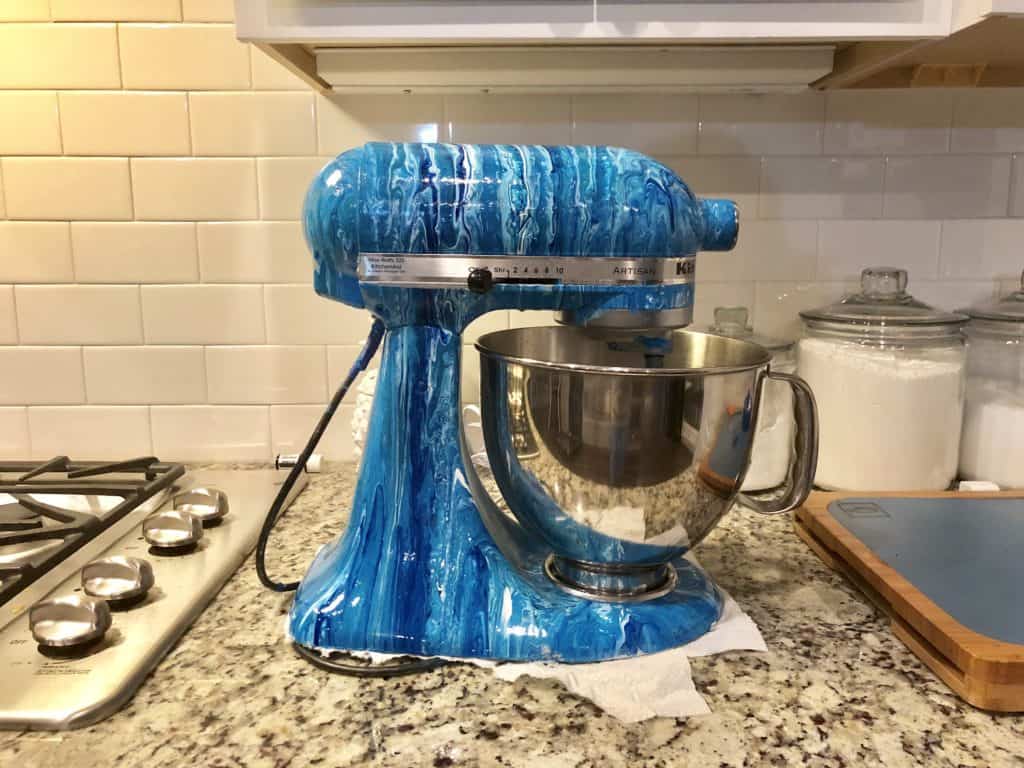
One of many wonderful things about acrylic pouring is the versatility of what you can pour on. Once you master the usual canvases and panels, there’s an endless variety of less common objects to tackle.
That includes rocks, tiles, vinyl records, ceramics, and even more out-there objects such as ceiling fan blades, driftwood, or coffee tables. And, in today’s video tutorial, a KitchenAid mixer!
Yes, even kitchen appliances aren’t safe from your acrylic pouring addiction. (Don’t tell your family or they might start locking them up!) Today let’s learn how to safely and successfully tackle this pour. The techniques here can be applied not just to mixers, but to other kitchen appliances, too.
Supplies I Used
–KitchenAid Mixer
–Acrylic Paint
-Acrylic Pouring medium (floetrol, liquitex, water)
–Painters Tape
–Screwdriver
–Sandpaper, 120 grit or higher
–Cups, stir sticks, cleaning materials
–Acrylic Spray Varnish
Setting Up
Just like any acrylic pour, we have to prep our canvas. Or, in this case, our mixer. Start by using your screwdriver to remove any chrome pieces that can easily screw off, like the piece that goes around the side of the mixer, and the chrome bowl base.
Next, you’ll want to tape off any areas where you don’t want paint. I taped off the back vent, the electrical cord, and the on/off levers.
You’ll also want to scuff up the mixer a bit so the paint will adhere. The surface is so glossy and shiny that unless you sand it lightly, your paint will just peel off once it dries. I know this sounds traumatic to your trusty mixer, but don’t skip this step or your finished product won’t last!
You’ll want to mix your acrylic paint the way you would for any pour. I like to use about one-third heavy body acrylic paint, one-third pouring medium, and one-third water, give or take. The consistency should be a bit like honey, so adjust the ratios as necessary. If you use silicone oil in your pour, make sure you wait to add it until right before you being pouring.

The Pouring Process
Treat this pour no differently than you would any other. I think a dirty pour works best, but creativity is limitless here!
Blue colors complement my kitchen best, so that’s what I used, but the sky is truly the limit. I layered white in between my four shades of blue, and lightly mixed with a stir stick—not so much that it became muddy.
Once you have your paint set up, pour away! With this surface it’s important to get the paint in any way you can, so abandon any preconceived ideas of color placement and design.
The surface is curved and uneven, and the paint won’t roll down like it does on a normal canvas. I used my hands during this process to make sure every inch was covered. Do whatever it takes to get the paint on!

Sealing and Finishing
Once I had my whole mixer covered, I put it aside and let it dry undisturbed for a week. I would wait at least that long before even considering sealing it. (So make sure you do this project during a time when you won’t need to use your mixer right away.)
With canvases and panels, any extra moisture can still get out the back of that surface. This being metal, any moisture from the paint has nowhere to go but out your sealant, if you finish too early. Tip: Leave your tape on through the drying and sealing process, too.
Once you’re confident the paint has dried, use your sealant of choice to seal the mixer. I used three coats of Rustoleum triple thick glaze. Remember to keep all the same areas taped off as you did when you painted, in particular, the vent at the back of the mixer.
Wait a day for your sealant to dry and then start re-assembling your mixer. Remove the tape and screw back on your chrome pieces.
The incredible thing about painting your mixer is once you have done it, you can redo it to change your décor. I have painted mine three times to refresh my kitchen theme, or simply when I get tired of the current color.
As long as you follow these steps and take the preparations mentioned, it will be completely safe to use and will look great!

General Tips
- Don’t forget to prep your mixer with tape, sanding, etc.!!
- Don’t rush the drying process
- Choose a sealant that is food-safe or that you are comfortable using in your kitchen. I like my sealant because I can wipe it down with bleach without damaging the finish.
Don’t hesitate to post a comment if you have any questions about this project.
If you decided to pour on your mixer or another appliance, let us know how it turned out!

Ann is a wife, mom to 5 kids, and pastry chef turned full time artist. In 2017 she was diagnosed with Lyme disease and discovered painting as a new creative outlet. She went from having never painted to becoming a full time artist in less than a year.
Her art is inspired by the beauty and mystery of Hawaii, and she specializes in resin, acrylic, watercolor, and heavy texture. Discover more of her work, including timelapses and art to purchase, on her instagram @annupton.art. You can also check out Ann’s resin course that teaches the basics of resin and techniques she uses to make her beautiful art.

Absolutely LOVE this! My sister works for Kitchen Aide and I can’t wait to show her!!!
This caught my eye immediately and once I am physically able, I am going to try it. Question: did the top of the mixer get stuck when you added the paint to the base where the top sits? I noticed you put it back down right afterwards. Could it stay up while drying or would it ruin the design?
i found an old unusable acoustic guitar out by someone’s trashcan in the pouring rain. i let it dry out for about a year, until i could think of something i wanted to make with it… I poured on it, three times. after the second, i still disliked it and pouring over the first less than attractive pour had loosened the paint underneath… but i finally nailed it about two months ago. It looks absolutely amazing. i’m going to finish it with poly several times before i’m calling it done and i plan to use it as a way to plant ivy inside and hang it on the wall on my porch with some other ‘blues’ themed decor. can’t wait til its done!
Absolutely just fabulous,beautiful. Wow!
Great idea…
I am considering doing my white a Kitchen Aide.
Wow, that turned out beautifully! In hope you kept the blue, it is stunning. People spend thousands to have custom art painted mixers. I know because I just commissioned mine to be painted. You are so talented.
I just got a kitchen aid for Mother’s Day. I just had a small heart attack watching this! I’ll try it on a less expensive appliance. But it is gorgeous.
Absolutely LOVE this! My sister works for Kitchen Aide and I can’t wait to show her!!!
Can you do this on a toaster oven? Air Fryer? thanks, Sandra