I have a tendency to save old containers for repurposing and reusing later on, which can sometimes make my kitchen look a little bit of a hodge-podge. But thanks to the art of acrylic pouring, I had the idea to try to zhush it up a bit!
Supplies I Used:
Getting Ready
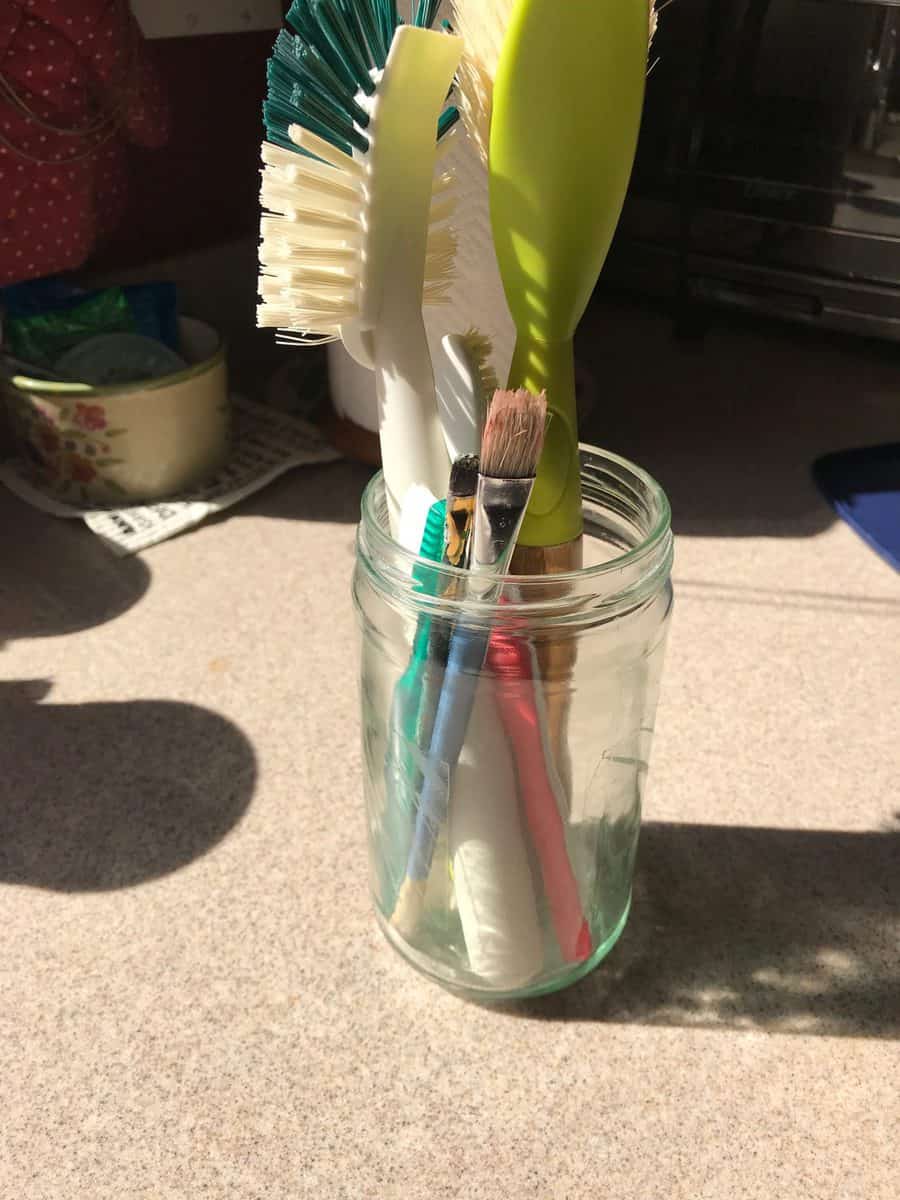
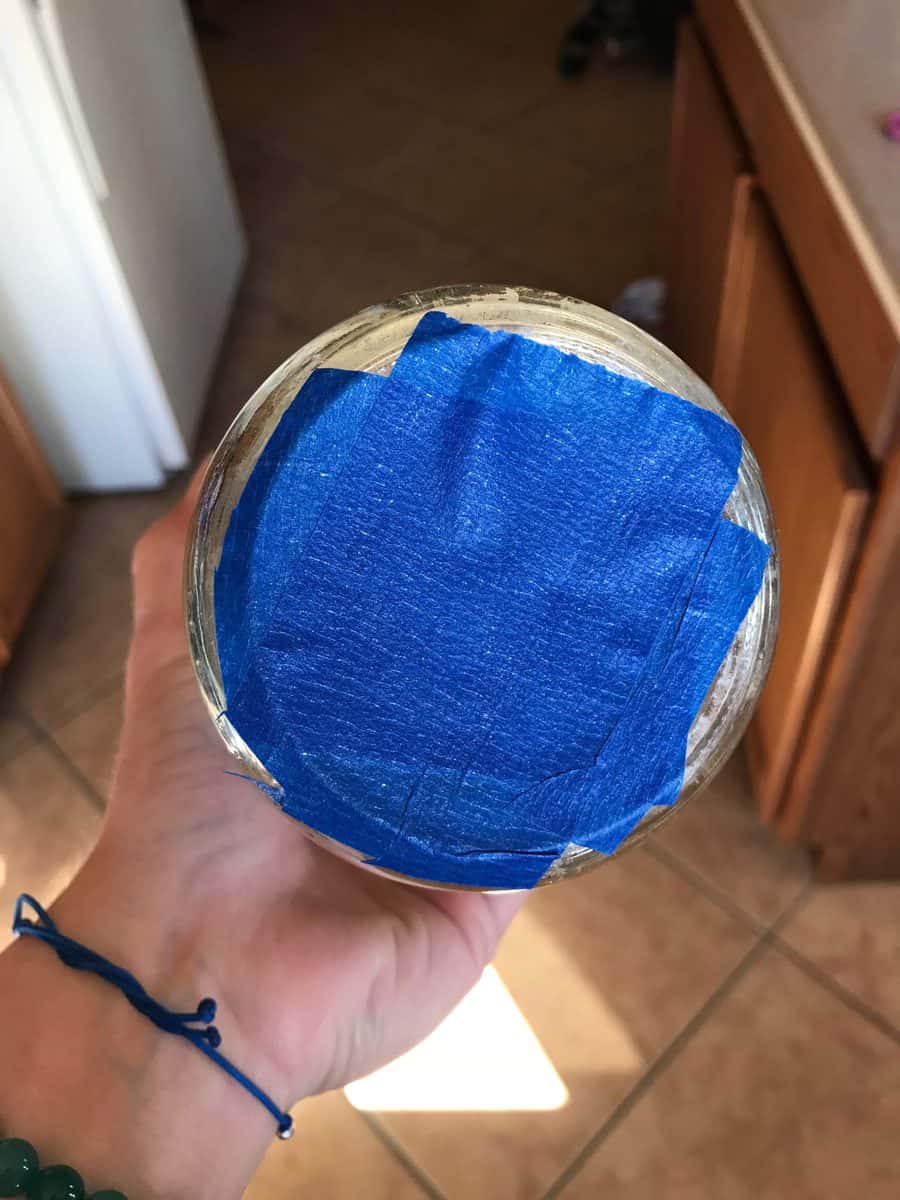
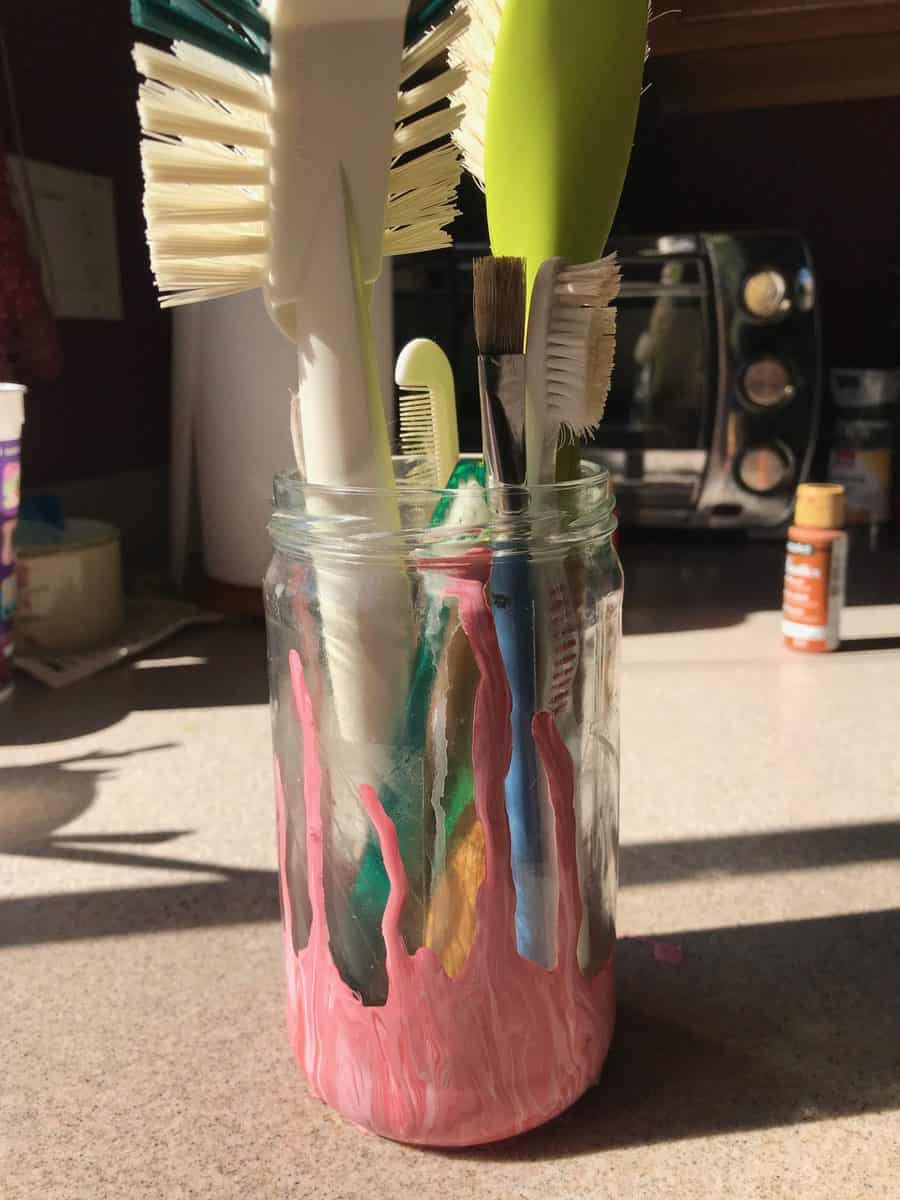
It seemed only right to try this out first on one of my brush cups. As you can see, I have quite the eclectic collection. I picked the three colors I have the most of, just in case this didn’t turn out it wouldn’t be a total waste. Then I set about prepping my jar. This one, I believe, used to be a old jar of salsa and the sticker has left some especially stubborn residue. I tried for the nth time to soak the remaining bits off but went ahead with the project when they still wouldn’t budge. I knew I wanted the bottom half of the jar to be the focal point, so I taped off the very bottom to keep it clean.
The Acrylic Pouring Part
Now which technique to choose? Couldn’t swipe here, a flip cup seemed a bit precarious, hmmm…. I was curious about trying something new. This unconventional pouring material deserved something special to go along with it. I poked around some terms and thought a dip might be just the thing! I had to find a “paint cup” that was big enough to fit this wide mouthed jar, which took some doing. Finally, I filled it up with my paints, alternating between red, white, and bronze for a nice layered look.
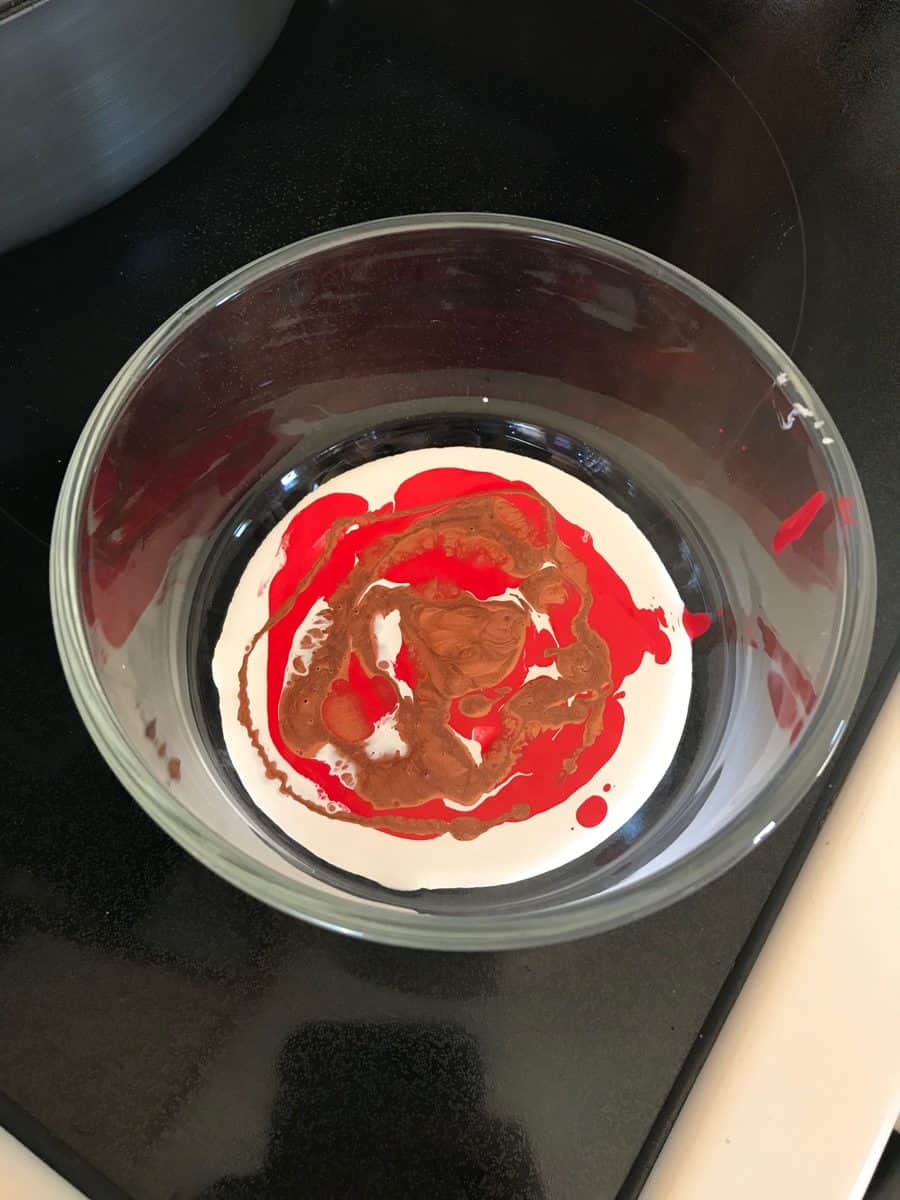
Making sure the tape was on good I plopped the jar into the cup and gave it a little twist. The paint wasn’t quite hitting the spot I’d intended on the jar so I decided to help it along a bit. Securing the jar in the cup with one hand I started to swirl the cup and jar around in a circular motion, keeping the jar close to the cup so the paint would come up the side.
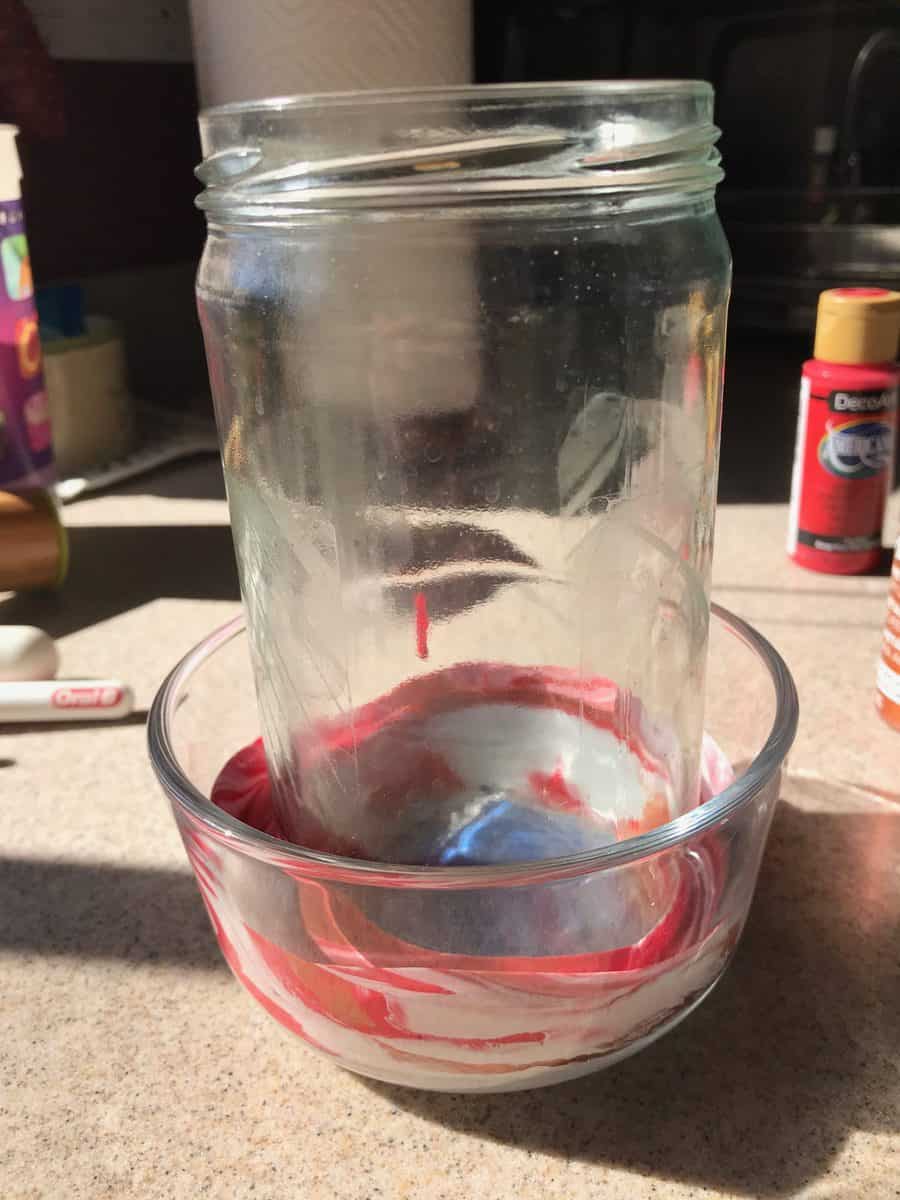
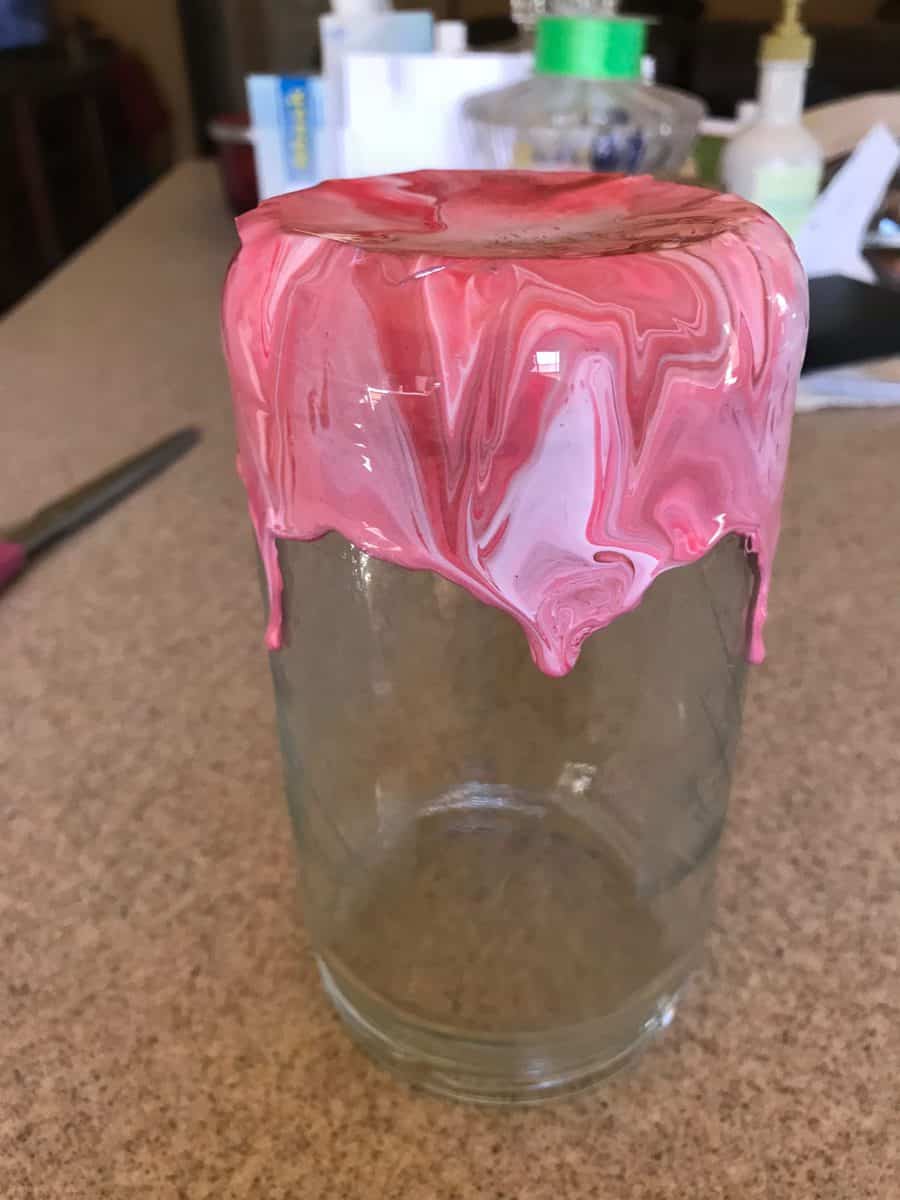
When I pulled it up I was so happy! It had such a cool pattern, the white and red had mixed just enough in some places and stayed separate in others, the bronze was present in ribbons, and it had such a nice clean line! But, true to form, I’d forgotten something. In my eagerness to try something new I hadn’t even thought about the drying process, duh! So, unfortunately, I had to let go of my clean line, but now I know for next time to tape before I paint!
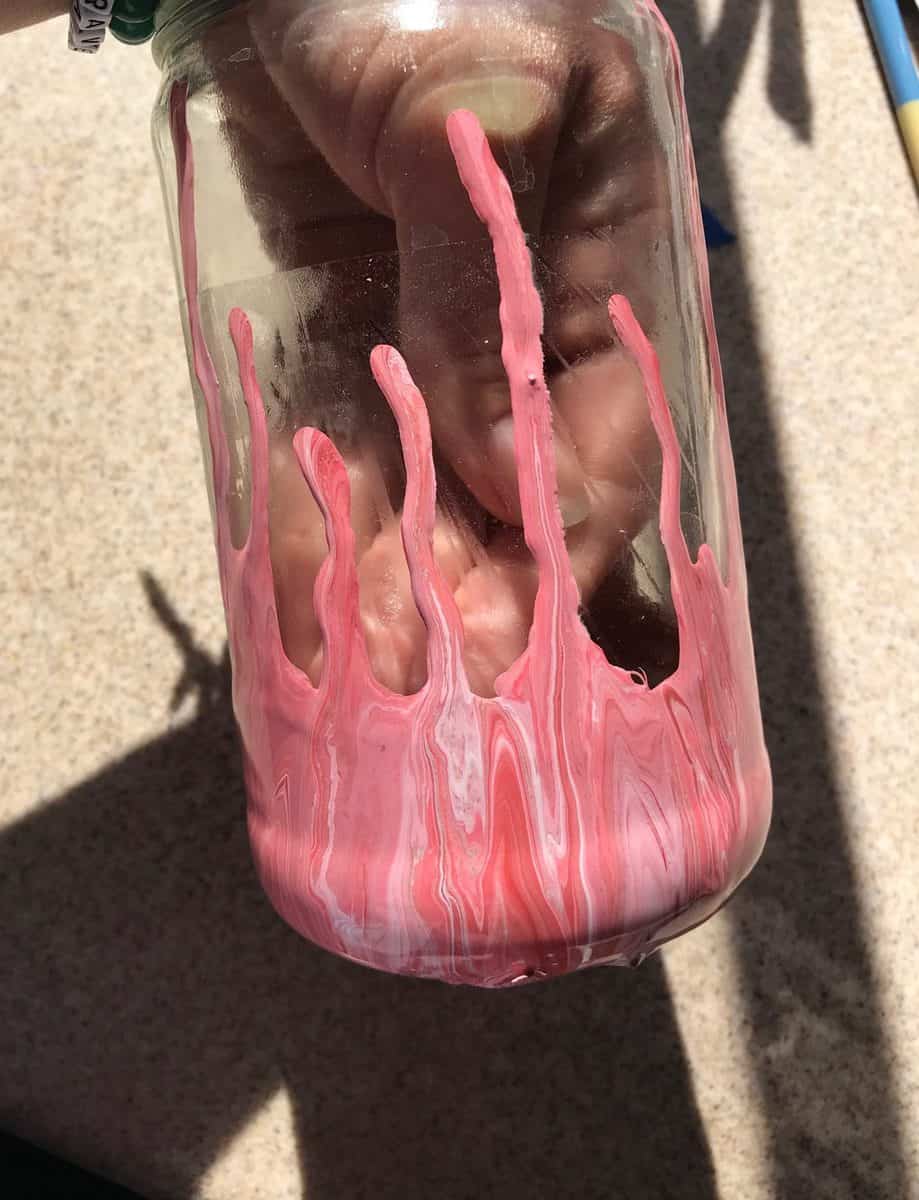
I let the jar drip for a while and it actually created a pretty cool looking design. The colors bled more but they kind of look like melted ice cream to me now. Or like flames. If melted ice cream were on fire, that’s it! My metallic choice also makes for an interesting pop in the sun, which is lucky because this jar lives next to the window.
Final Thoughts
With all things said and done I think this was a rousing success! No, it didn’t turn out exactly the way I envisioned it, but so few things do. Now, my brushes have a happy little home of their own and the jar looks like more than a recyclable. Next time I might paint the jar a solid color first, so the colors I choose to pour have an extra pop!
Stay tuned!

PS Koz is new to the acrylic pouring game but she’s diving right in and has no intentions of looking back! A student of the universe, there is nothing this artist loves more than learning and trying new things. Her other hobbies include reading, foreign language, and salsa dancing.

Neat I love it. I’ll definitely try it.
WD 40 is what I use for unique textured cells. I actually love the WD 40 better than silicone. I did my 1st pour with WD 40 instead of silicone and it is still my favorite pour that I have done.
i’ve read this 3 times and still can’t find where the wd-40 is used. is it just me being blind?
The WD-40, if it were me, worth be what I use to remove label and glue residue.
I assume it’s for creating cells. But, no you’re not missing it unless we’re having a group blindness situation. Perhaps she decided to forego the oil? I also didn’t see any mention of pouring medium or of using ready to pour paint. It looks like a really cool project though. Some clarification would be helpful. I want to try painting the jar black then using color shift or interference paints over. The colors would really pop!