There are a lot of different acrylic pouring techniques, and more seem to pop up every day! While some find this intimidating, I think this variety represents what’s best about acrylic pouring: it’s accessible to everyone.
One of my very favorite techniques can be super simple, or a bit complicated, and that’s the dip technique.
What’s a Dip?
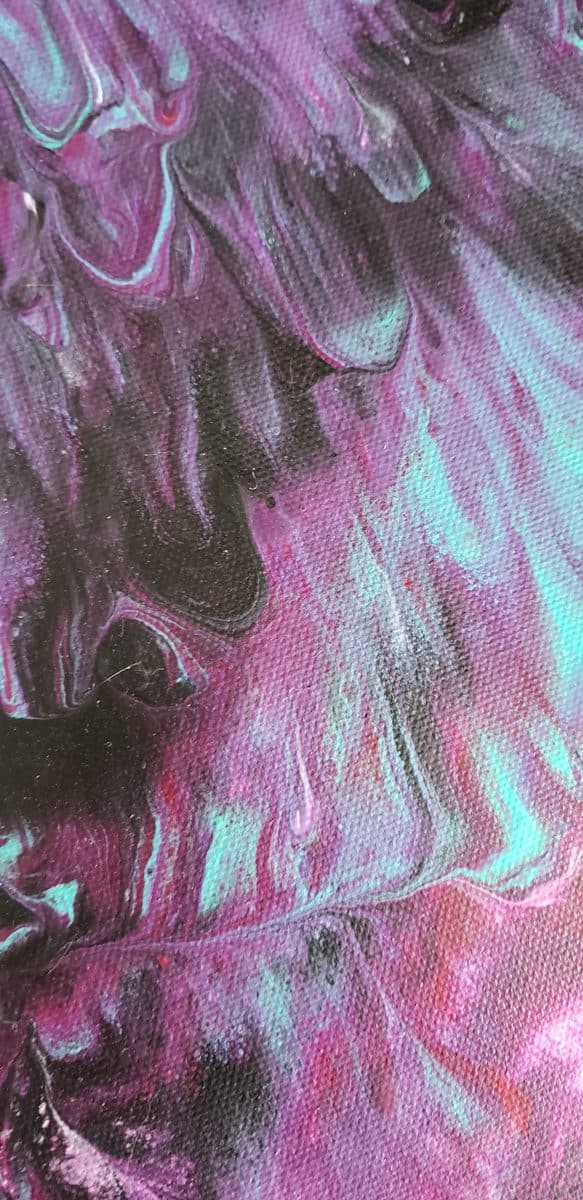
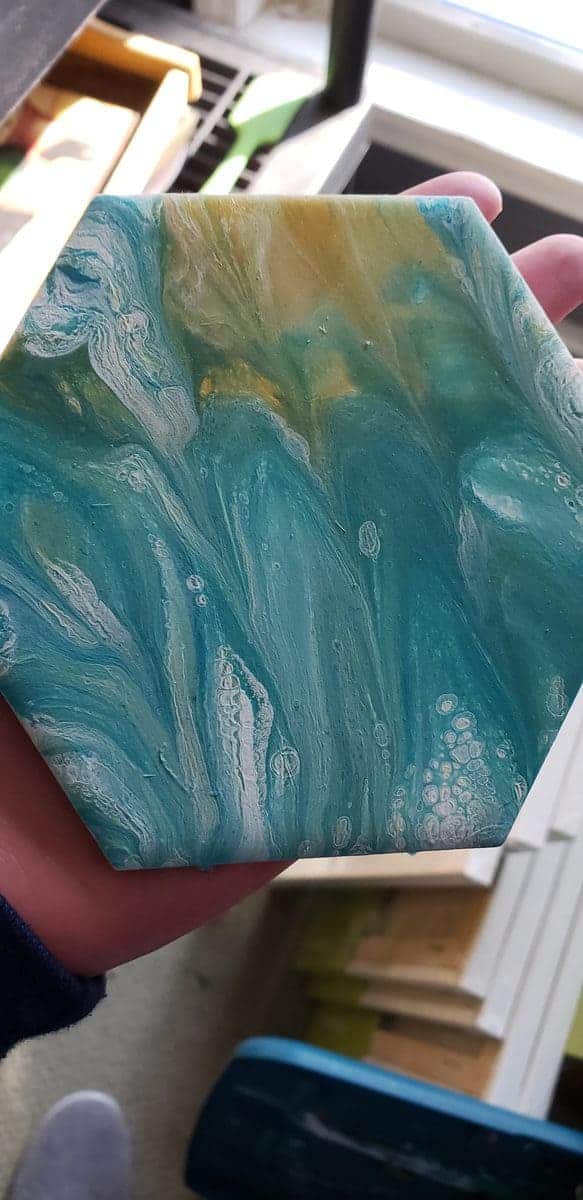
There are a few ways to create pieces using the dip technique, but the principle is essentially the same; dips are created by pressing or “dipping” your pouring surface into your paint mixture, rather than pouring the mixture directly on. Using this technique, you can create unique patterns within a piece, and even coax cells to the surface by forcefully breaking the surface tension of the paint. The results of dips are usually reminiscent of feathers, and the texture of the cured piece can create a lot of interest too.

Ways to Dip
One of the most popular ways to create two similar pieces is by using the surface to surface dip technique. In this technique, you’ll pour your paint mixture onto one or both of your pouring surfaces. Then, press them face to face like a paint sandwich and wait for a moment. Finally, slide them apart or pull them straight apart and voila! You’ve got yourself a dip, and two similar pieces.
Another popular dip technique can help you use leftover paint. Using the surface to puddle pour dip technique, you’ll press your pour surface right into a puddle of paint on a flat surface. This can be paint that you’ve mixed expressly for the purpose of creating a dip, or you can use paint that’s dripped off your previous pour (as long as it’s still wet, obviously). Using this technique, you’ll be able to cut down on your paint waste, and create some interesting companion pieces.
Although paint wrapping could be its own standalone technique, it could also be considered a dip, so I’m including it here too. With this technique, you’ll take plastic wrap or another clear, flexible material and pour your desired paint colors on it. Then, you’ll flip your pour surface face-down into the paint and wrap the edges of the plastic wrap around the canvas before flipping it upright. A few soft presses on the surface can manipulate the paint underneath the cling wrap (just don’t press too hard). Gently peel off the wrap and there you have it! A dip/wrap.
Do’s and Don’t’s
The process of dipping in and of itself is not that difficult, but there are a few do’s and don’t’s to keep in mind so that your piece is successful.
Do: Brush up on color theory. When you’re using the dip technique, color theory is very important— your colors are forcefully combined when you press your piece with the paint (try saying that five times fast). Because you’re mixing the paint with more force than a dirty pour or a flip cup, color mixing is going to happen more frequently. We have a few resources for color theory on our blog, definitely check those out so that you can use and understand how to create harmony between colors!
Don’t’: Press too hard. If you’re using a stretched canvas, pressing too hard is likely to warp the surface. A gentle roll of the hand over the back is all it takes when you’re pressing it into the paint.
If you’re using a firm surface like a ceramic tile, you won’t want to press too hard either; you’ll get a lot of forced color mixing this way, which may not be preferable.
Do: Prepare for texture. Dipped paintings have a unique texture that some artists love, but others don’t. Pulling the paint off of the canvas creates peaks, which will show clearly if you’re using a thinner sealant like Polycrylic. If you don’t love that texture, a good flood coat of resin will give the painting a smooth appearance.
Don’t: Use too much paint. Even though you’re not pouring the paint on, you still want to use the same amount of paint that you’d use for any other pouring technique. My standard is about three ounces per 16 sq inches of pouring surface. Keep in mind that if you use too much, and your paint is too thick, you’ll run the risk of cracking while the painting dries.

Final Thoughts
Dips are very versatile and are great for beginners and those who are more advanced in pouring. They’re also great backgrounds for dreamscape forests and mountain scenes, or inspirational wording— just another technique to add to your acrylic pouring toolbox!
Make sure to share your beautiful dips in our Facebook Group!

Sara Wagner is an author and artist from Upstate New York. She is the owner of Studio Blackwater and can typically be found covered in paint, cats, or her two young daughters. You can find her on Facebook and Instagram as @studioblackwater.

Thank you for sharing your wisdom with us!
Hi I’m new to tis l haven’t poured yet please tell me how to make a medium from start to finish, l live in Australia so l will have to make it with what I get and then l might be able to start thank you