
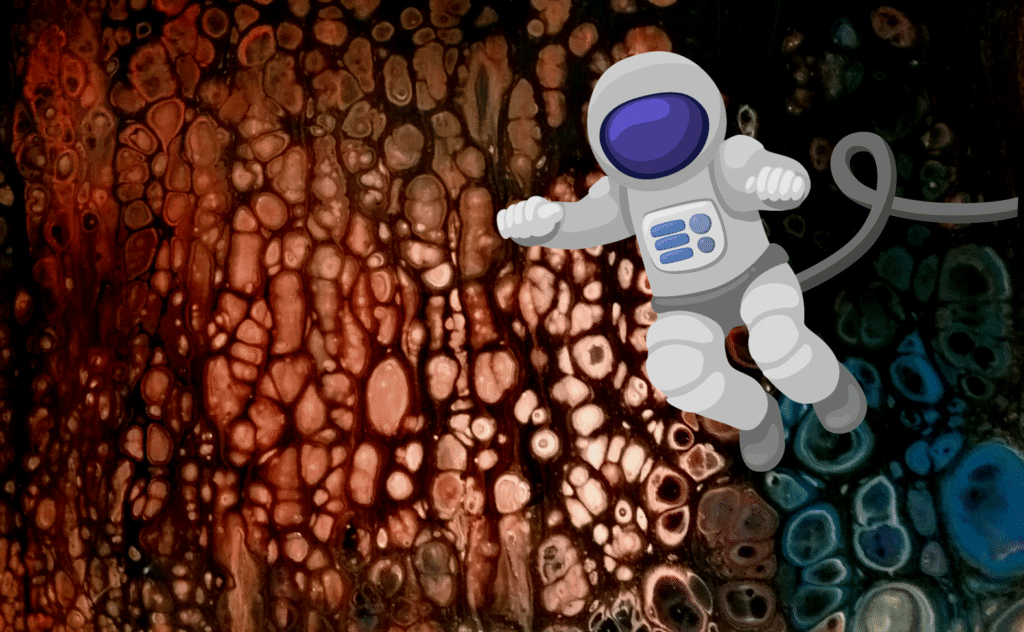
The Gravity Swipe is different mainly because you never literally swipe the canvas, but instead allow gravity to do it for you. It does not look like a traditional swipe, but the results have their own unique formation of cells. Here’s a recent pouring adventure gone wrong, where the gravity swipe saved my painting.
I’ll share mistakes made on my original project, and of course provide a step by step on how to create the Gravity Swipe.
Supplies I Used:
- Happy Medium Paint Ready to Pour Moody Blue, Pure White, Coal Black
- Decoart Metallic Peacock Pearl
- Craftsmart Metallic Bronze
- 9×12 Stretched Canvas on wooden frame
- Treadmill Oil
- Floetrol Flood
- Disposable gloves
- Disposable cups
The Poured Mistake
I am still down a hand, so I was trying to figure out a creative way that I could do mini pours, and not worry about the weight of a pour cup or precision of a pour. Unfortunately, so many things went wrong!
I started out with a solid blue background.
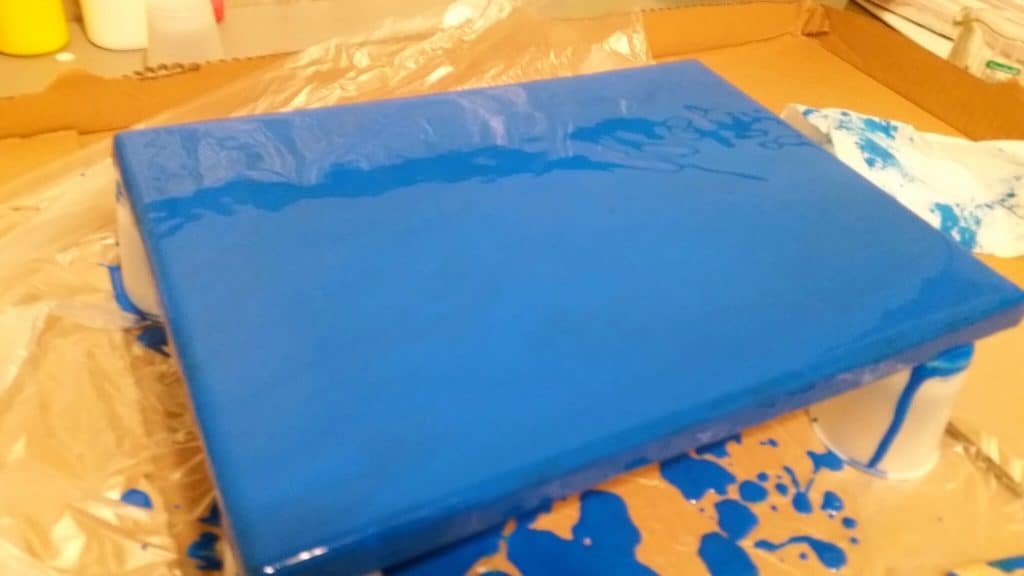
Next I added bronze puddles, then followed with smaller black puddles on top of the bronze.
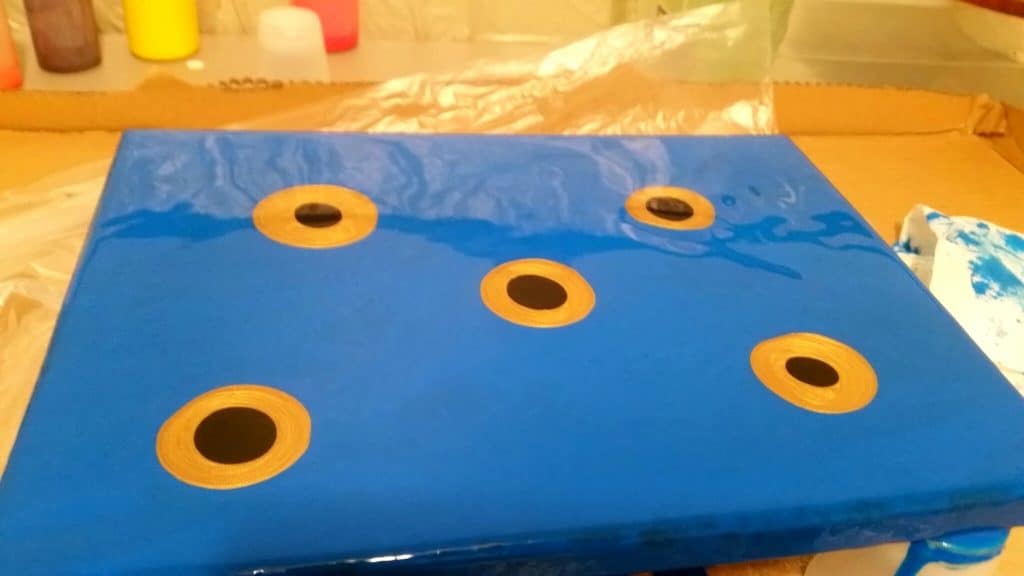
Mind you I use this process all the time, but here’s where I made multiple mistakes.
The first mistake was not mixing my peacock paint thoroughly, leaving unmixed Floetrol in the cup. Plus it was the only paint to which I added silicone, so even my means of cell formation was now flawed.
My second mistake was not layering my pour cup right, I used too much blue so there was not enough contrast between colors.
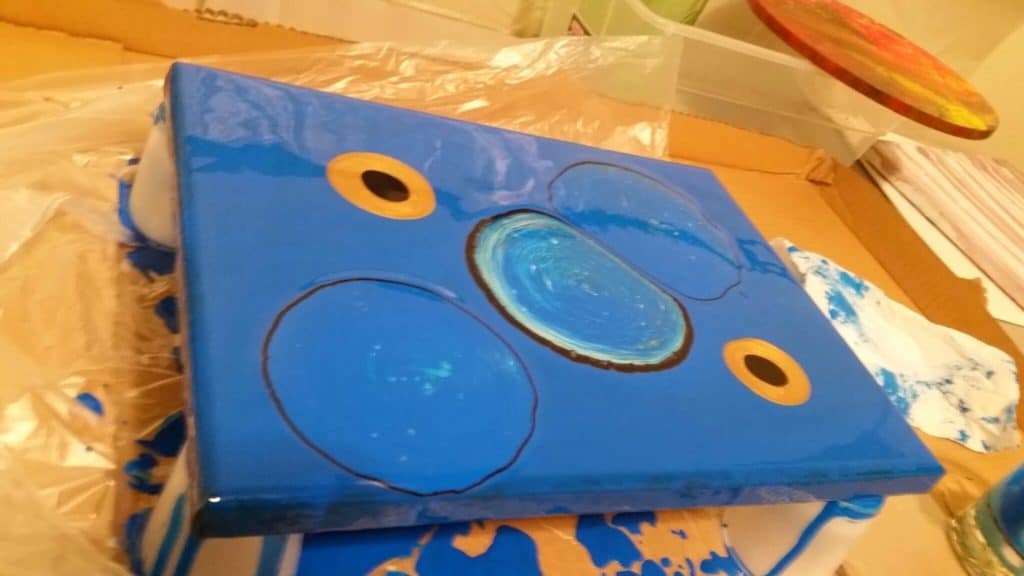
If I had stopped here it might have been a save, as the solid colors would have given a nice contrast to the more muted blue puddle pours. A third mistake—puddle pours, for me only tree rings look right in this type of multi-pour. My fourth mistake, I continued the puddle pours. In my defense it’s been two months since I pour painted, I admit I temporarily fell off the occupational therapy wagon, gonna feel it tomorrow!
Back to the mess I’ve created…
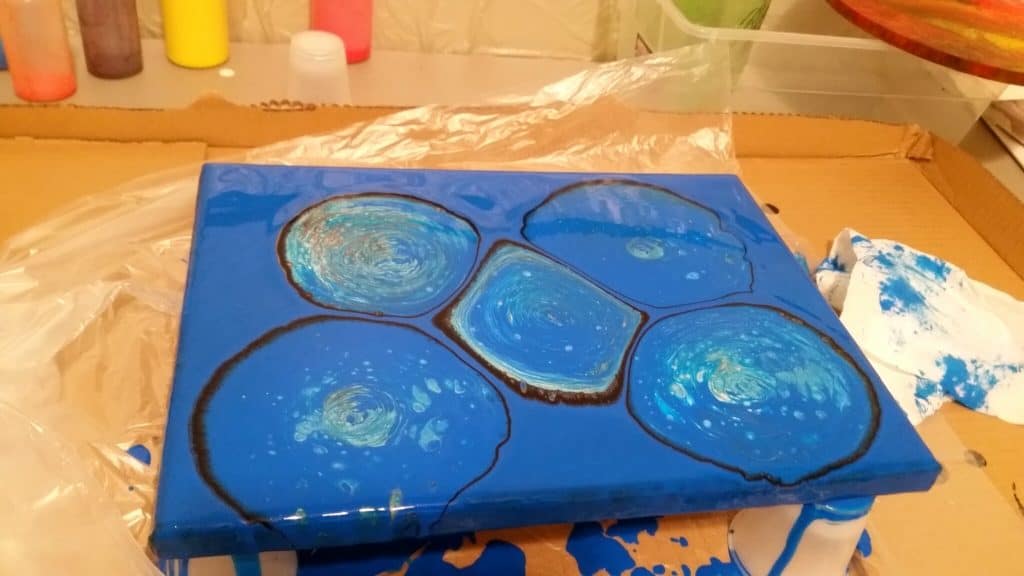
Yes, unfortunately two more puddle pours were done. I remember at this point I knew there were no delightful surprises hiding in there, but I proceeded to torch, tilt, and re-torch anyway.
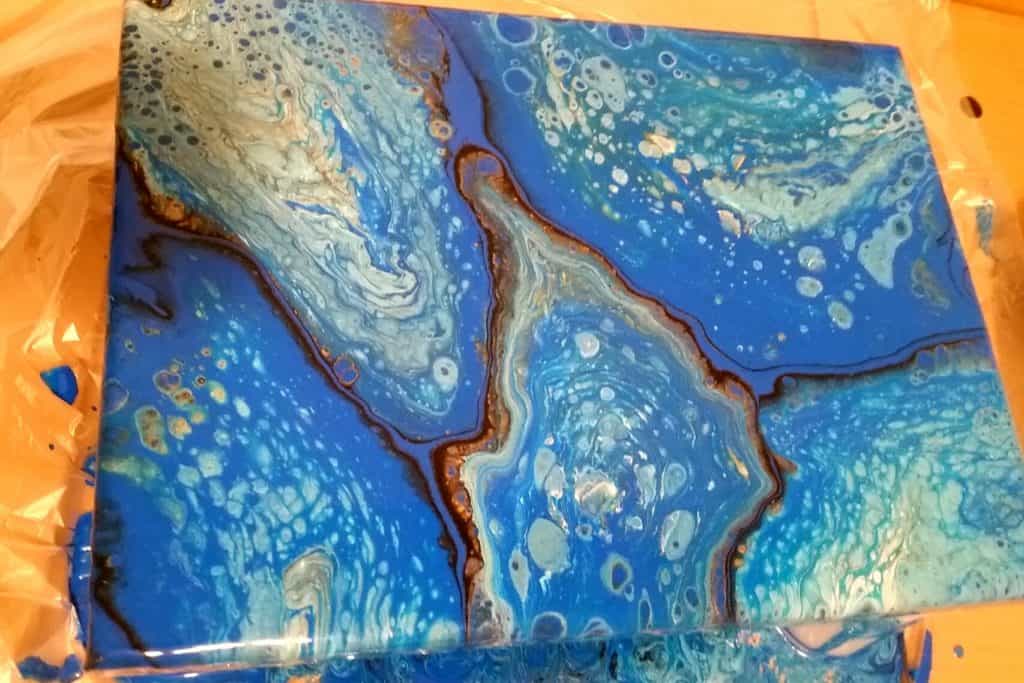
As expected, just too blah; and cell formation—zip, nadda! Oh and those puddle pours absolutely not working for me.
What to do, what to do… I decided to try a process I’d used a few times in the past, I call it a gravity swipe.
The Gravity Swipe
Whether you are repairing a pour as in this case, or creating the swipe as your initial pour, the process is the same. Your colored paints go on first, and then the white. You can use any heavier paint you prefer instead of white. Cover your sides with white, and only use lines of white throughout, you don’t want puddles.
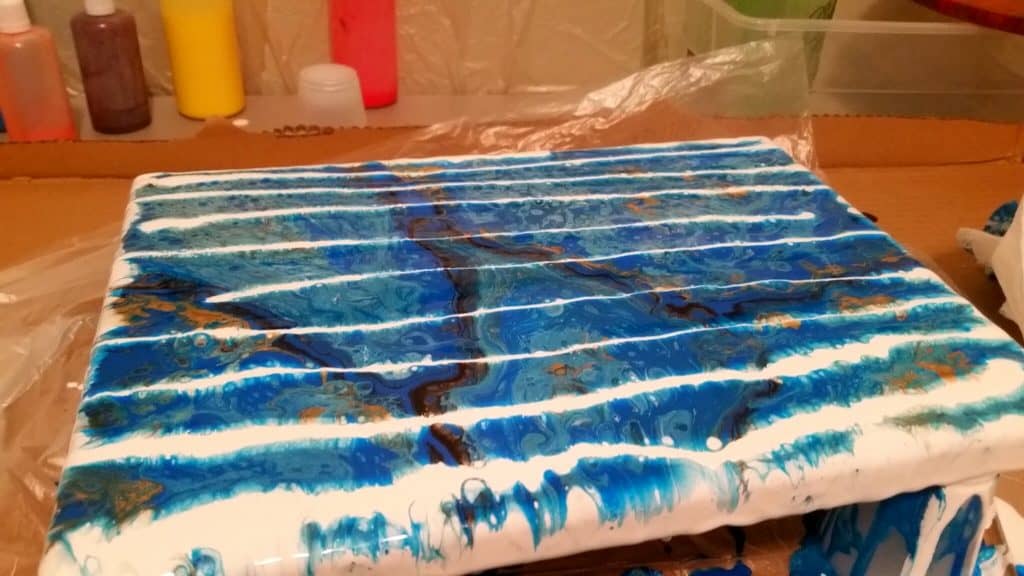
How you add your white throughout the pour is up to each artist. I chose straight lines, but they can be wavy lines, random or uniform. Unlike other swipes, you do not add all your white to the top, it must be evenly distributed throughout the canvas.
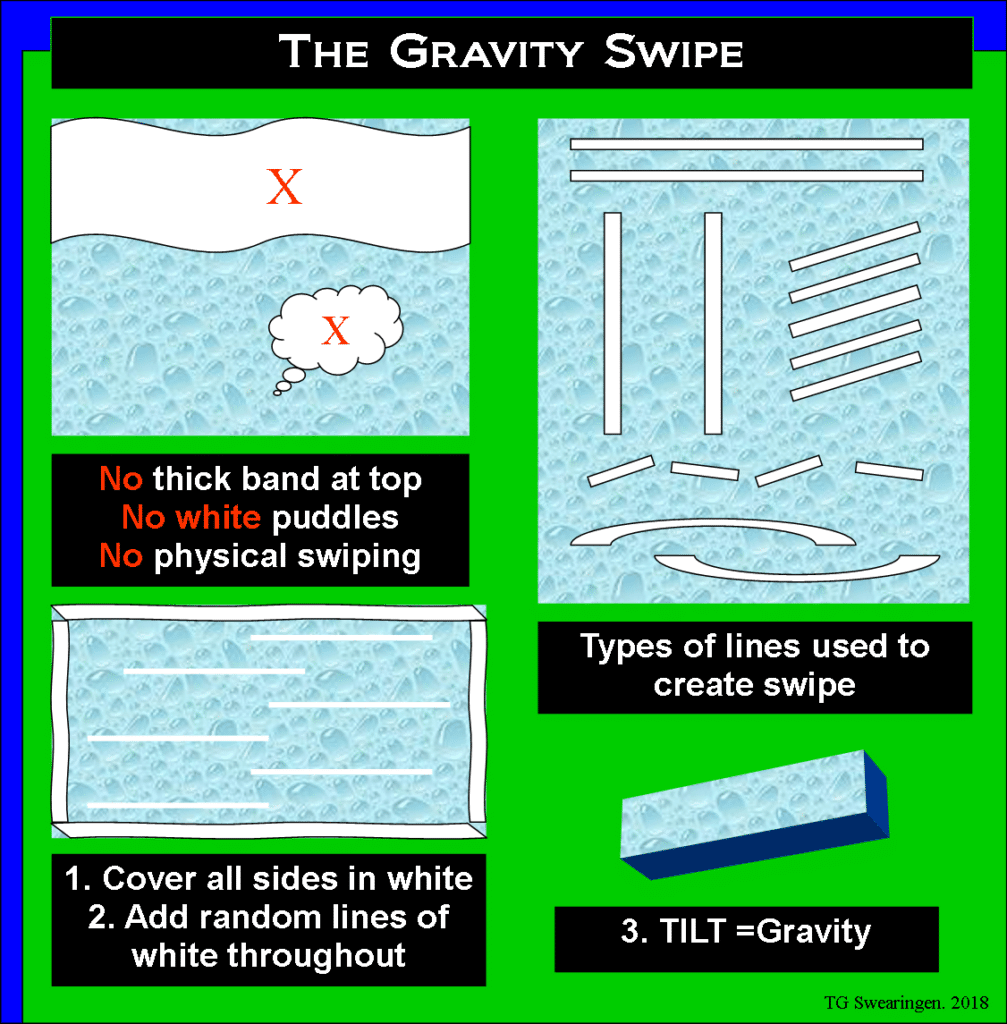
Gravity is awesome, you simply start tilting your canvas—top to bottom, side to side, whatever you wish to create the desired look. As you tilt the white runs over the colored paint and yes there will be paint running off your canvas. When you lay it down to start drying, the white continues to sink into the background creating cells. (My painting was tilted in all four directions).
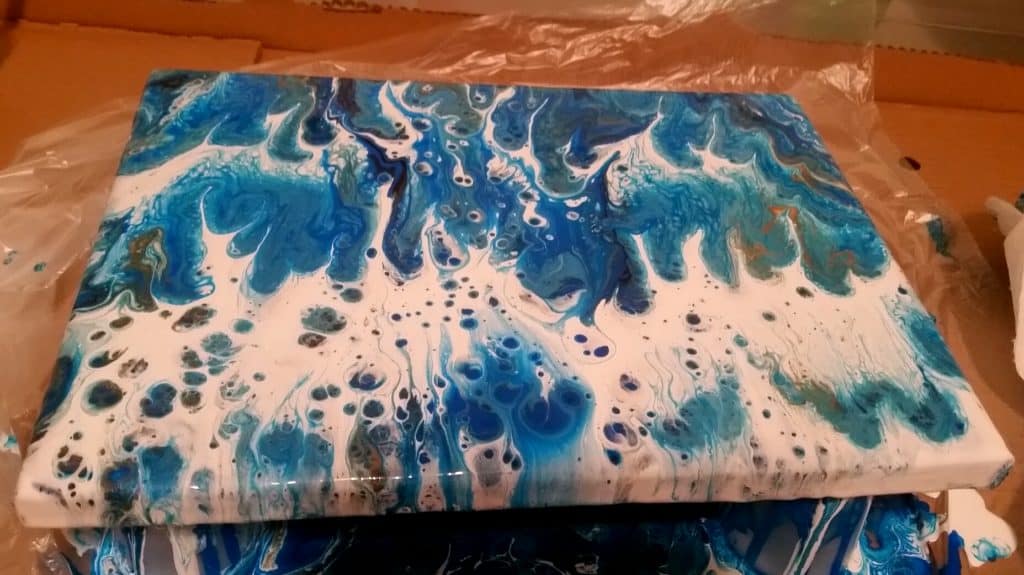
As the painting dries the cells continue to form, even if you don’t use a lot of silicone in your colored paints.
After allowing it to dry overnight, additional cells formed and colors are still vibrant. Even better, many of the colors that weren’t coming through before have come to the top as the white covers the bottom.
There weren’t as many cells formed in this painting due to the earlier torching, but a fresh painting would have created even more.
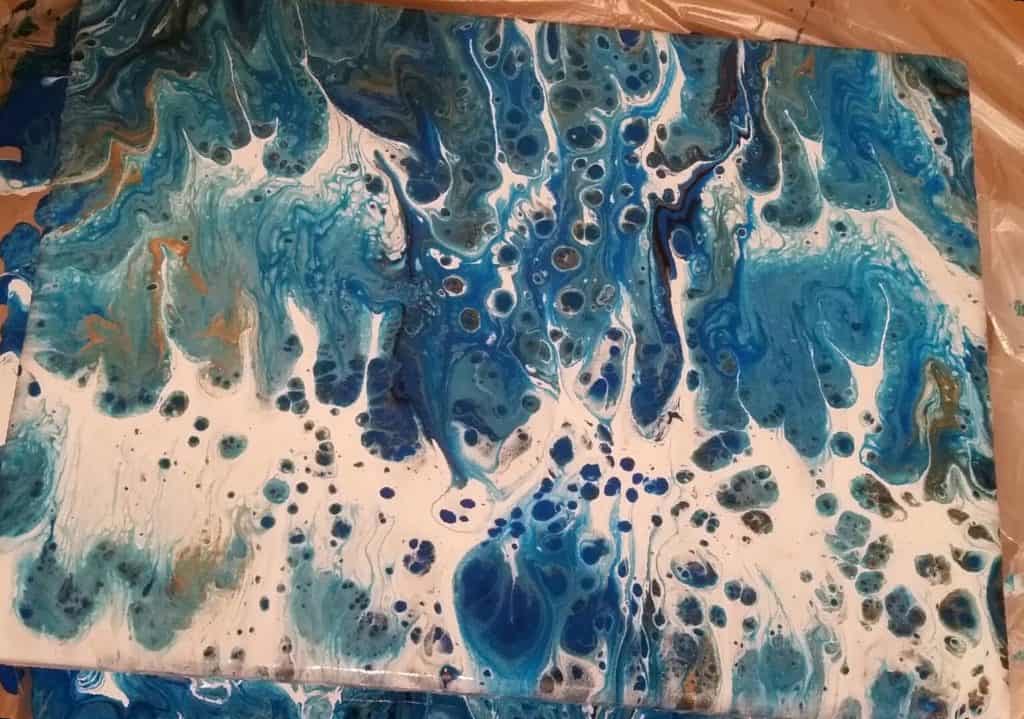
Gravity swiping always produces beautiful colors with areas throughout the painting of pure white making everything pop off the canvas.

Since she began creating art in 2007, Tina Swearingen’s focus has evolved from repurposed conceptual art into the creativity and flow of acrylic pouring. Her pours are inspired by the movement and colors of Southern Arizona’s amazing thunderstorms, and the majestic beauty of the Pacific Northwest, which she now calls home.