The ability to recreate patterns of nature in pouring is what brought me to this type of art. In particular I love beautiful knotty wood with all kinds of variations in their patterns and colors. In part one, I went over the invading ring pour, which is basically starting with one tree ring and then you continue to invade (pour over the top of rings) with additional tree rings all in one continuous pour.
Once I had figured out the invading tree rings, I was determined to figure out how to create the entire grafting experience.
So I started pouring and pouring, failure after failure. I finally figured out the components that I needed to create what I had seen in nature: tree rings, invading tree rings, purposeful lines, tilting in a circular motion, and preserving specific cell formation.
Now I can happily say that the grafting technique has been formulated and I’m thrilled to share it with you here.
Supplies Used
- Sargent Acrylic Paints: Royal Blue, Orange, Green and Naphthol Red
- Medium purple created by mixing Sargent Royal Blue and Naphthol Red
- Liquitex Basics Titanium White, and Cadmium Yellow
- Floetrol Flood
- Mixing Cups: small plastic cups to mix paints
- Art Advantage Canvas Board 9×12
Creating the Pour Cup
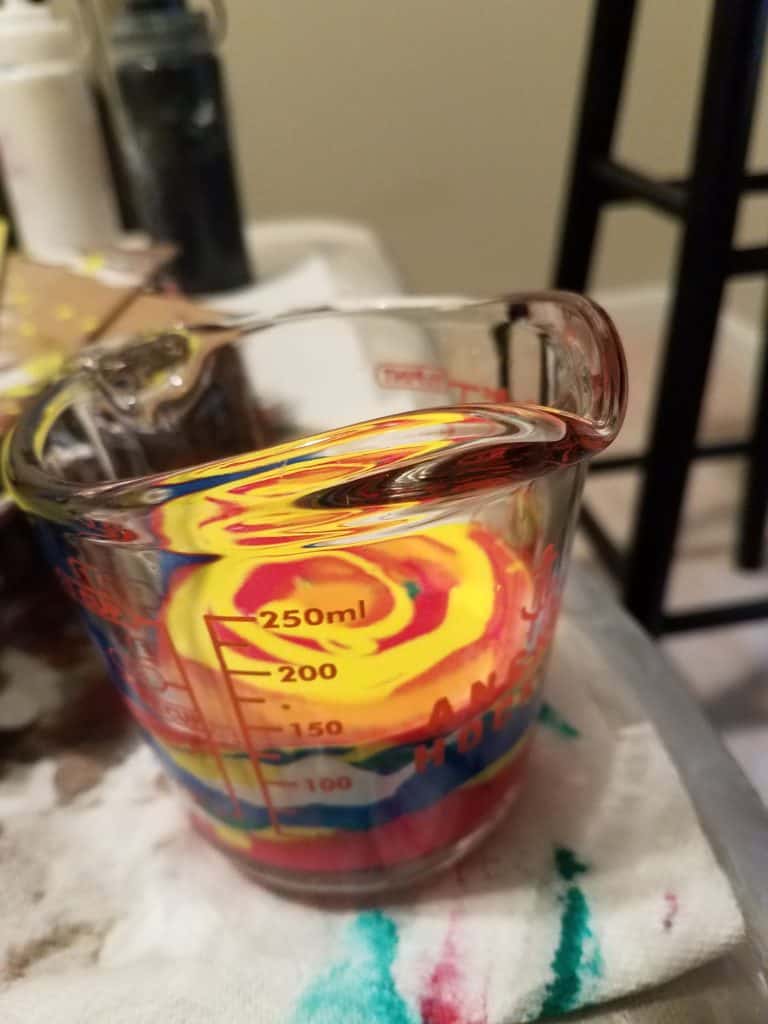
Just like the invading ring pour, you have the identical set up as grafting is only a few steps more. I used equal amounts of orange, red, purple, yellow, and orange, layered in this order and repeating sequence. The pour cup was a total of six ounces of paint to cover the 10×20 canvas. A few drizzles of white and green were added between layers. No silicone was used in this example simply to show the difference between with and without silicone. The ratio of Floetrol to paint was 3:1 for Sargent paints. The Liquitex paints were a 4:1 ratio.
Keys to Successful Grafting
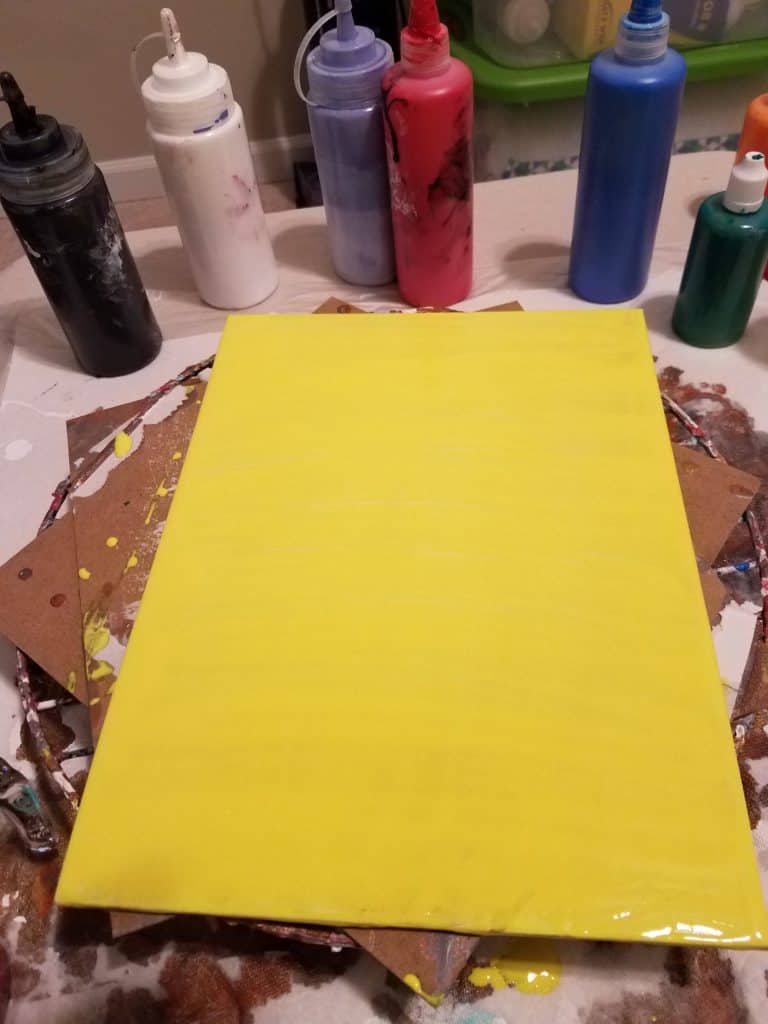
Covering your canvas with a base coat so that the pour will slide freely and you will keep all the beauty of your newly created textures. In this sample, I used the cad yellow for my base.
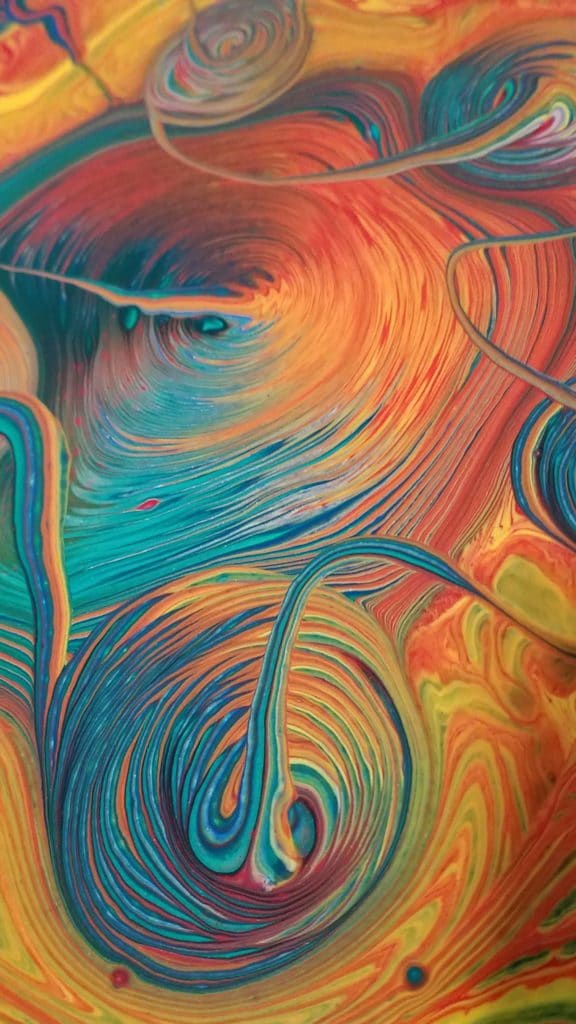
Start your pour as a typical tree ring. Keep your circles small.
-
- You don’t have to use silicone, but the ability to save some of the elongated cells really adds to the overall effect of grafting. I did not use silicone in this sample, but later I will show you the difference between pouring with and without silicone.
- “Without lifting” your pour cup, start with creating tree rings and then invading tree rings, meaning you start the second tree ring at the inside edge of the previous ring. On the 9×12 canvas my initial ring was about 5 inches.
-
- “Continuing without lifting” your pour cup, drizzle a thin line to the outside edge of the ring you’re working on and start the next ring. This must be a thin line. A thick line will not provide the same effect. Here I started my first line from the center of my initial tree ring. It doesn’t matter where you start your line from; the center or the edge of a ring as seen in this next picture, just go with the flow. Again, keep the lines as thin as possible!

-
- Repeat entire process of tree rings; drizzle thin lines to outside edge of current tree ring—and repeat rings and thin lines.

-
- Pour on at least 80% of your canvas before tilting.
In the two pictures prior to tilting, you can see the difference between one without silicone (our sample with yellow base) and one in neutrals with silicone added to the copper only.
![]()
![]()
-
- The final piece is to tilt in a circular motion, being sure to preserve as many of the elongated cells as possible. The small or more circular cells are okay, but the elongated ones are the key to the look.
Let it set for a couple of minutes, torch, then let it set again just to pop as many cells as possible before you start tilting. Again, in this sample I did not use any silicone, but I do add titanium white to my pour cup so a few will develop. I use the following after I tilt: wait two minutes, torch, wait two minutes, then tilt: easy to remember (two min – torch- two min – tilt).
Tilting in a circular motion, is used for all shapes of canvas, as it just seems to help with the elongated cell formation. Also, if you tilt side to side some of the details are likely to slide right off the edge. Take your time tilting, go slow and keep it in the middle—no matter what shape your canvas is.
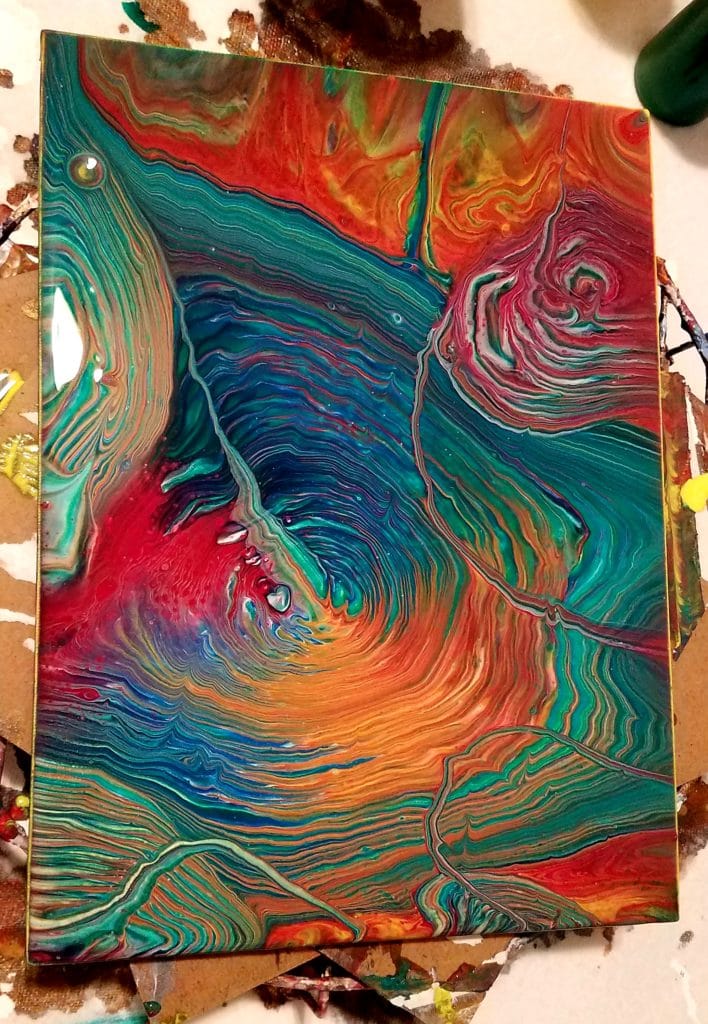
Remember if you use silicone to save some of the elongated cells as those really seal the deal for creating the natural wood look.
![]()
While I normally will use neutral colors with silicone in one color for grafting, I know there are those who love having options. You can use any color combo you wish, with or without silicone—this is your pour!
For those of you who don’t like the look of grafting without silicone, here’s the series I did in neutral colors three had silicone, one didn’t.
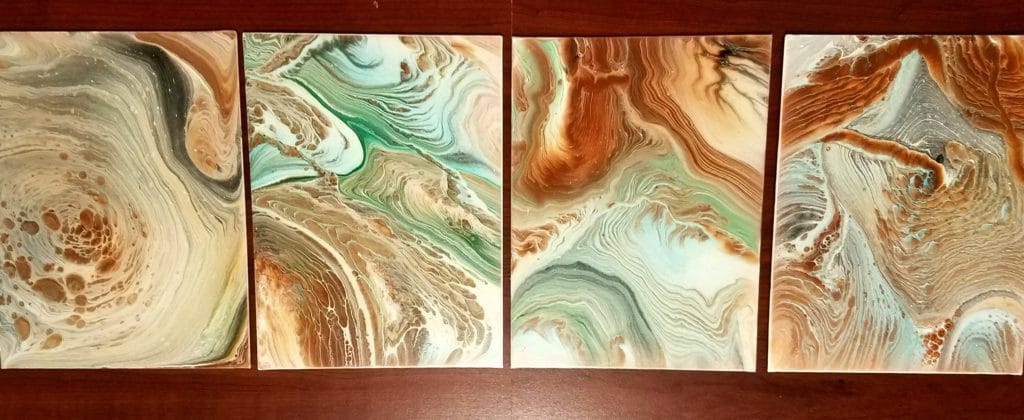
Like all pours it doesn’t matter what colors you choose or if you want the cell formations, all that really matters is that you have a great time pouring and that you are happy with your creation.
Since she began creating art in 2007, Tina Swearingen’s focus has evolved from repurposed conceptual art into the creativity and flow of acrylic pouring. Her pours are inspired by the movement and colors of Southern Arizona’s amazing thunderstorms, and the majestic beauty of the Pacific Northwest, which she now calls home.

Beautiful art
Great tips I will try these
Thanks! You did a great job explaining this technique!
Looks fabulous, well done.
Can you share a video pls? That would be easier to understand. Thank you!
You said 3:1 recipe or 4:1. Do you mean 3 floetrol:1 paint? Or do you mean the opposite?
Stunning! Could you pleeeease tell me the colors you used in the neutral series? I tried to get results like that for so long I finally gave up. If you could share, I’d be incredibly grateful!