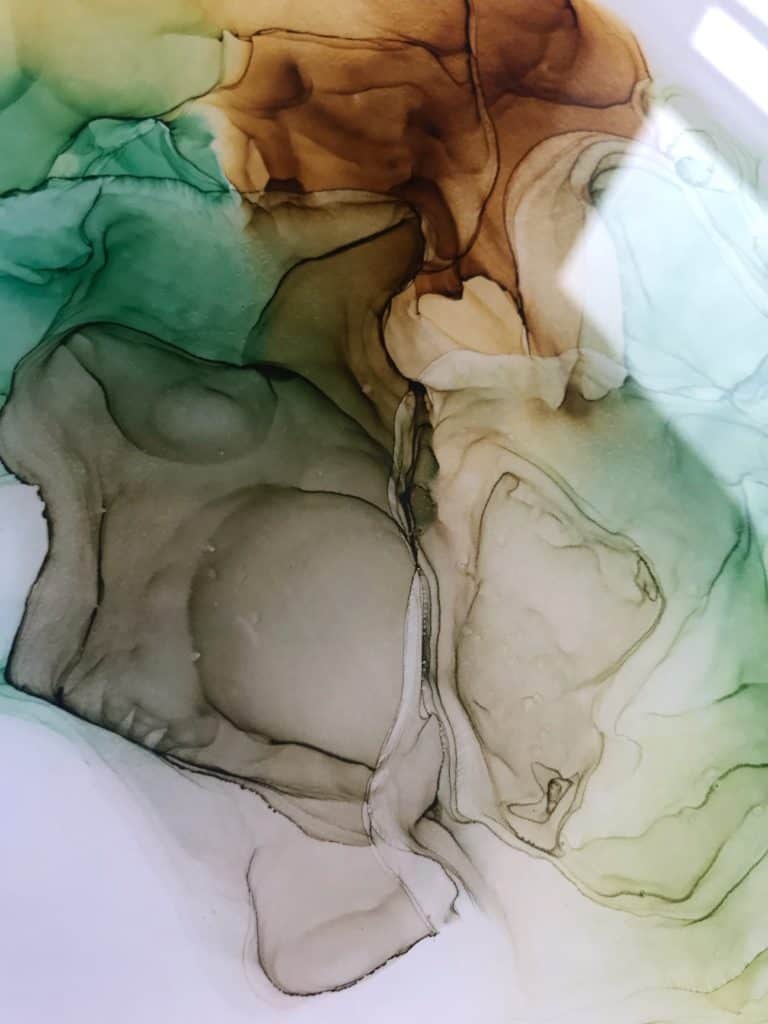
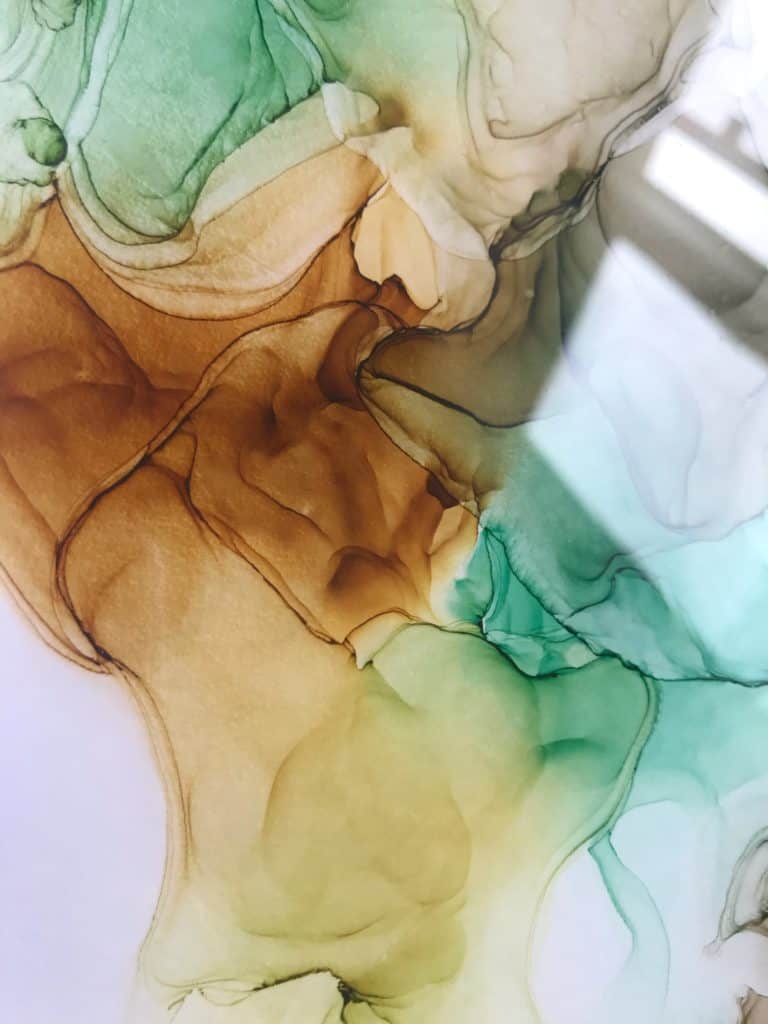
I have learned so much while working with alcohol inks. I have learned patience like never before. Alcohol inks are much different than any medium I’ve ever used. Before inks, I’d have a set vision for the piece and make creating it my goal. Alcohol ink has a mind of its own. You have very little control where it goes. That is my favorite part—every alcohol ink piece is absolutely unique and the outcome is always different. My best advice is to not go into it with set expectations, just go with the flow!
Alcohol inks are so much different than any medium I’ve ever used. I primarily worked with acrylic paint and oil paint before finding my love for abstract.


Of course I have tried abstract with different mediums in the past, but alcohol ink has a mind of its own… you have very little control where it goes. That is my favorite part—every alcohol ink piece is absolutely unique and the outcome is always different. Practice and explore different techniques to see what is most enjoyable for you. There are so many different tools that can help achieve different looks. Palette knives, q-tips, paint brushes, sponges, and plastic wrap are a few of my favorites. My best advice is to not go into it with set expectations, just go with the flow! In this video, I challenged myself to use the colors that I don’t often reach for.
I decided to go with earth tones, specifically greens and browns. I used a small amount of isopropyl alcohol to prep the area that I wanted the ink to spread to, then applied the ink directly. I would normally choose to use a straw to gently glide the inks for a softer look, but today I decided to use a heat tool to create a ribbon look. I love the result! You can also use a hair dryer for the same effect. When the inks were completely dry, I sprayed it with Kamar Varnish (this is so the inks stay in place when it comes time to resin it) and also a UV Protectant when the Kamar Varnish was dry. Then of course, resin! The resin truly makes it come alive. If you are going to resin your artwork, please use a resin that is specific to Art/UV protection.
When I was first starting out, I bought the cheapest resin possible (which was still an investment for me) and learned the hard way that I should have used a better quality for my pieces. Long story short, I spent weeks on an important piece for a family member, then used resin that I bought from Home Depot. Within a few days it had yellowed. That’s right, days. After researching further I have found a lot of options for a good artist quality resin.
For me, the UV protection and scratch resistance are equally important. It is incredibly frustrating to spend a lot of time on a piece just to find scratches all over it, which ruins the seamless effect you’re going for. There will most definitely be trial and error while working with epoxy, but if you can get a good idea of what qualities you need then it will save you a lot of time and money. There are so many different kinds of epoxy, I promise there will be one that is perfect for you.
Read Next: Alcohol Ink Beginners Guide
I’m Teesha Hardy, an artist from a small town in northern Utah. I have always loved art and I’ve been known for doodling on absolutely everything when I was younger. My passion for art has only grown since then.

Wondering why you didn’t share the name of the resin you now use…. That would have been most helpful to many of us.
Please do enlighten us as to the brand name of the resin that you use.It is obviously successful. Your paintings are lovely.
Thank you.
Deb