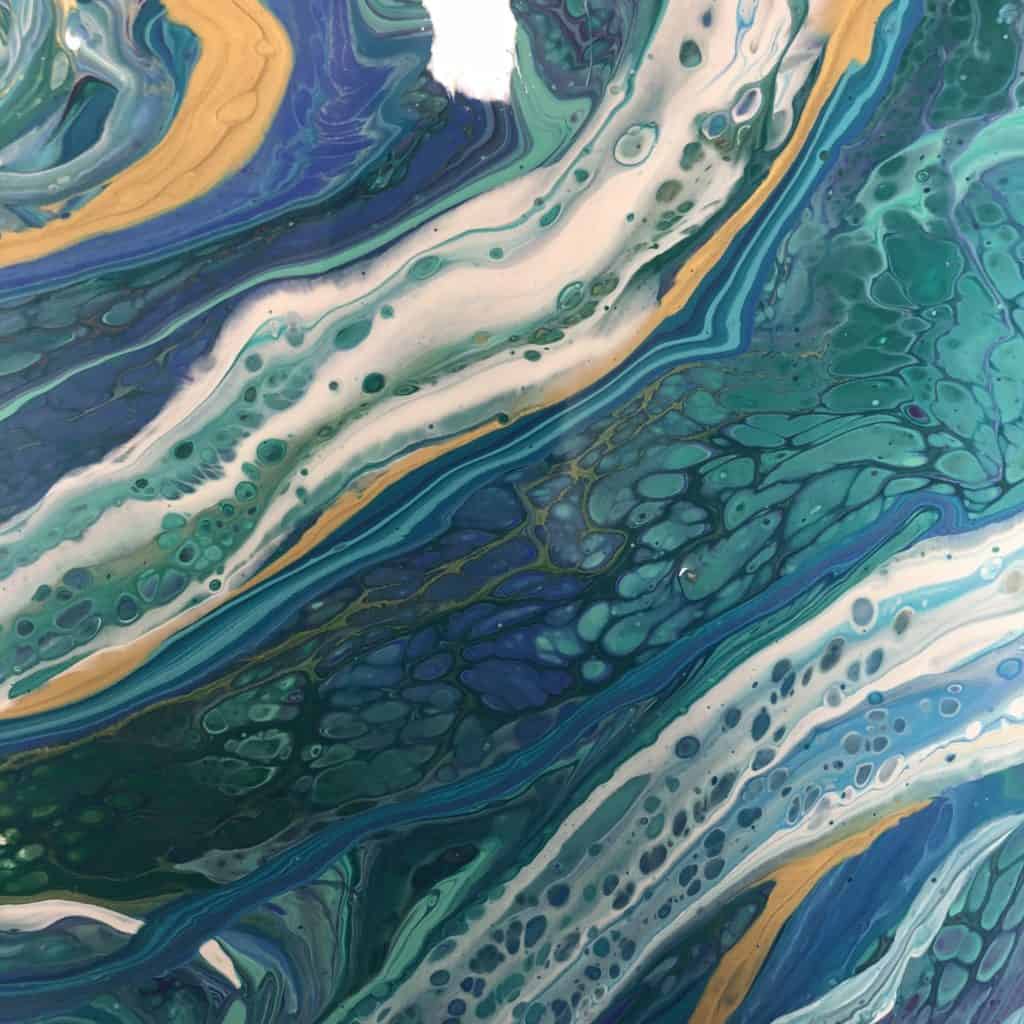
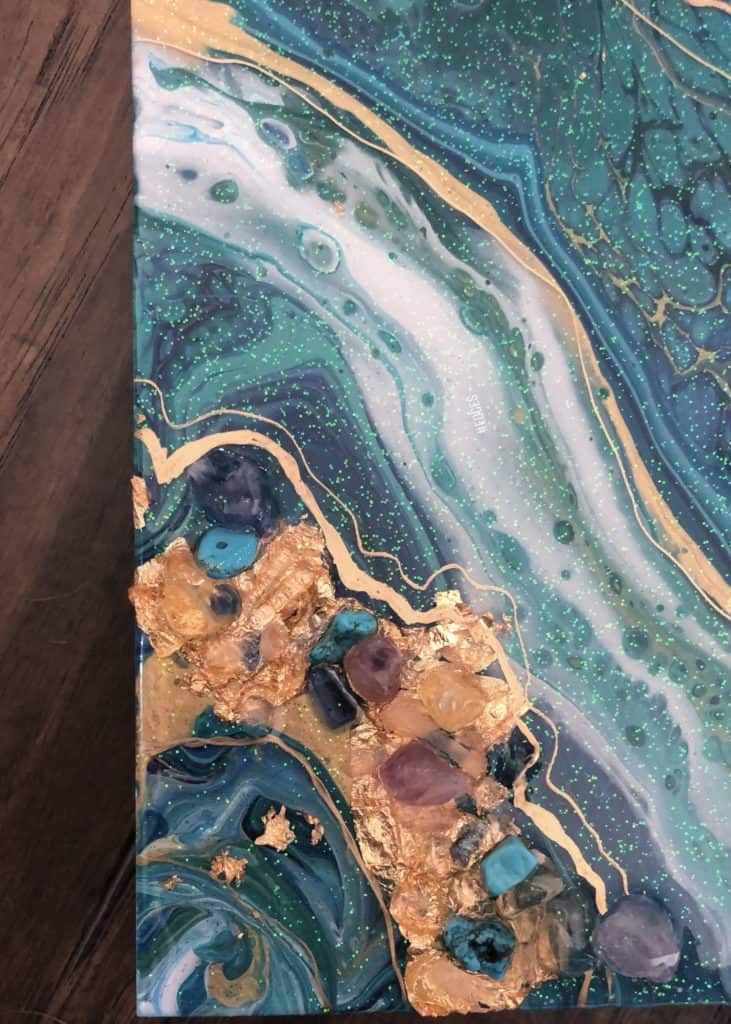
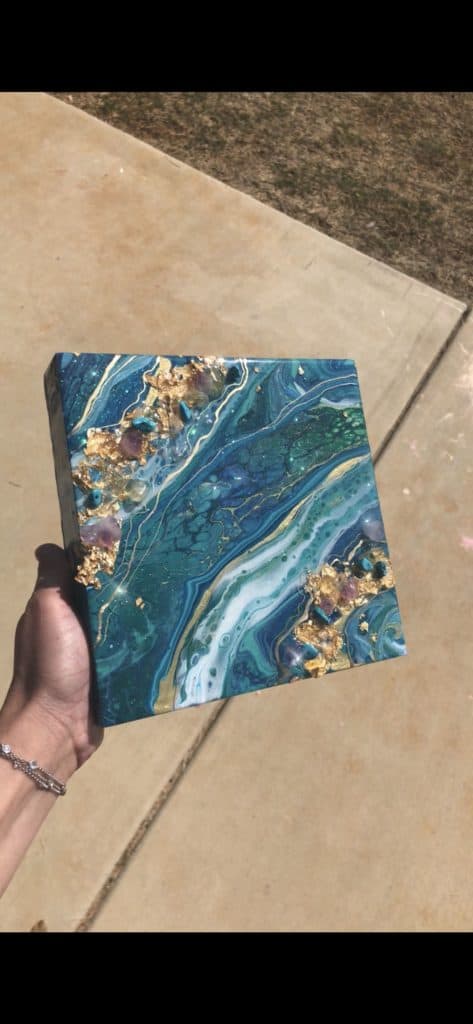
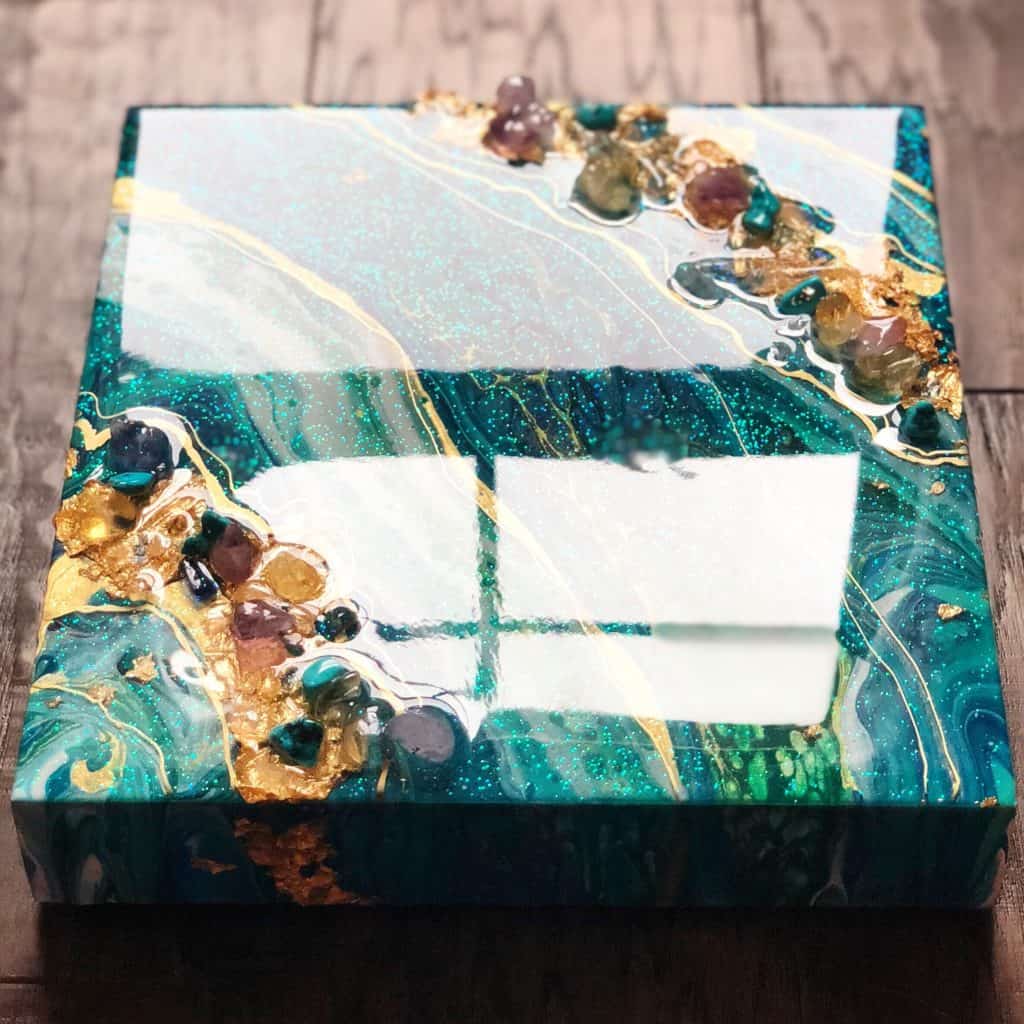
There has been quite a lot of interest in the art community lately about embellished and geode style pours. I’ve receive hundred of messages about mine after posting them on Instagram and Facebook, and I wanted to share an easy way to get started embellishing your acrylic pours to make them look like geodes. The great thing about this tutorial is you can apply the technique to any acrylic pour you’ve already done.
While I go over a specific type of resin work in this article, I’ve also created a downloadable course on how to do resin artwork for those interested in taking their resin art to the next level. There’s also an option to include a supply kit that will give you all the supplies you need to get started. You can find my course and kits here.
Supplies I Used
- Any fully dry acrylic pour, unvarnished
- Resin of your choice. I like to use Counter Culture Resin for artists.
- Silicone brush
- Gemstones of your choice (I use quartz, rose quartz, and amethyst)
- Micro glitter
- Gold/silver leaf
- Posca pens (I like to use two different widths)
- Safety materials (respirator, gloves, drip tray)
- Blow torch
- Mixing cups
- Popsicle sticks
Getting Started
If you are a resin beginner, check out some of our other articles on resin basics to refresh your memory prior to starting this project.
For this tutorial, I started with an acrylic pour I had in my studio that was unvarnished. Make sure it is fully dry and clean of any silicone residue that may be on the surface. Resin and silicone don’t mix well, so the less that is on the painting, the better.

If you want to create a new pour just for this project, use whatever colors and pouring method you prefer. I personally like having some metallics in the mix. This is a great way, though, to repurpose some paintings that may be hanging around your home or studio.
Technique
To start embellishing, mix an appropriate amount of resin for your size of pour; for my 8×8 here, I use about four to six ounces. Add in micro glitter of your choice and mix well. For my emerald geode, I mix green and white together. Mix your resin according to the directions and apply about half of it to your leveled painting.
Once the surface and sides are completely covered, now we can begin embellishing with gold or silver leaf and our real gemstones. The stones and gold leaf will adhere with just resin, no other adhesive necessary.
With a gloved hand, add your gold or silver leaf to the tops and sides of your painting. I think thin lines of gilding look best and enhance the geode look.
I then follow along these gilded lines and apply my quartz, rose quartz, and amethyst directly on top of my gold or silver leaf. You can use any gemstones you like, but I do find that real gemstones look the best and create the most realistic result.

Once I have all my gemstones and leafing in place, I use the remainder of my reserved glitter resin to pour on top of my leaf and stones. This layer of resin will make sure all your stones have a glossy finish and are completely secured to your painting.
Now it’s time to run your blow torch over the surface of your resin to pop all the bubbles and give it a perfect glass finish. It’s important to not stay in one area for too long or you will burn your resin or your leafing.
Finishing Touches
Remember to cover your painting while it dries, so that dust particles in the air don’t fall into your resin. After your geode has sat undisturbed for at least a day (or until hard), you can add some finishing touches.
Posca brand pens are safe to use directly on top of cured resin and won’t come off once dry. I use them to add fine lines and details, just like you find in a geode. Switch up the thicknesses and colors of your lines to add more dimension and depth.

To finish the back of your geode, you can use an orbital sander or sanding block of any grit to sand down and of the resin drips on the back.
Now that you have the basics, you can create any color geode you want. Start making acrylic pours with geode embellishments in mind. Mix up your gemstones, glitter colors, leafing, and pens.

If you decide to try this at home, please let us know in the comments how it goes. The possibilities with this technique are as endless as they are beautiful!

Ann is a wife, mom to 5 kids, and pastry chef turned full time artist. In 2017 she was diagnosed with Lyme disease and discovered painting as a new creative outlet. She went from having never painted to becoming a full time artist in less than a year.
Her art is inspired by the beauty and mystery of Hawaii, and she specializes in resin, acrylic, watercolor, and heavy texture. Discover more of her work, including timelapses and art to purchase, on her instagram @annupton.art. You can also check out Ann’s resin course that teaches the basics of resin and techniques she uses to make her beautiful art.

Nothing short of fantastic! As a retired jeweler, do I now have some ideas for those bags of stones! Thank you for the wonderful inspiration!
amazing, when i looked at ur picture, i see my grandaughter. . same intrests as u.
Fabulous and inspiring!!!!!
Thank you !!!
????????????????????
Love your work, beautiful
So beautiful! Did you post how you did the pour? I’d love to try this someday when I get the nerve. LOL
Can’t wait to try this. Are the panels you refer to wooden? And if so do they need yeso before painting?
AMAZING!!! Just Beautiful! Thank you so much for sharing!
I wish I could have seen the images to go along with the written word. All it showed was a question mark
Love this work, can’t wait to try …I live in Hobart, Tasmania which is an island south east of Australia….
As I look at more and more posts and videos about acrylic pouring, I find many are repetitious. Yours stretches me to a new level. Thank you!
Dear Ms
Everything has been ready for 6 months to start something like this, but I have already poured so much and made other paintings that I first had to find everything, such as stones, glitter, etc.
I am also a poet.
If only I could show you what I have.
I have been pouring since Deby and there are paintings in the gallery.
I can only communicate by mail.
If you have an email address, I can show my works.
Greetings from Belgium.
Claire
I have a few paintings that I did that I was so unsatisfied with. I didn’t think I could fix them and wondered how I could add to them. This was an amazing video that answers that question and seems to be a perfect solution. Thank you so very much for the video, your art is beautiful.
I read another article about not mixing the resin properly. I wonder if there is a brand of resin already pre-mixed? Or is that not a possibility. New to resin. Thank you again.
Could u do this to a mirror, to make the frame around the mirror or on the edge of the mirror but not the center?
Awesome creative of Goede Paintings. Thanks for sharing one of my is highly interested and making of Resin Artwork.
Fabulous!!!!! just getting up the nerve to start pouring & also resin.