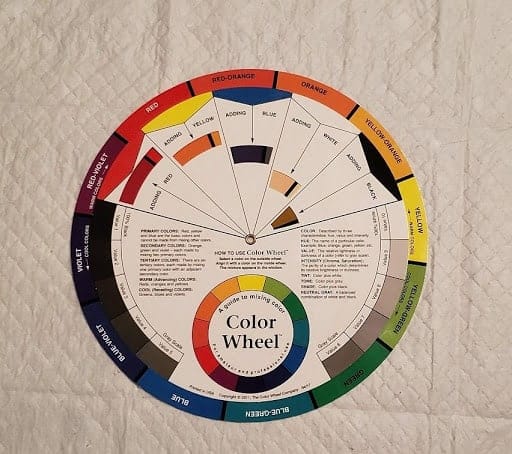
In this post we’ll go over how to create a tree ring pour. First, you will need to decide on what colors you’ll use and what size and type of surface you want your artwork to be on. If you need some color inspiration, you can always refer to a color wheel like the one shown below.
Step One: Selecting your Color Scheme
I opted to go with four colors on this tree ring. Needing some inspiration myself, I consulted my color wheel. After reviewing several options, I chose to do a simple “square” of complimenting colors. Yellow was striking me, so I started there. Now, picture a square overlaid on the color wheel with one corner on the yellow. That allows us to easily select the blue-green, violet, and red-orange to complete our color selections.
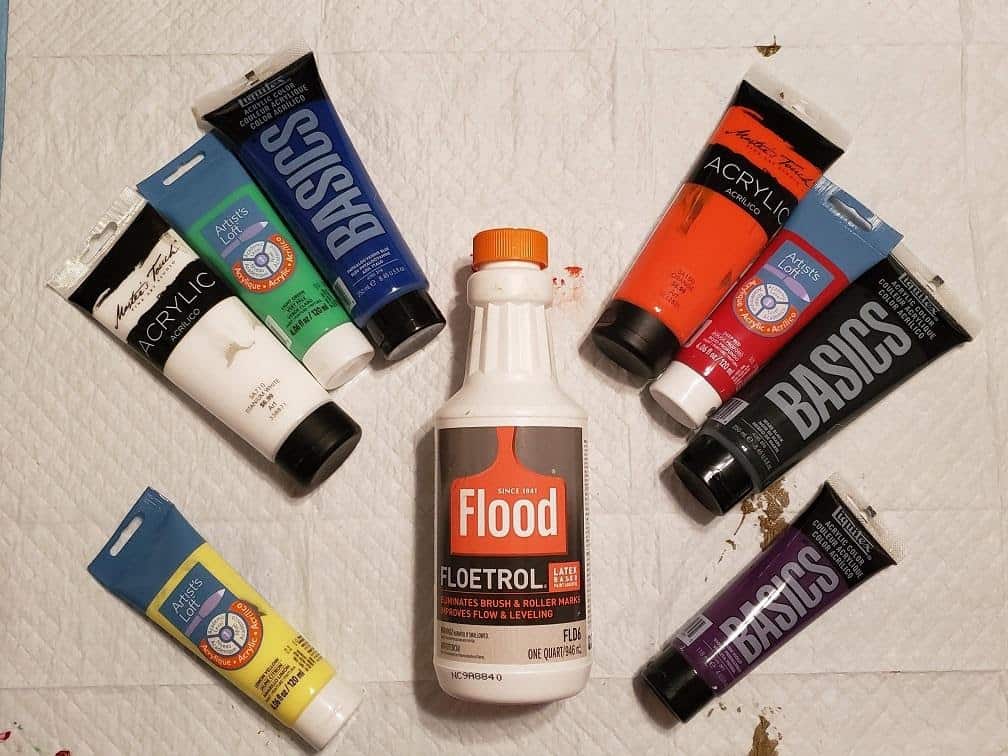
Unfortunately, I didn’t have all of those colors on hand. So, I had to mix them up myself. After reviewing my stock of colors I used the colors and medium shown below. (I like my paint to medium ration at a ratio of 1:3.)
Supplies I Used:
- Floetrol
- Basics acrylic paint in violet, blue, and Mars black
- Artist’s Loft acrylic paint in yellow, green, and red
- Master’s Touch acrylic paint in titanium white and orange
- 12×12 stretched canvas
- Push pins
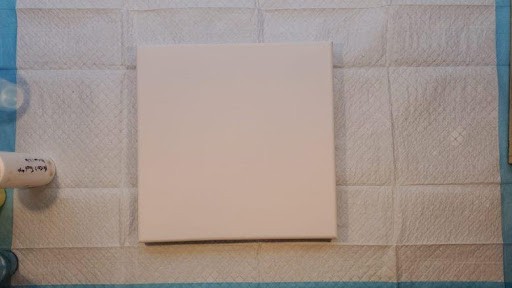
I prefer painting on a stretched canvas, but you can use whatever surface that works for you. For this project, I went with a 12 x 12 canvas. I use large pushpins on the backside in each corner to lift the canvas up off the table to allow the paint to drip off freely. I estimated for this size of canvas I would need about seven to eight ounces of paint. Check out this article to figure out how much paint you’ll need.
Step Two: Prepping Your Pour Cup
Select the order you want to layer the paints in the cup. And you’re ready! Now it’s time to dive in. Start pouring your paints in, one at a time in roughly equal portions.
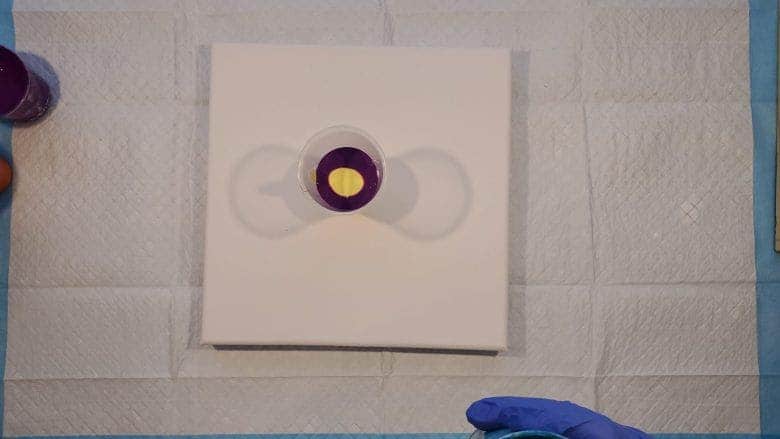
I usually do about two “sets” of layers. In this pour I still needed more paint so I added a third layer. Remember, painting is about creating. Therefore, there are no hard line rules as to “how” you create. Keep it simple; go with the flow and set your own parameters. That’s what makes artwork so much fun!
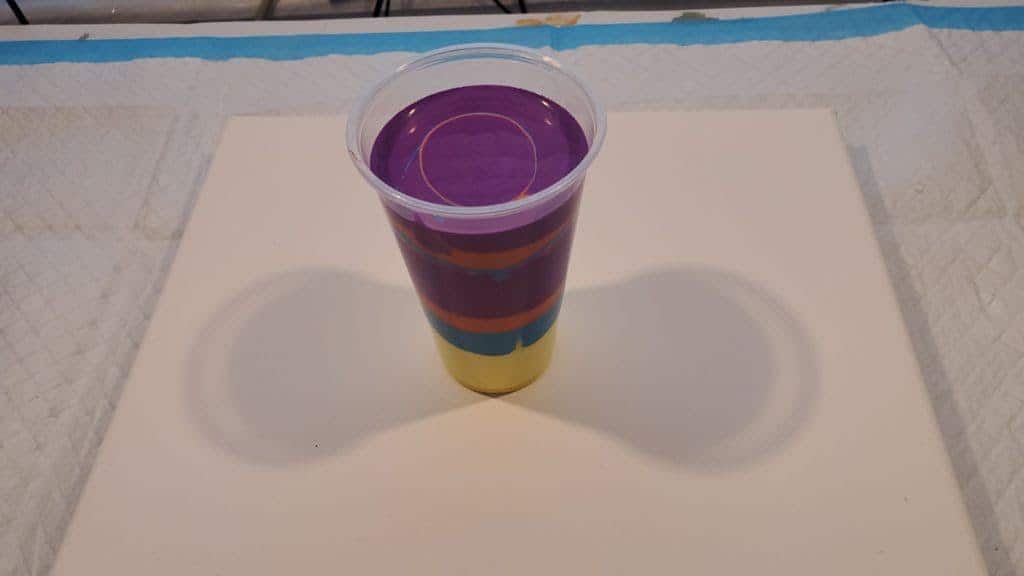
Step Three: The Pour Itself
Now pick up your cup of paint. Tilt it to start slowly pouring the paint onto the center of the canvas. As it hits the canvas, shift your hand in a tiny circular motion. This will create the “ring” effect.
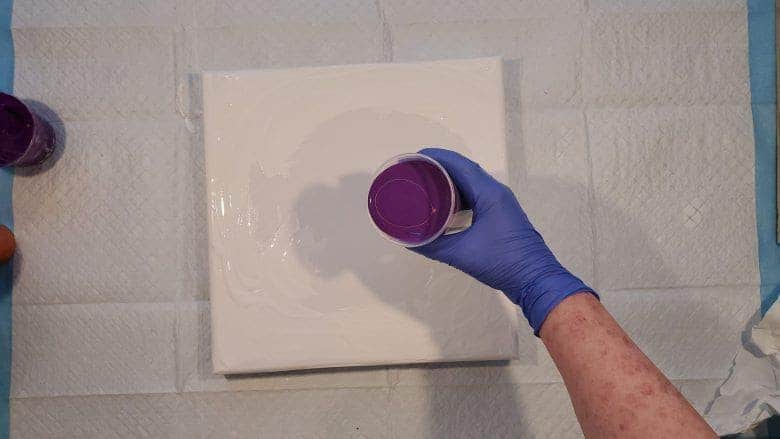
Keep going until your cup is empty. Your “tree ring pour” will look something like mine, pictured below.
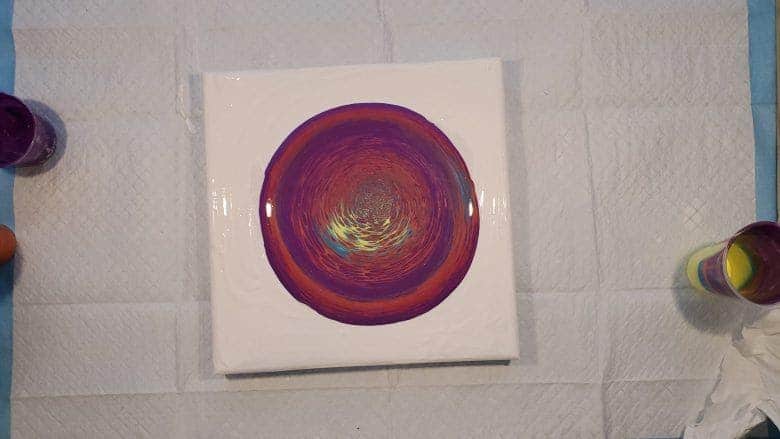
I generally let mine sit for a short bit to let the paint “settle.” Then it’s time to tilt! As you begin tilting, you want to focus on a couple of things. First, getting the canvas covered fully, including the sides of the canvas (if desired).
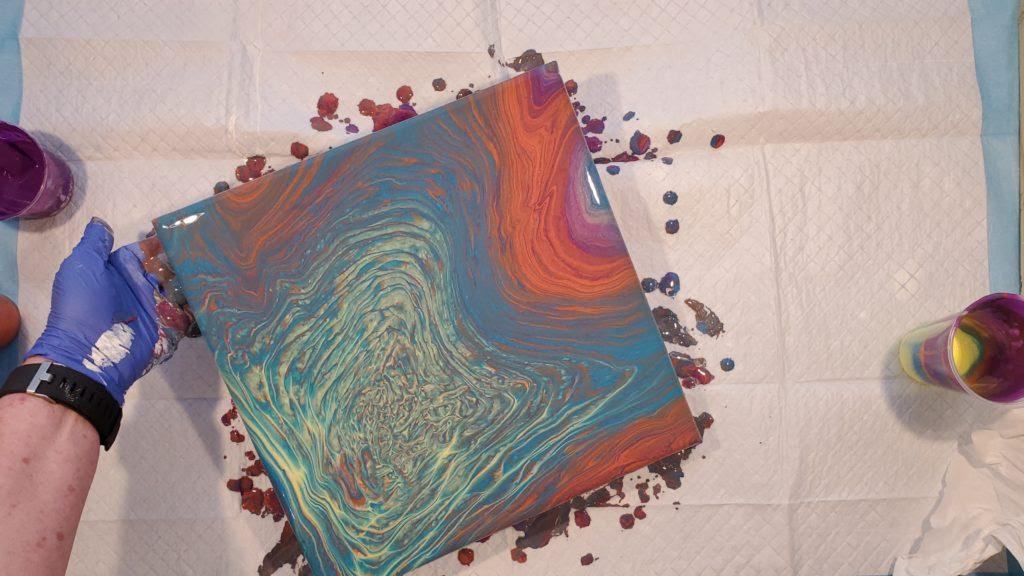
Step Four: Tilting Without Over Manipulating
Now, choosing your favorite part of the pour and ensuring you keep that portion on the canvas as you tilt, stretch the paint design, and cover the canvas. Through my process, the red-orange and violet in the upper right caught my eye, as did the yellow and blue-green in the center. Those areas became my points to preserve. Therefore, I tilted accordingly.
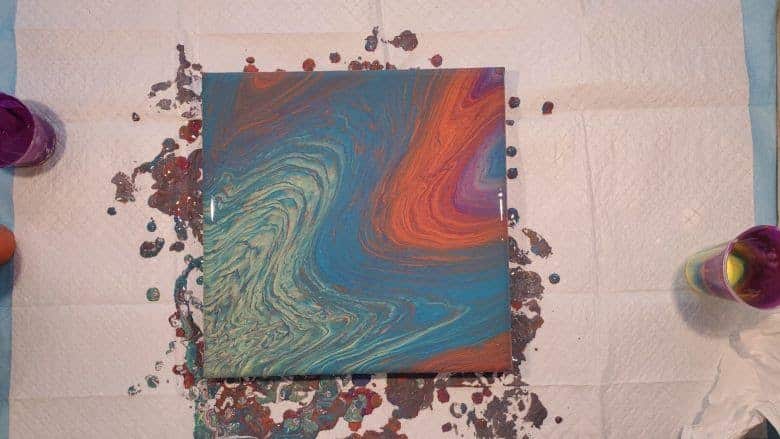
Once you reach a point where you are happy, stop. I know it’s hard sometimes! Yet, you don’t want to lose what interested you. (Of course, you can always continue as long as you want. But, always aim to finish with no regrets.)
Step Five: Torching to Promote Cells and Avoid Bubbles
Once you know you’re done, you can go over it with a torch. Using a torch serves two main purposes. First, it helps to “pop” any air bubbles. Second, it helps to settle the paint. For more information, here’s an article on how to use a torch.
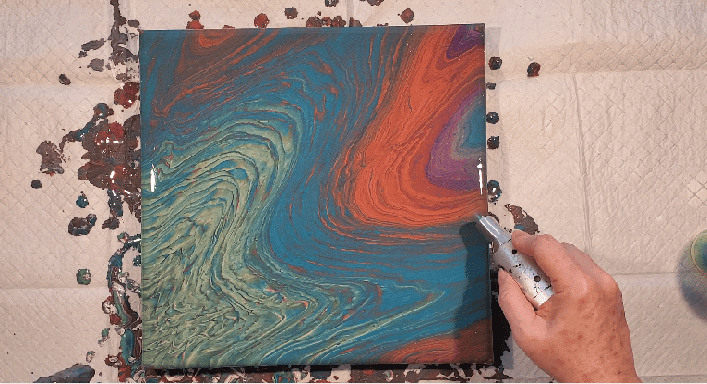
Voila!
And that’s it! You’ll want to swipe your fingers under the edge of the painting all the way around to remove the dripping paint.
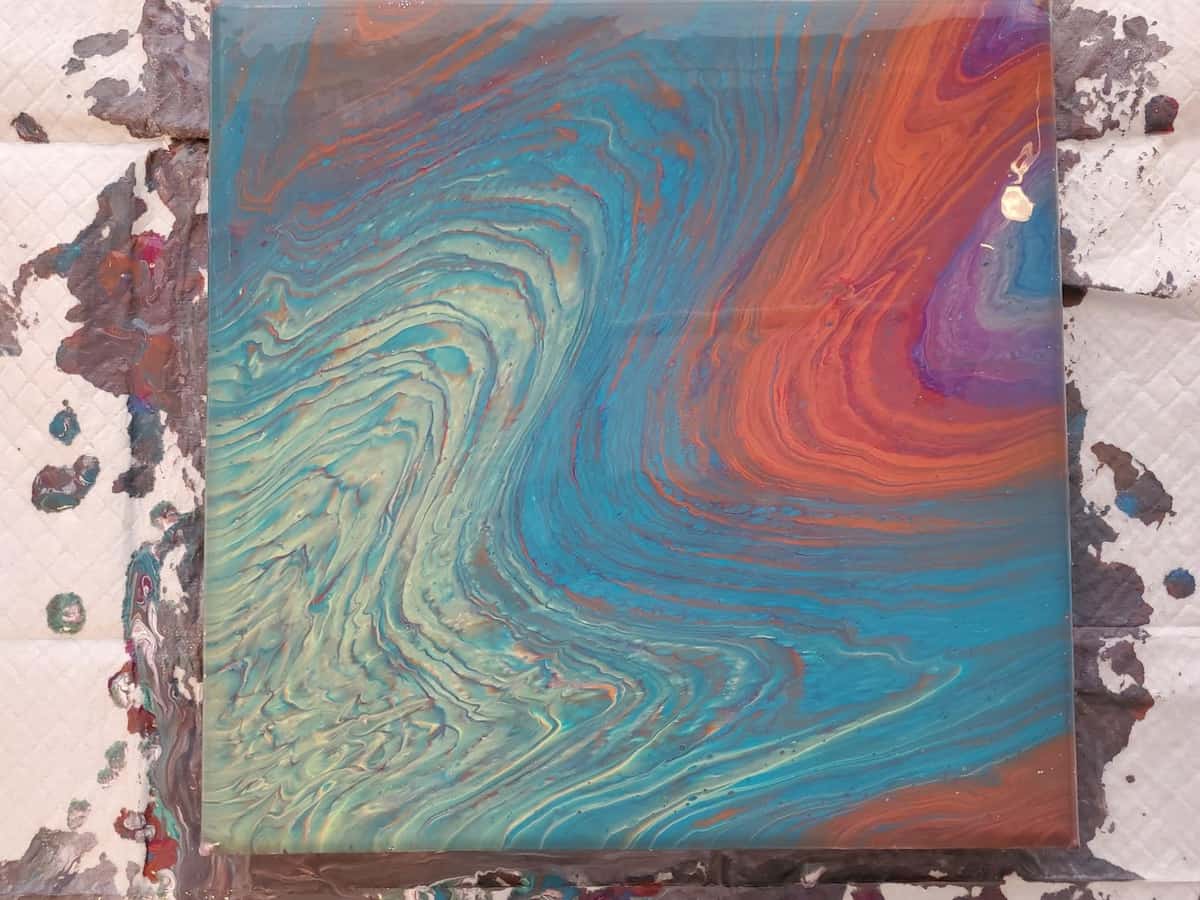
Check back every few hours as the paint dries. As long as the paint is still wet, swipe under the edges repeatedly as the excess paint will continue to drip off as the paint settles. This prevents having “points” of dried paint on the backside.
And that’s it! Go for it, and you’ll soon have a unique tree ring pour of your own. Once done, share your work with us. We’d love to see it!
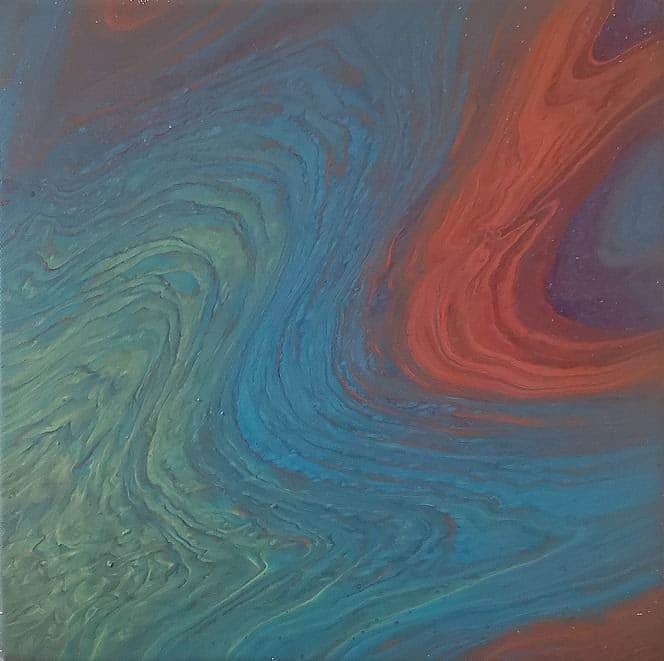

In the picture just before the pour, it looks like you have white paint on the canvas. Do you?
I believe the canvas was covered in white paint before the pouring of the cup.
Hi l need to know exactly how and what you are mixing in the paint and what’s in them please,l have neve did won before or do l know anything about paints,just starting so l need to understand exactly what your mixing with what thank you
I see you’re using tube paint which is thicker than the Apple Barrel bottled paint such that using a 1:3 ratio would be pretty thin. It seems that I have a problem of getting it right as I’m always to thin or to thick. Getting cracks or a really thin coat. HELP!