We know it’s a bit late to share the October Top Pours.
But it’s never too late to share the beautiful artwork of incredible artists, is it? No matter what time of the year we’re talking about, you’d agree that we have some of the best artists in our Acrylic Pouring Facebook Group. We started a series of Top pours from each month but we couldn’t keep up due to some reasons.
However, we’re once again back with some marvelous pours and we’re confident that you’d also these October Top Pours. If you’re new to acrylic pouring, the following links may be helpful for you:
40 Essential Tips for Acrylic Paint Pouring Beginners
Acrylic Pouring Terms for Beginners
How to Sell Your Art on Facebook Shops
Acrylic Pouring Supplies Guide
Here you’d find answers to the questions that appear in your mind when you’re looking to start your journey in Acrylic Pouring. However, we should now take a look at the October Top Pours.
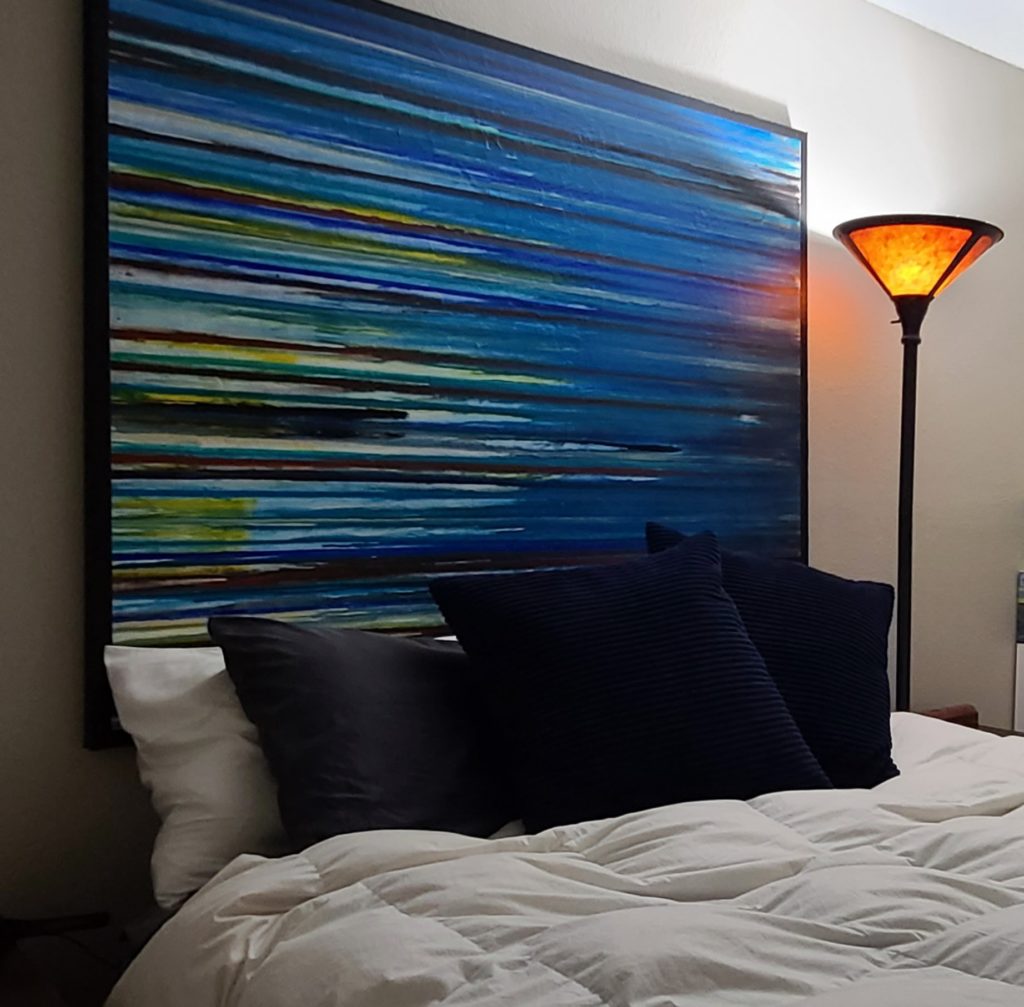
Divergence
by Jeremy Fugate

Here’s what Jeremy says about this pour:
“I have always enjoyed experimenting with different types of pour painting. For this drip painting, I wanted to vary the consistency and the speed of the paint by adding different amounts of water. The end result shows a sense of parallel unpredictability”
Don’t forget to follow Jeremy on Instagram. You may also visit his Facebook page to see his artwork.
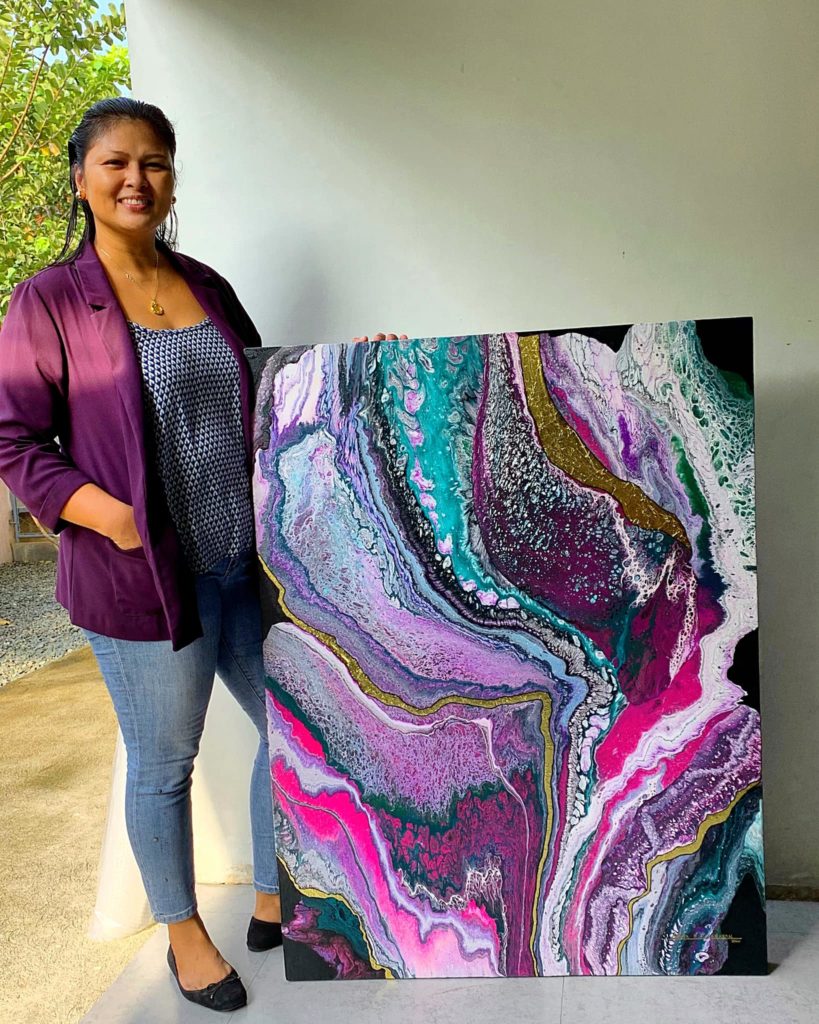
Blossom
by Jesusa Marjorie

Jesusa’s Thoughts about this pour:
This is a combination of flip cuts and dirty pour. They are my comfort/safe techniques when doing large works.
Click Here to see more of her work on Instagram.
Butterfly Wing
By Maria Renate

Maria isn’t just a remarkable artist but an amazing person as well. That’s why she took plenty of time to write a detailed response for us. And we really appreciate her contribution. Here’s how she manages to draw these beautiful pours:
While the ingredients are mostly local, you can stumble upon many of the same problems that people are experiencing worldwide, and maybe even fix them accordingly, and the Acrylic Pouring Facebook Group is the place to find it. You still have to put the work in to understand how the technique works, and find local ingredients working for you (for me, the lightning-effect was important), but once you do – the technique gets much easier.
To be honest, I am still modifying my recipe sometimes, to check if I can make it even better. I mix my paints the day before I plan to pour, the reason being that most air bubbles will have enough time to rise and pop, so that the pour will get a more “clean” look, with less white and/or dark speckles.
Then I test the paints on a piece of cardboard to check if any of the ingredients needs modifying, or if it is good to go. When the ingredients work well together, I make all the containers with mixed paint airtight, and then I wait. Because the recipe contains housepaint, a torch/heat gun is not recommended because heat will make the pour dry really fast, and not in a nice way.
Colors used: Iridescent Copper (fine) by Golden, Interference green-orange by Golden, Lamp Black by Amsterdam, a middle/dark-toned blue (can’t remember its name) by Amsterdam, and white. Layering both metallic colors, normal colors and maybe even interferences will create more depth in a pour, so I almost always combine them.
Also, I never measure ratios by scale, only by eye and how the paint feels when I stir and observe. I add small amounts of paint at a time until the color is the same both in the mixing container and in the tube. I often find I need to add less than expected. The blowing part is difficult, but also the “make or break” moment.
You can see me blow some pours (unfortunately not this one as I did not have the tripod with me) in some of my quick videos on Instagram. A tip is to practice a lot, preferably on small tiles or on a piece of cardboard, it has saved me a lot of money and paint in the long run.
Whirlwind
by Julie Cutts

Surprisingly, we always find something unique and interesting in Julie’s artwork. That’s why her artwork is selected for almost all the blog posts we’ve shared in this series. We must admit Julie’s one of the best artists from our group. The best part is that she always provides a detailed response for each pour and she’s always willing to help others. Here’s what Julie says about this pour:
It’s an acrylic ring pour, spun out on a cake turntable. I used Elmers Glue All, water, and GAC 800 as my pouring medium and mixed it in equal parts with my Mont Marte acrylic paint. I kept my mix quite thick (a mound on a mound) so that my rings would keep their shape. I used white, yellow, red, turquoise, blue, and black.
I poured each color into a six compartment split cup (two colors per compartment). I also used black which was a bit thinner. I covered my canvas with white paint. It was thinner, a mix of 2 to 1. This allowed my colors to glide easily across the canvas. My canvas was 16″ square and I used a total of 20oz of mixed paint (including the base coat).
I also used a portable doggy pool to keep my mess confined. As I poured the colors from my split cup, in an anticlockwise motion creating rings, I slowly turned my cake turntable in a clockwise direction. This created a beautiful feathering design. Once my cup was empty, I gave the canvas a good spin.
This pushed the paint to the edges of the canvas, covering each corner. When I was happy with my design, I torched the paint with my blowtorch to remove any bubbles. The trick is to have your paint quite thick and not to spin too much paint off or you will lose your beautiful design. Give it a try, its a lot of fun,
Don’t forget to visit her Youtube Channel because she’s an incredible artist.
Smashing Pumpkins
by Steve Chase

We don’t know why Steve’s artwork didn’t appear on our radar before while his skills are quite impressive. However, we’re happy that we’ve now found an amazing pour Steve shared in October 2020. And we’re pretty sure that we’d see many other amazing pours by him in the future. Here are Steve’s thoughts about this pour:
The process began as a diagonal puddle pour using white, gold, burnt Sienna, bronze, copper, and black as the top layer. I then apply air pressure in varying degrees to create the cells and then spin and tilt to cover the canvas. The best place to follow my paintings would be my Facebook page.
We hope that you loved these October Top pours from our Facebook Community. We’d also invite you to share your amazing work in the group if you aren’t already. We assure you that you’d get plenty of appreciation from other group members. And you may also learn some interesting tips you didn’t know before. If you’re interested in exploring other amazing pours, don’t forget to join the Acrylic Pouring Facebook Group.
After being told in high school that she was so bad at art that she should switch to another subject, Deby didn’t paint again for 35 years. Then a stroke released a new wave of creativity and she began exploring with dot painting, abstract and eventually acrylic pouring, and at last the joy of working with color returned. You don’t need ‘talent’ to be an acrylic pouring artist – just enthusiasm, some basic instruction, and a willingness to try, fail and try again. Paint along with her and learn from her many mistakes, and you’ll soon make great art together.
