Some artists are so proficient that they don’t think about problems they might occur when pouring, but for the rest of us, sometimes we just need a little help. So, here are a few things I learned along the way about stretched canvas, canvas boards and painting on bare wood or MDF boards.
Stretched Canvas Concerns
Even brand new stretched canvas can be loose in the center of the canvas. Try spraying a little water on the back of the canvas and using a blow dryer to dry it. Make sure you continually move the dryer across the back of the canvas till dry. You don’t want to burn the canvas by holding it in the same spot. If it’s just a little loose, you can spray it and let it set overnight and that may do the trick as well.
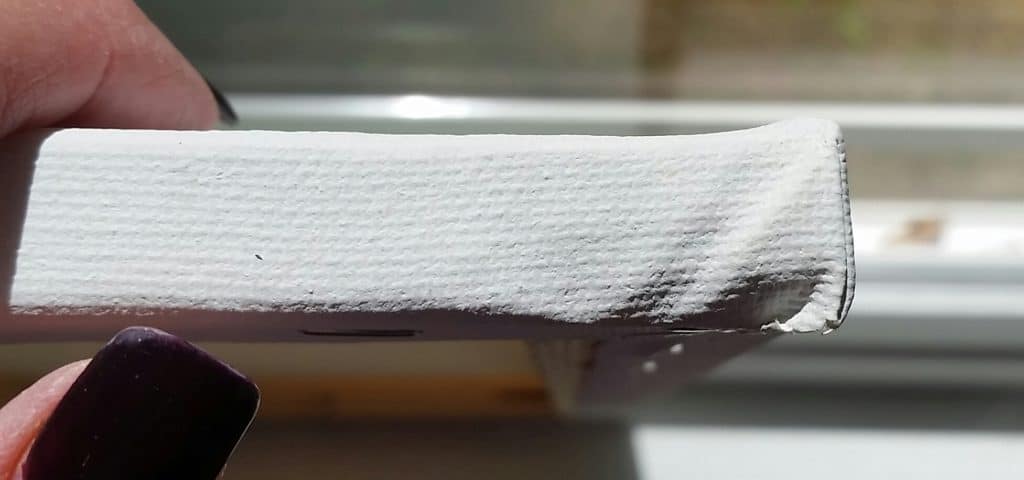
Occasionally, especially with the bargain brands of canvas the corners might not be smooth. You can dampen the corner with the spray water bottle, and try to smooth it out. If this doesn’t work, you can take out the staple and while still damp, try to re-fold and then restaple. Be sure again to let it completely dry before you paint on it.
A stretched canvas where your pour seems to pool in the middle as it dries, is too loose.
A larger stretched canvas may come with some wooden tabs, what are they for? These are so you can add them to the inserts on the back of the canvas, especially if there is any loosening of the canvas that the water trick doesn’t help. They help stretch the canvas or lock in the canvas, either way making the canvas itself nice and tight.
Canvas Board Concerns
You may use a canvas board to pour on, this is fine as long as a few things happen. First, be sure they are canvas over MDF board; second make sure they are perfectly flat prior to pouring; and last make sure you lay them on a flat, even surface to dry. You will not have the issue pictured here if you do these simple things.
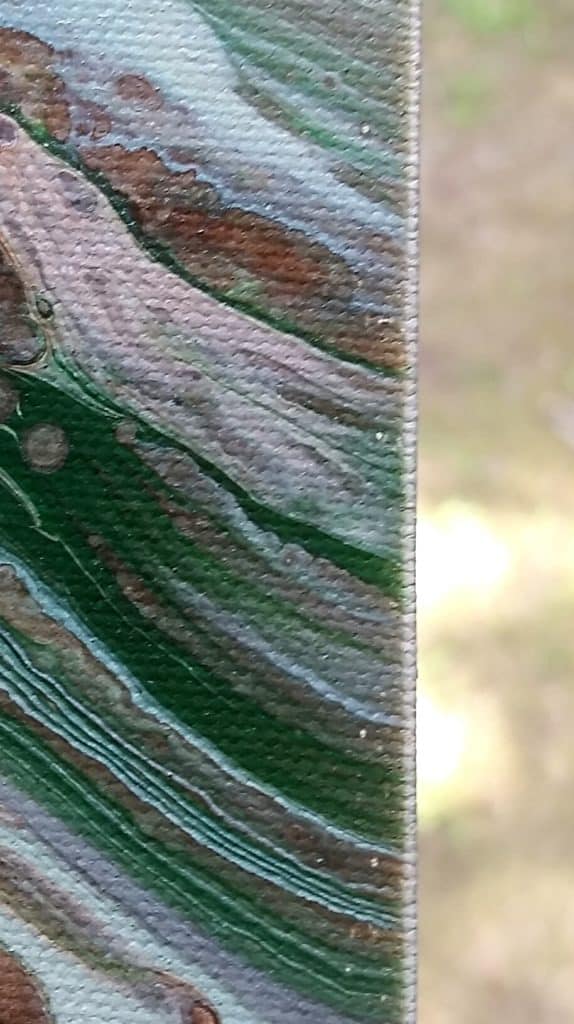
Don’t give them any excuse to pool in the middle. See how the edges are not painted, this one pooled in the middle and left the edges without paint.
Have you ever purchased a canvas board and after it dried you find out that the canvas has actually buckled? Take a look at this picture, its shows a corner that has pulled away from the board.
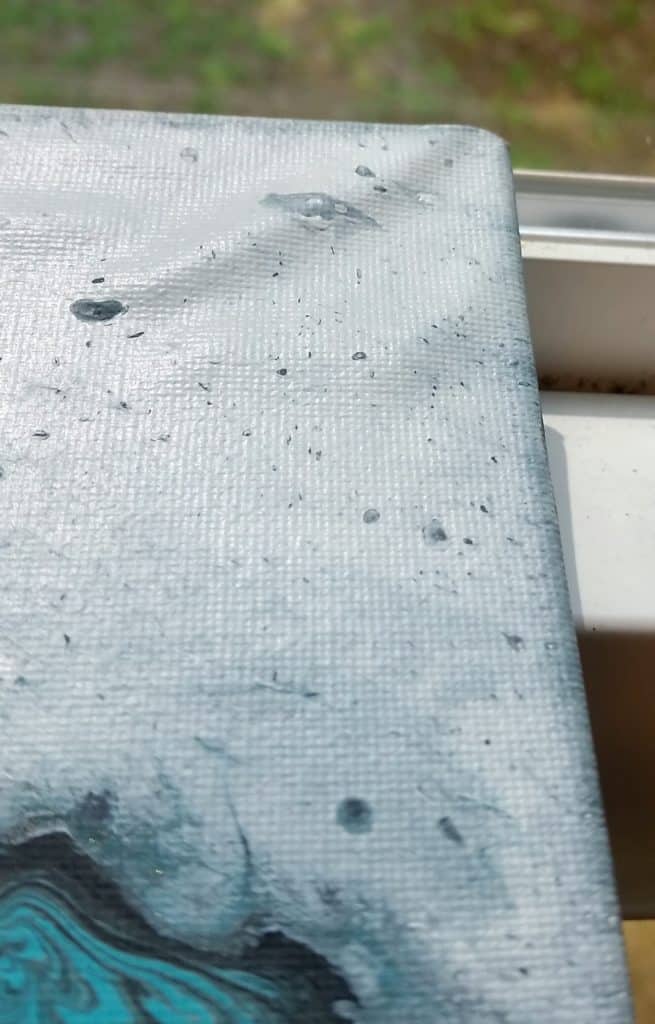
This can happen sometimes with the cheaper canvas board, and the reason is simple. Usually, they are canvas over cardboard. When this gets wet and stays wet as in acrylic pouring, the glue starts to melt and lift from the cardboard, leaving you with bubbles, waves or complete separation from the board.
How do you keep this from happening with canvas boards? Read the fine print, make sure it says its a canvas over MDF or compressed board. If it doesn’t say what the board type is, and it’s an inexpensive brand, it’s probably over cardboard. Put it down and keep looking.
Bare Wood and MDF Board Concerns
Painting on bare wood and MDF can turn out beautiful pieces. Have you ever tried to paint on them and either the wood soaked up the paint, didn’t cover, warped or left a strange texture on your dried painting?
Bare wood and MDF need a few things to be able to handle the paint that pouring projects will put them through. First, you need to sand them to a fine surface if not already there. Next they will need to be primed with guesso, this creates a seal and gives the paint something to adhere to.
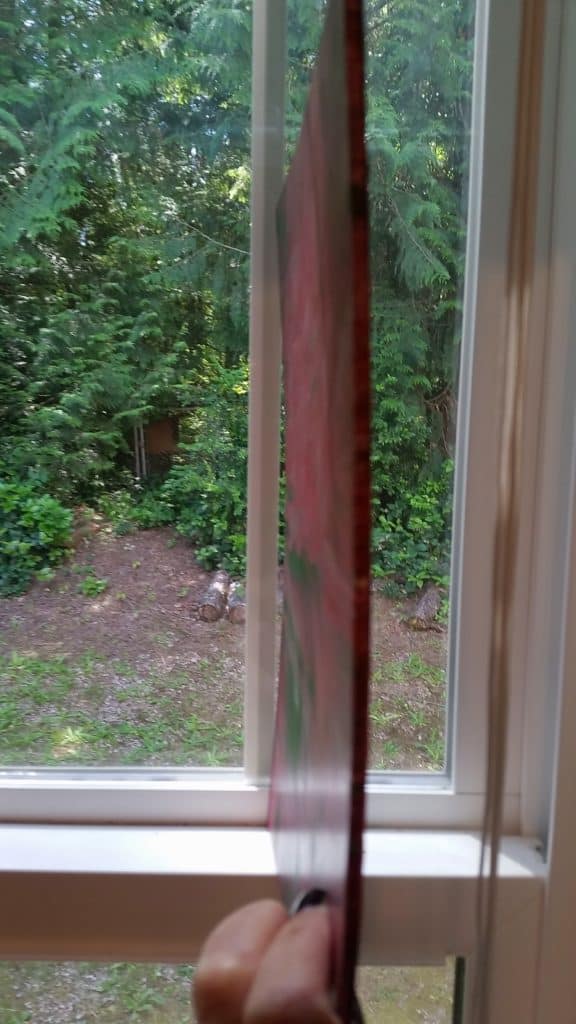
Here is great pour on MDF which I forgot to prime and it soaked into the wood, so as it dried even though it was on a flat surface, the wet board bowed in the middle on its own.
Just because an MDF board is smooth, doesn’t mean the sides are smooth. Here you can see the round board is very smooth—on top, but the sides and edges which will also be covered in paint need to have some sanding done to make them smoother before you pour on them.
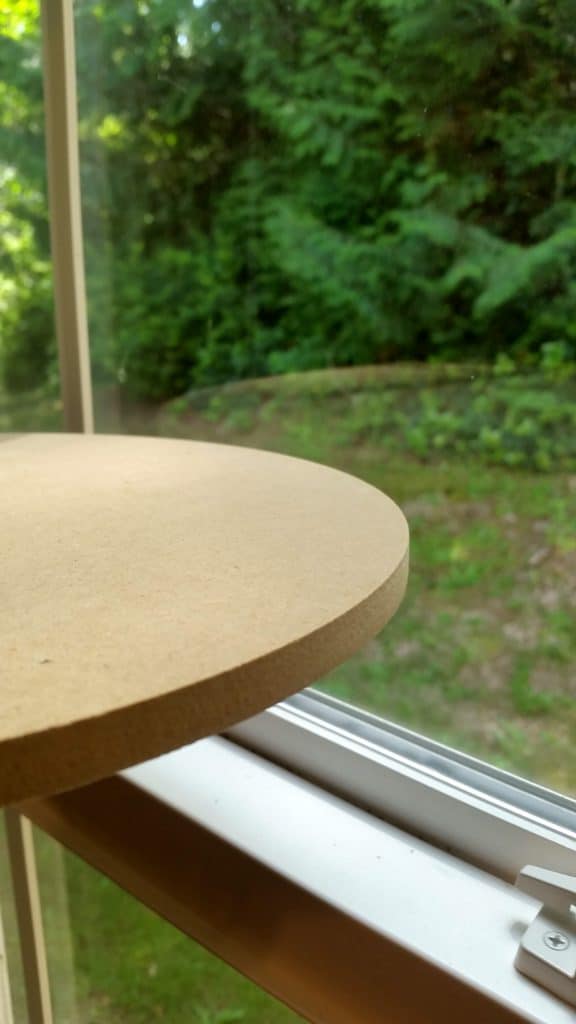
Maybe you don’t care if the ends of the wood are smooth, so you just make sure the top is, you’ve primed it and then you pour.
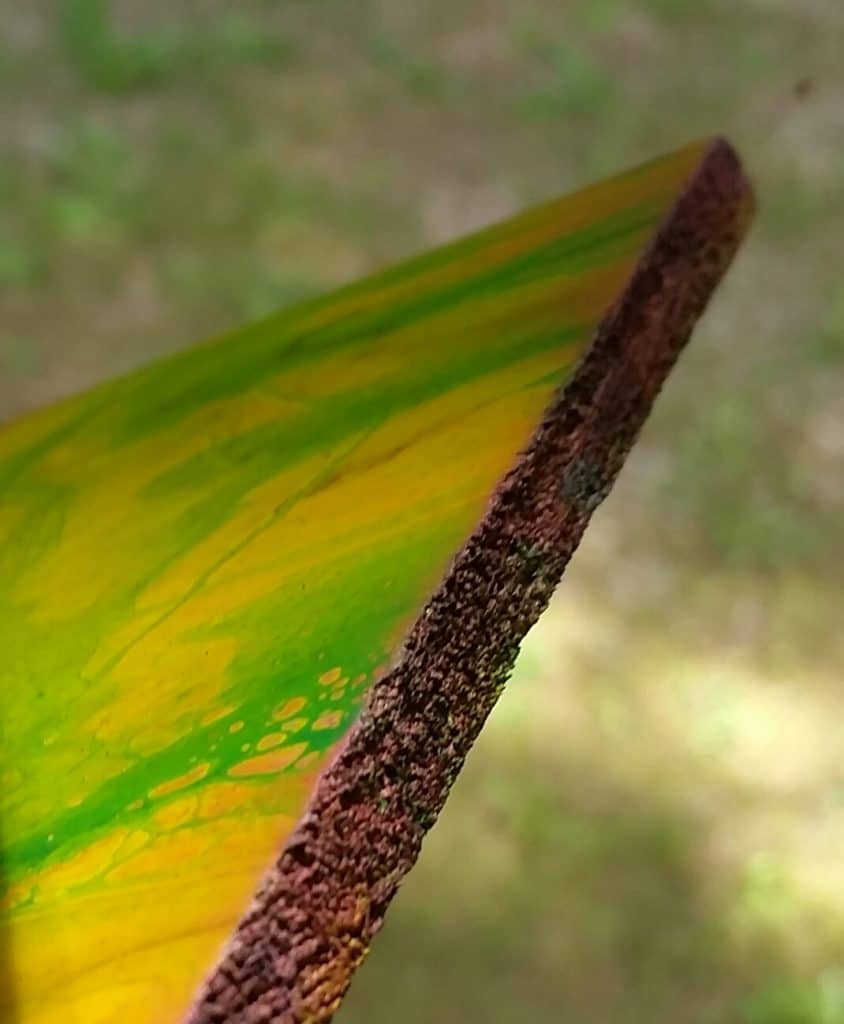
You didn’t care if it was a rougher texture, but why doesn’t the paint cover the end after it dries? If you choose not to sand it, you must still prime it so the paint does not sink into the wood. I typically will double prime it, and then paint over with a brush in acrylics and let it dry, prior to pouring. This will make sure the ends are also painted vs. looking like a different color or even seemingly unpainted.
There are other canvas issues out there, but I tried to provide information on the basic ones I had when starting out, and those I hear from other artists. Hopefully this will help you understand some of the basics of what to look for, how to prepare and how to avoid many common canvas or bare wood problems.
Never be afraid to ask questions of your fellow artists, that’s what this forum is all about.
Since she began creating art in 2007, Tina Swearingen’s focus has evolved from repurposed conceptual art into the creativity and flow of acrylic pouring. Her pours are inspired by the movement and colors of Southern Arizona’s amazing thunderstorms, and the majestic beauty of the Pacific Northwest, which she now calls home.

Thank you for sharing all of your knowledge about canvases I really do appreciate it.
Your pictures, as examples, need work. Most do not show the problem clearly at all.
Cindy, sorry they didn’t work for you. Some are just really difficult to capture, no matter the lighting. But I will add additional lighting when trying to capture such minute detail in the future. I appreciate the input, Thank you.
I can’t get my paint to drip in a stream into the cup. I bought acrylic pouring paint to see what the consistency is, and it poured perfectly, of course, for $8.99 a bottle, but no matter how I mix my paint, it doesn’t flow off of the stick into the cup. What am I doing wrong
I so appreciate all the tips we get from this group. As for canvas…I make my own and I find that before I prepare the canvas I spray the fabric on both sides (not at the same time) and let the spray dry. I use flat clear spray from a can. I also fold up an old sheet to the depth of the frame and put the canvas w/frame on it. It stays with the painting until it is dry. Then I shake it out and fold it for the size of the next one. This prevents sagging in the middle.
I have to thank all the people who unselfishly share their knowledge.
Nancy, thank you this is a great idea. We always appreciate learning something new. Keep the ideas coming!
I have a wooden bed frame/ headboard and footboard… the headboard is basically 2 cubbies/shelves. I know the awkwardness of the size and shape can make this project a bit more than most would prefer. However, I’m willing to give it a go and see where it takes me. Have you done anything similar that you have tips for me about?
Keisha, sorry this is a late response! I’d love to know if you have done this project? If so, how did it turn out? I’ve done table tops, but nothing like this – spill – how’d it go?
On wood that has a gorgeous grain, I’m not priming it. The wood grain showing thru the paint accentuates the grain and, in my book, is a much prettier “rustic” look. I’ve got a 6′ piece of wood I’ll do once I can get a few other pours finished up…I’ll need the entire table! It will hang over my couch!
Laryn, if I use a beautiful wood grain, I’m the same way. Have you ever tried using the Golden Matte Medium? I used it over a piece of hickory, in neutral warm colors – it was gorgeous. It gives it a velvety smooth matte surface – really different from the typical gloss most of us use.
Thanks, this information is so helpful!
I often wondered why my edges didn’t always take the paint like I thought they should. Now I know I will be watching more carefully.
Thanks a bunch
Greta
So sorry everyone, I have not been receiving notices about comments. I’ll do my best to answer them now, even if late.
Is there anything to do once your board warps after pour painting?
Very new. Have been watching lots of tutorials. I want to pour on unfinished live edge wood. Trying to learn as much as I can and will then jump in with both feet.
1. Should I prime wood with kilz first and then guesso?
2. I see white paint poured on the substrate and spread out to cover the surface and sides. Some say it is house paint because cheaper by the gallon. Is floetrol added to the house paint that is used as the back ground?
Thanks for the great information.
I use ready to pour paint and for the 1st time I used a white base. I did a beautiful blue tree ring, I came back while it was drying and the paint has almost completely slid off the board. Any thoughts why? This has never happened but I have also never used wood and never did a base
Hi Stephanie, I’m not sure sure why it would slide off. My first question would be was the wood raw or did it have a coating on it prior to pouring. If it had some type of paint, polyurethane or other old sealant, that might have caused it. If it was raw wood and you did not use a primer it might have simply soaked into the wood making it seem like it slide off. Be sure of course your pouring surface is flat, use a primer if raw wood, and if it has old paint or poly be sure to sand it with a 800 grit sandpaper just enough so that the surface isn’t slick when wet. Hope this helps.