Recently I tested a Creative Inspirations Stretched Canvas and realized that I was also using a new brand of disposable gloves and a design tool I’ve never tried in paint pouring before, all in the same painting. So, not just one product review, but three.
Products Tested
Creative Inspirations Stretched Canvas
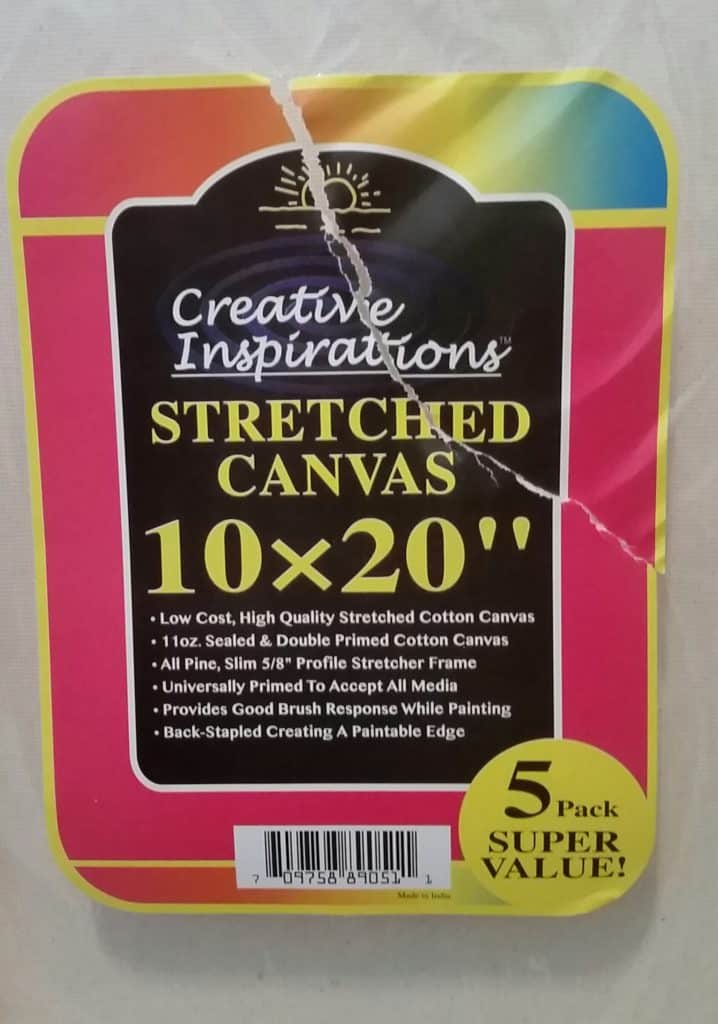
This was a 10×20 white stretched canvas over pine, ⅝ inch sides, acid free, double primed cotton duck canvas. I purchased a pack of five from Jerrysartarama.com for $17.09 and I got free shipping since I was ordering more than $35; but also found it at Amazon Prime for a comparable price.
The shipment was inspected and the pack of canvas were intact, no areas damaged. The tear in the picture is from me opening it before I realized I forgot to take a picture.
The corners of three out of the pack of five canvas have a sloppy corner. These probably went through a machine stretching and stapling, and straight through to packaging. If I was to use this for a piece I wanted to sell, I would take out the staple, lightly dampen the corner of the canvas, and restretch, fold the corner, and restaple so that it will be a perfect corner to pour over.
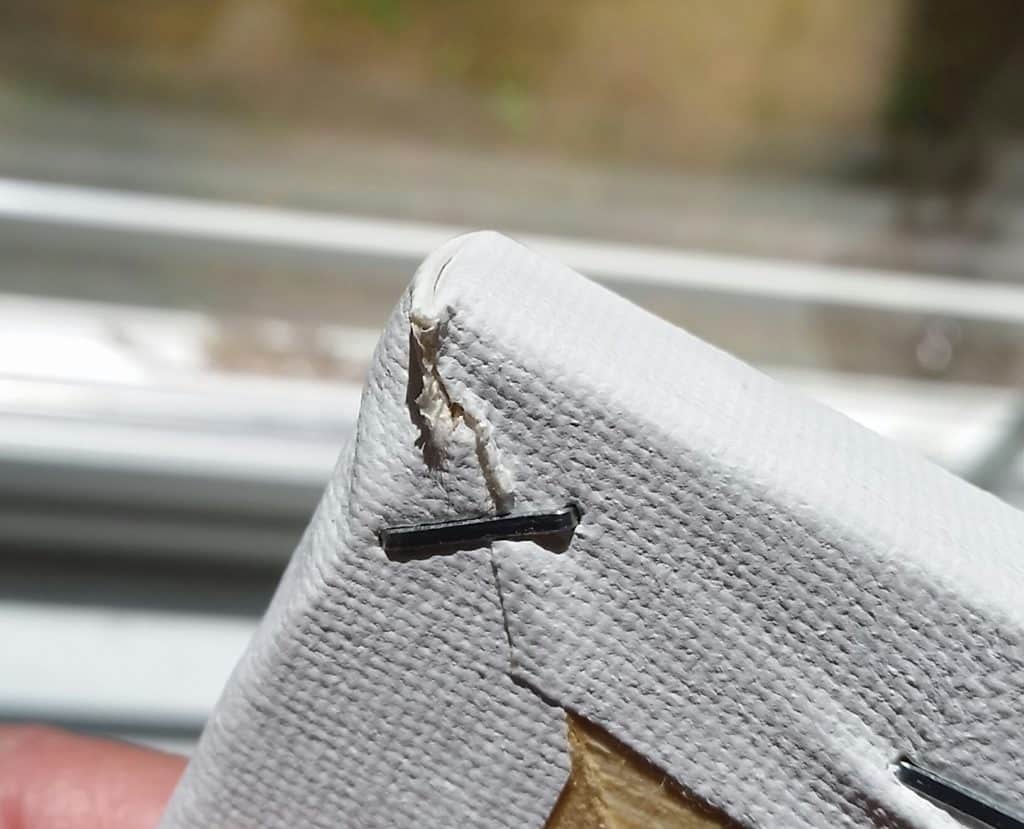
On another canvas I found an area of loose canvas on the side, which I was able to spray with a little water and use a blow dryer to tighten it up. All five canvas were a little loose in the base, but a quick spray of water on the back, then let it air dry firmed them right up.
Grease Monkey Traction Grip Disposable Gloves
The Grease Monkey product is sold for use by mechanics, who work with a variety of fluids and continuously manipulate tools and equipment. I was drawn to them as my normal nitrile medical gloves have been breaking, leaving me with paint under my own acrylic nails. So I wanted to find something inexpensive, easily obtainable, puncture resistant, and the fact that these are also textured for non-slip made them a no brainer to at least try. Grease Monkey Traction Grip Disposable Gloves are available from Amazon as well as Walmart, but I found Walmart to be a little cheaper.
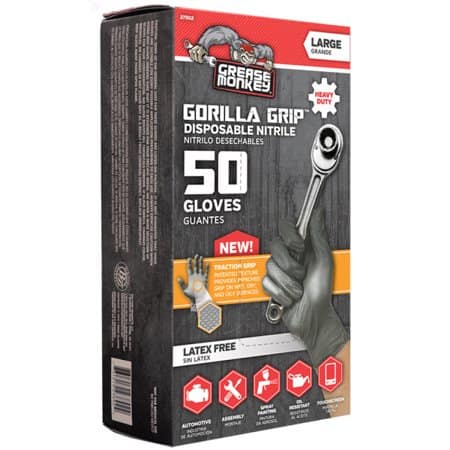
Unfortunately, through Walmart you can only purchase them in a large, but a quick Google search brought up small and medium through various vendors.
Just for reference, in a women’s sport or dress glove I wear a medium. In the picture you can tell after a few paintings and me wiping them down, the air has collapsed and you can see just how much bigger the large is from a medium. In reality I’m sure these were created with men’s hands in mind.
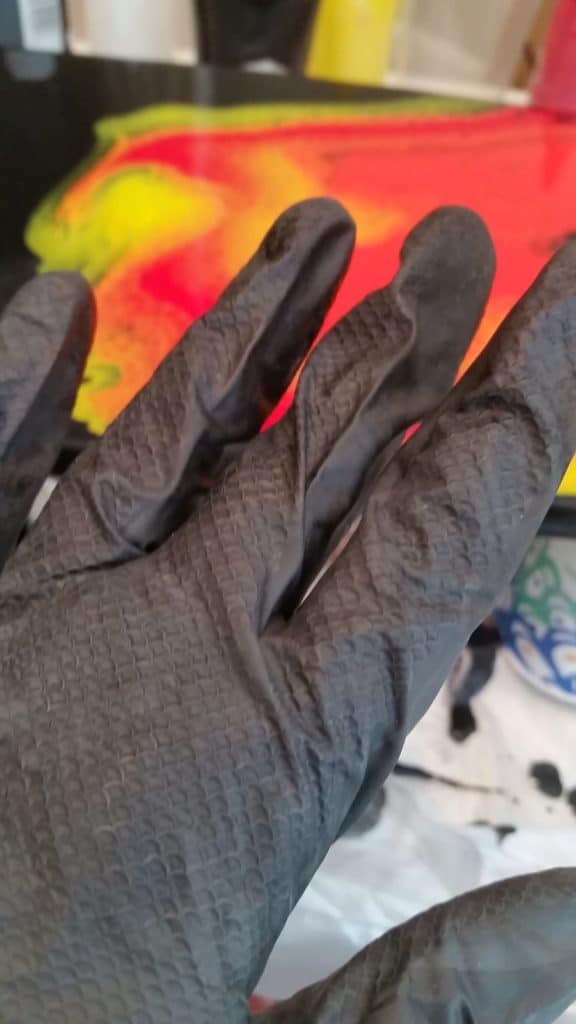
After using the gloves for five pours, never having to change them, just simply wiping off any paint, I was very impressed. No slipping, no tearing or leaking paint through small pinholes, and I could have easily rinsed them off, let air dry and reused them for the second day.
The poor little pour—yikes! I will admit here I used a fourth new item in this painting, a plastic sink strainer to pour through. Not showing it here, as I tossed it before I took a pic—the holes were not large enough for the paint to flow through without muddying things up. All I can say is be careful what you order online, especially from overseas—verify the measurements—enough said.
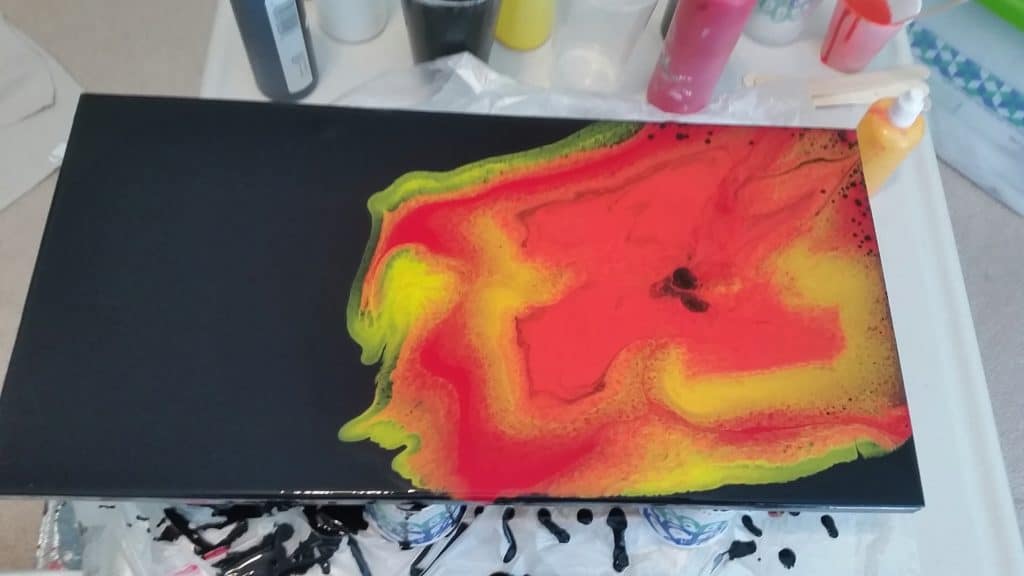
Needless to say this was a horrible pour, and the Creative Inspirations canvas although pre-primed, wasn’t covering well on the sides. Just a few areas were showing the white canvas under the black paint, not the edges, but the actual sides. I went around with the black again just on the sides and the second coat worked well.
Nail Dotting Tool Kit
Adding the extra coat to the sides was the least of my problems with this pour. I had already swiped a few areas but it was still boring as I hadn’t added any silicone or white to create cells. I actually thought about scrapping the canvas and starting over. Instead I wondered how I could add a few well placed dots in selected areas on the fresh pour.
I pulled out the nail dotting tool kit. I had used this in other painting projects, but never in a poured project. The exact kit I purchased over a year ago, so not sure where I purchased it. I did however find a similar Nail Dotting Tool Kit from Amazon.
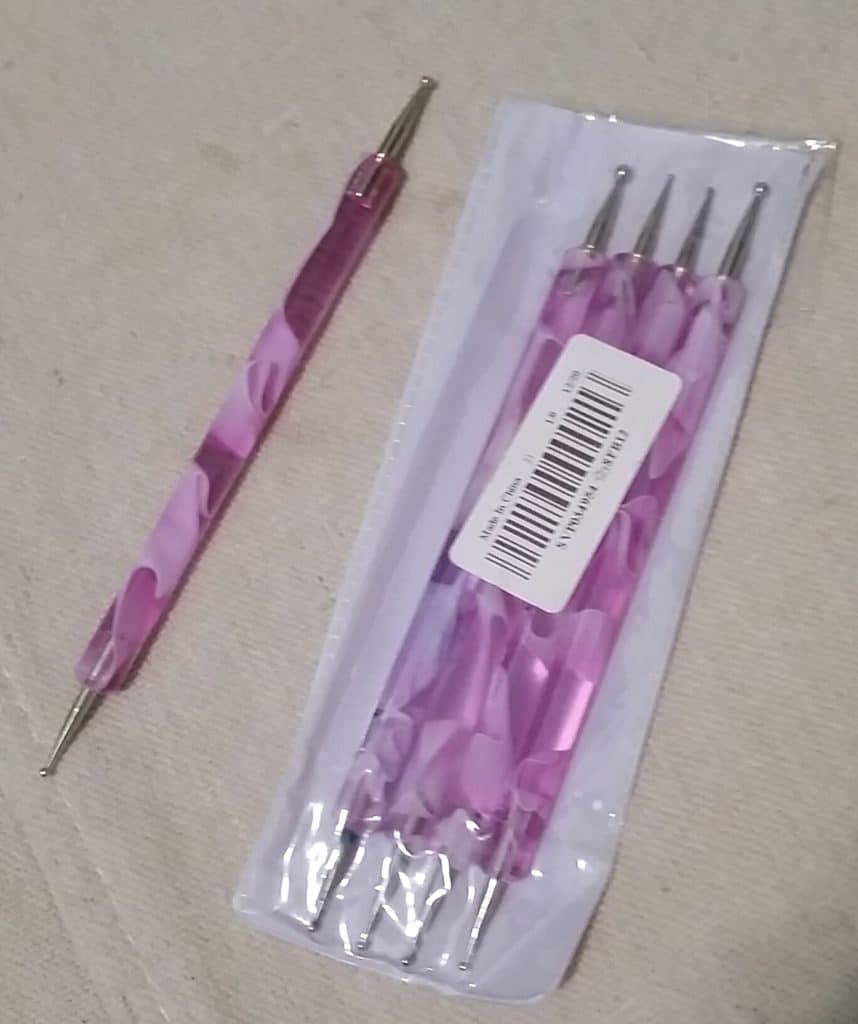
I knew in a dried format, using the dot tool gave me wonderful uniform dots; but what would it do dropping or placing the dots into wet paint.
I started with black and placed varied sizes of dots around the edges, then proceeded with the yellow dots.
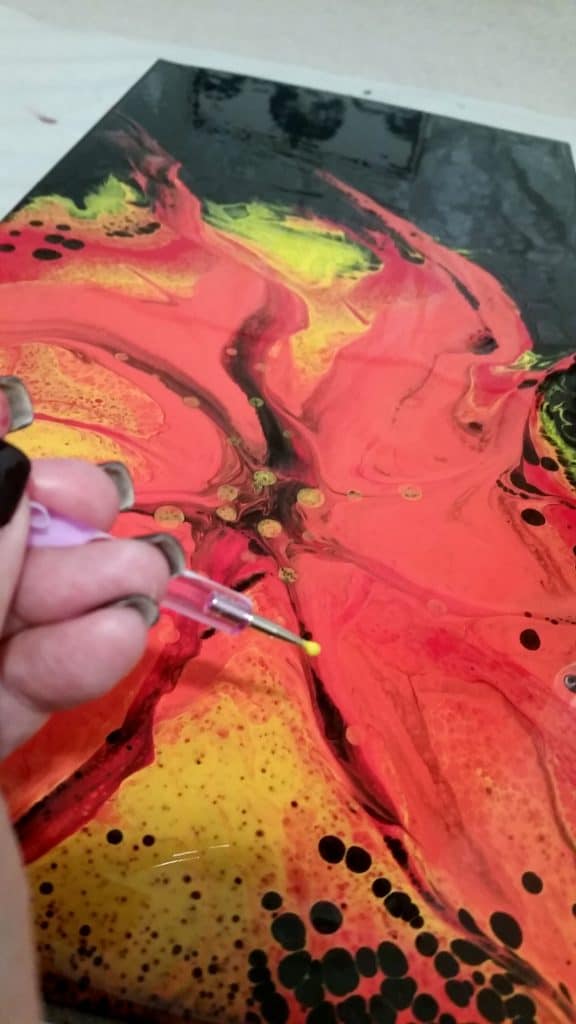
Of course like any product introduced into the wet paint, the dots will spread. Different brands and consistencies will react in a variety of ways. Here you can see the black, which had one drop of silicone and thinned with Floetrol and water, made larger non-uniform shapes, pure black and no fading of colors. The yellow dots were pure paint, straight from a bottle, not diluted with medium or silicone, and they quickly spread into diluted circles. Each paint brand will react differently to drops being placed independently.
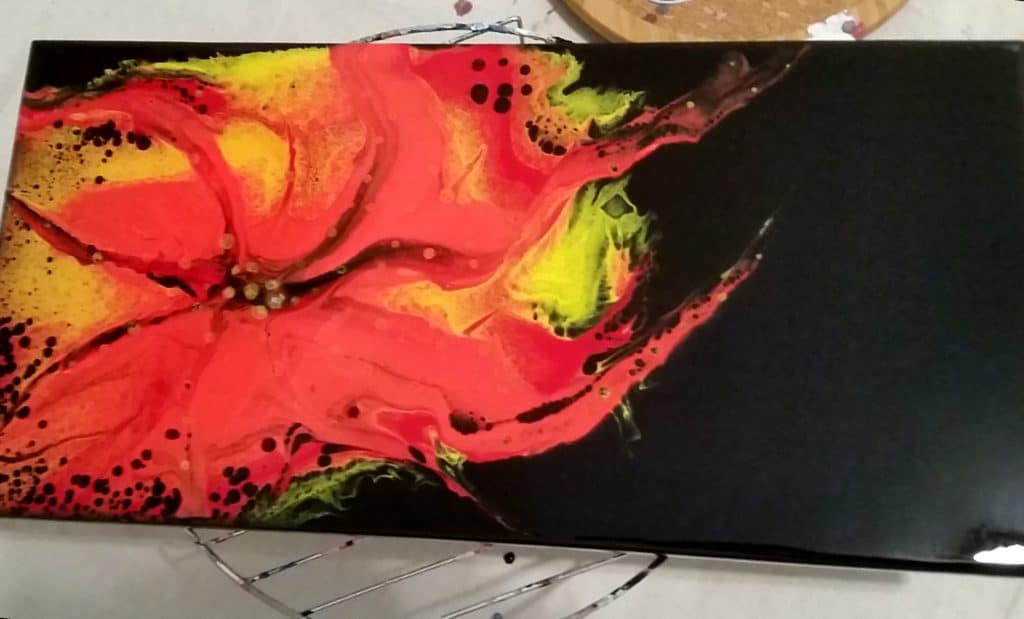
After drying, the black covered the white canvas nicely. The even coverage throughout the canvas was impressive, and it helped that I took the extra few minutes to spray the back of the canvas with water and let it dry to tighten up. The addition of the dots provided extra detail that this piece so desperately needed. The dotting tools are wonderful because you can easily wipe it off between dots, using a variety of colors without messy brush clean up.
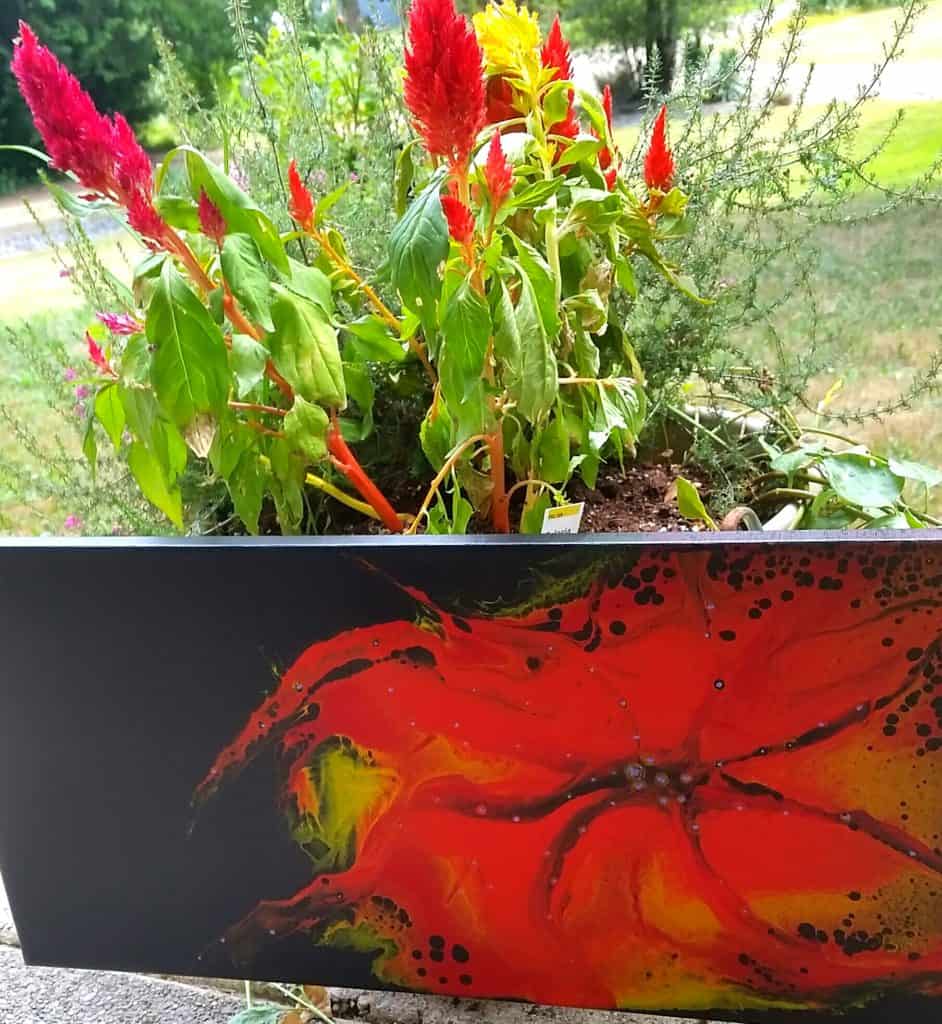
I couldn’t help myself, I decided to add one final detail by adding a few well placed lavender dots on the dried painting to allow specific areas to stand out. The project was completed with a matte finish. I chose to take this picture by its inspirational color palette on my front porch.
Overall, all three products worked nicely and were well worth the small investment. The canvas needed to be sprayed and air dried before use, and at least with the black paint, needed an extra coat. I will say on the other areas where it was more than one paint color, there was no bleed through, so may only need a second coat on the sides if only using negative space. All three products have a credible use in paint pouring, showing once again you don’t need to spend a fortune to have quality tools and products for beautiful pouring projects.
Since she began creating art in 2007, Tina Swearingen’s focus has evolved from repurposed conceptual art into the creativity and flow of acrylic pouring. Her pours are inspired by the movement and colors of Southern Arizona’s amazing thunderstorms, and the majestic beauty of the Pacific Northwest, which she now calls home.

d the white or black that is the base>? what is the mix? I am getting cracks help????
do u thin the base color? lost letters on my last question
I’m a little confused about the glove size. Are you wearing the medium or large size? Thanks for the reviews and all your helpful info!
I have tried several times to get the beginners guide and it never shows up. So I am afraid the same thing will happen if I pay for the e-book.
Hey Leveda, when you say the beginners guide do you mean the 5 part mini course? Could you email us at [email protected] and we’ll make sure you get it. Thanks!
Awesome outcome. I’ve learned when using a dark background, paint the edges first & let dry.