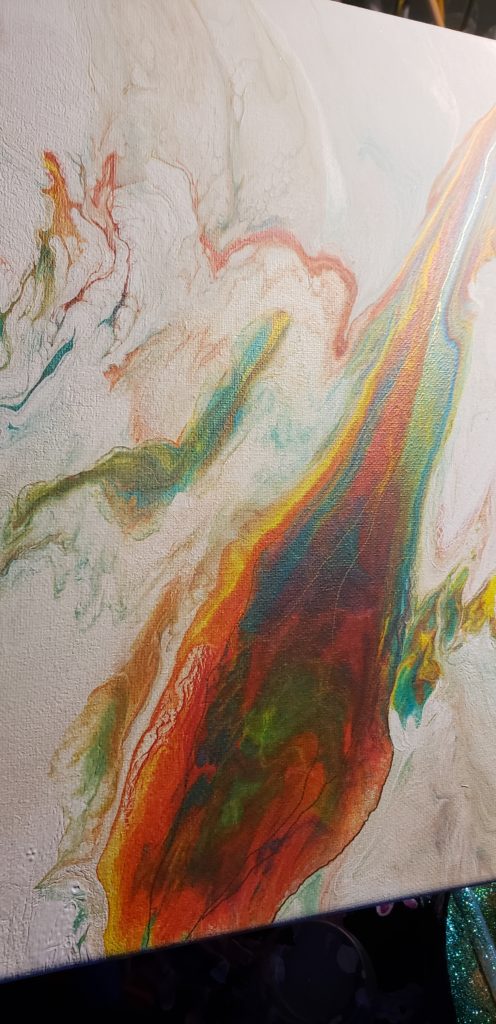
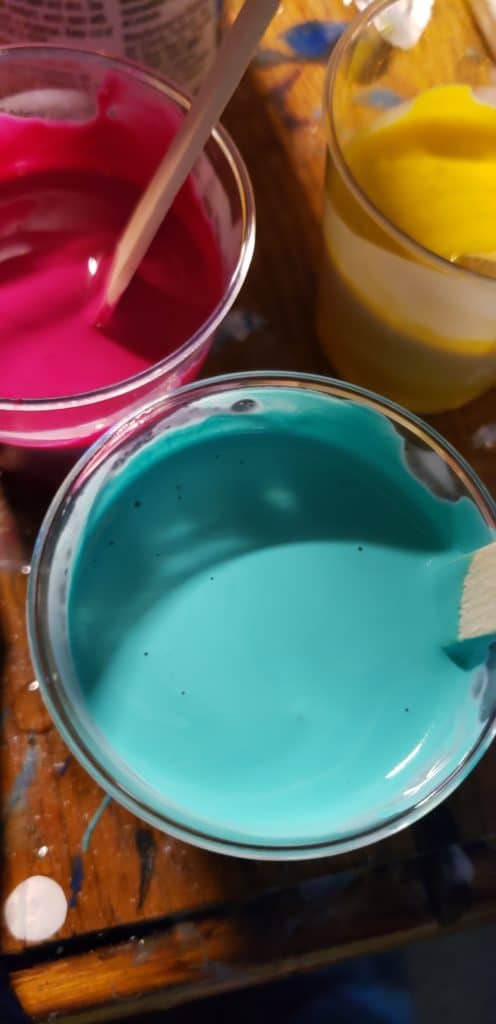
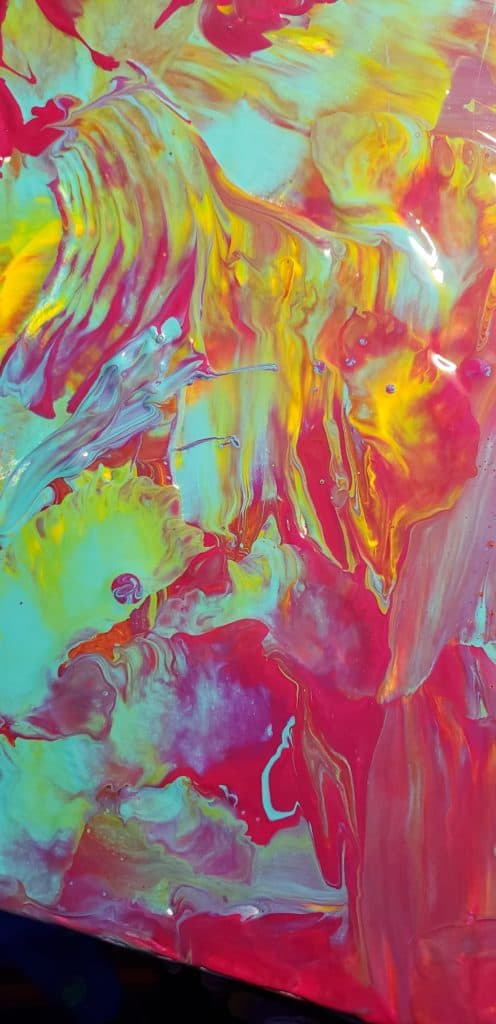
Acrylic pouring and fluid art in general can be pretty unpredictable. You might mix all of your paints just right, layer them perfectly and use one of several techniques you’ve mastered to transfer said-paint to your canvas, ad yet, the painting just doesn’t work. No spark, no “ah-ha” moment. It’s happened to most artists, I daresay all artists, at some point. Before you set fire to the errant piece, put down your blow torch and pinot noir and let’s talk re-pouring.
When to Repour
If you just aren’t resonating with your painting, or it just isn’t your cup of tea, I say re-pour. Yes, we’ve all heard that “someone” will like the piece, even if you don’t. But, if you’re not happy with it, the idea of someone else liking it isn’t nearly as important as creating a piece you’re proud of and passionate about.
If you know you’re not fond of a piece as soon as you pour it, you have three options.
- Use leftover paint or mix more paint and pour more onto the canvas. Sometimes, I flip my original pour cup onto the canvas and let it sit for a minute; usually there’s a fair amount of paint still left in the cup, since I don’t scrape the sides to avoid mud.
- Scrape the paint off. If the piece is a total disaster, you can scrape the paint off while it’s still wet and try again.
- Dip a second canvas into the still wet paint. If your painting isn’t quite right, but the colors aren’t muddy, take a canvas or surface of similar size and sandwich the two, face to face. There have been a few times that this dip rescue has saved my original piece and given me a bonus piece too!
Dry pieces are also salvageable. There are a few situations that might warrant a dry rescue.
- Painting dried too dark.
- If you’re painting dried too dark, you can try a coat of sealant to make the paint pop again. I find that this works best on lighter colored pieces; I’ve tried this technique on deep black and red with limited success.
- Try adding accents to your piece. If only some of your painting is too dark, you an add lighter accents to brighten it. Sometimes I add gold leaf, use a metallic paint pen, or even paint a simple landscape over dark areas.
- Something damaged your painting.
- If you had an unwanted visitor like a moth crash-land into your painting, it can be a little tricky to remove it once the paint has dried. Use a pair of tweezers to remove as much of the poor critter as possible, and then clean the area with a very mild soap and a little bit of water— allow the spot to dry. Now, you can either try to color match the area and fix it with paint, or fill it with gold leaf, a crystal, or another embellishment.
- If your painting cracked, sometimes you can fill in the cracks with paint to make them less noticeable Or you could repair the cracks with gold or silver paint instead. This is not unlike the Japanese art of Kintsugi (golden joinery) or Kintsukuroi (golden repair), a technique used to repair broken pottery with lacquer and a metallic powder. I’ve done this a few times, and I love the way the gold winks through the cracking.
- You just really hate it. It’s okay not to love something you’ve made. Wait until your piece is truly dry and then gently wash the surface with mild soap and a little water— do not scrub. Once the surface has dried, and if you’ve used silicone or a dimethicone hair product, sprinkle a thin layer of cornstarch over the piece, and allow it to sit for a minute before gently brushing it off. If there are sticky or clumpy spots, this means that the surface of your painting still has some residual silicone or dimethicone build up. You should clean this off before repouring.
Once your surface is clean and dry, you’re free to re-pour! Just treat your surface as you would any other surface; it’s as easy as that.
Final Thoughts
It’s disheartening when a piece doesn’t turn out exactly how you imagined, but that doesn’t have to be the end of the piece.
This being said, I’ve poured and re-poured a few pieces and sometimes, even after the fourth re-pour, it’s not right. In this case, your canvas is cursed, and it’s time for a new one.
Happy (re)Pouring!

Sara Wagner is an author and artist from Upstate New York. She is the owner of Studio Blackwater and can typically be found covered in paint, cats, or her two young daughters. You can find her on Facebook and Instagram as @studioblackwater.


Such a big thank you for the reporing report, as an 86 year old beginner I started to doubt myself but now I know I can repour for sure there will be no holding me back.
Jacqui Anderson, it tickled me that you’re an 86 year old beginner! I love you!
I am just learnig to pour paint and I love. Enjoyed your lesson. Thank you
.
I do have a question. I cant get the silicon to work well for me. I dont know if I am useing to much or not enough or maybe with the heat the same. Thanks forany information
I have 2 acrylic painted canvases and it’s taking me forever to finish. I know with acrylic paint it’s ok to paint over paint. So Would it be possible if I did acrylic pour over “ taking me forever” painting? ???????????? ???? ???? ????????♀️
I am a beginner pourer. My first one was so so and my second one is a disaster. I am thinking of repouring.
Thanks for the article.
My husband stood the painting up vertically before it was dry. The paint slid and muddied. Can I reactivate it somehow? Only part of the painting is damaged and the rest looks good. It looks like a very pointy mountain and the tip is a big clump. Or is there a way to report in just one area? New at this. Thanks for advice
Can you repour once you have applied varnish? I have a couple that I thought would grow on me. Didn’t happen.
Thanks