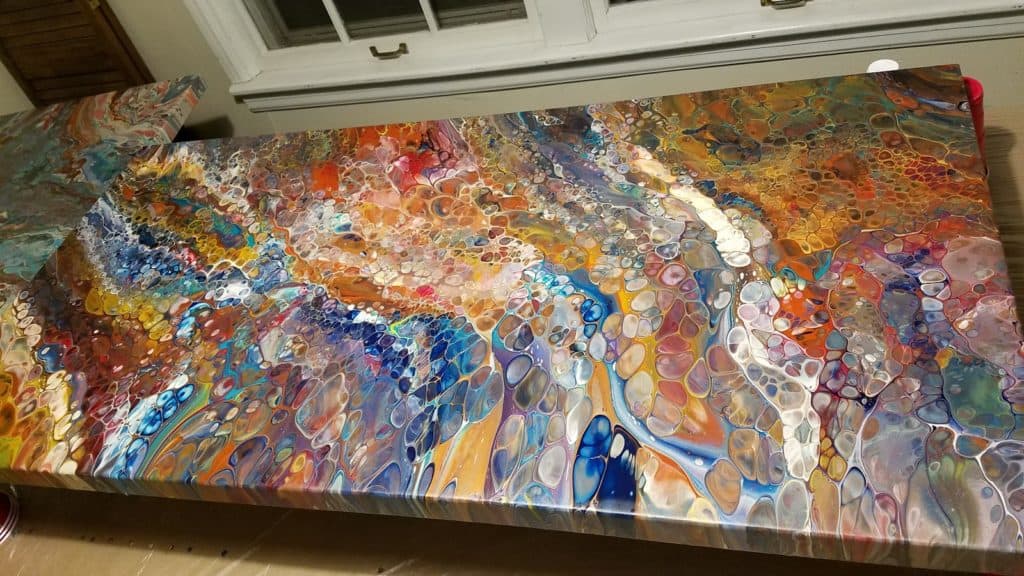
Earlier this year, a customer (who is also a friend) asked me to recreate a painting that she loved. No problem, I thought! I was fully confident that I could create what she wanted… “just like the other one, but larger and with more red.”
I expected the project to go smoothly because I knew exactly how I poured the original painting (from video records). I could just mix the same colors, add more red, and do the pour on a 2’ x 4’ canvas. Bada bing, bada bang! Should be a snap, right? I will know better next time!
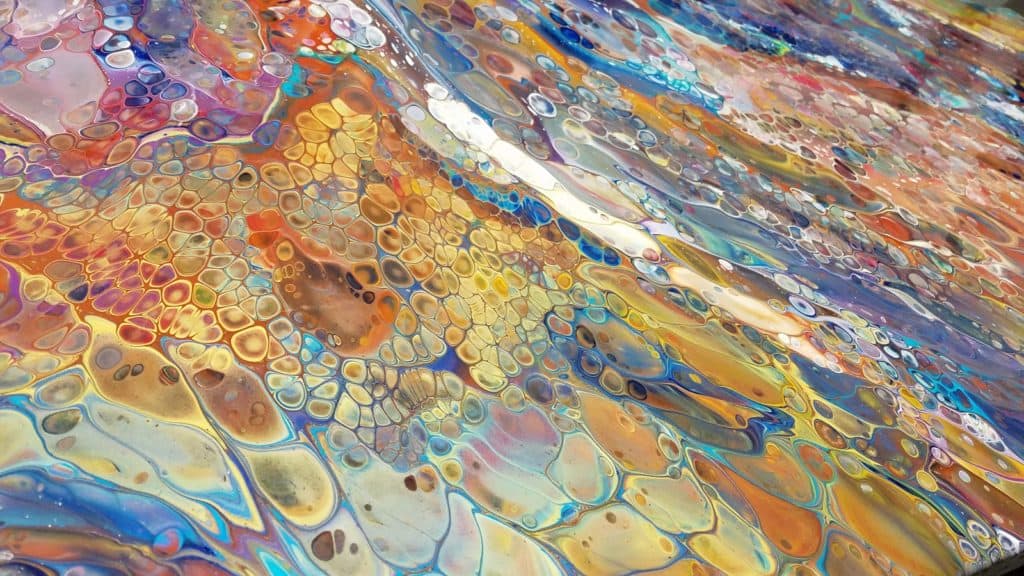
Here is the painting she asked me to recreate—larger and with more red:
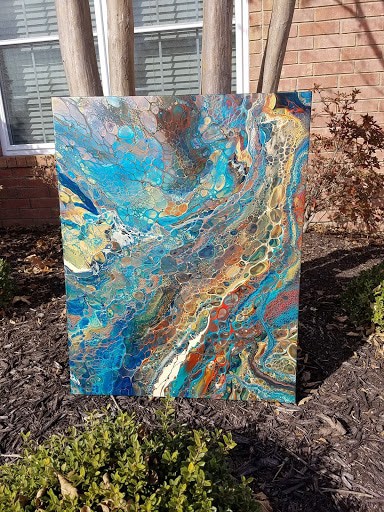
It took three attempts to get a piece that she loved!
Before you commit to a commission piece of this size, read How to do art commissions to get a better understanding of how to save time and money.
I went into the first attempt full of confidence. I had studied the videos and mixed the same colors. I poured the cups carefully, in the same gentle way I poured the original flip cups. The results of the painting were so different from the original it was shocking.
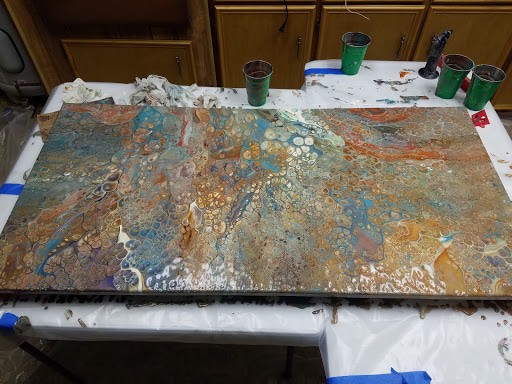
The painting was beautiful, but it was not what she wanted. Where did all the red go? What happened to the dark blues?
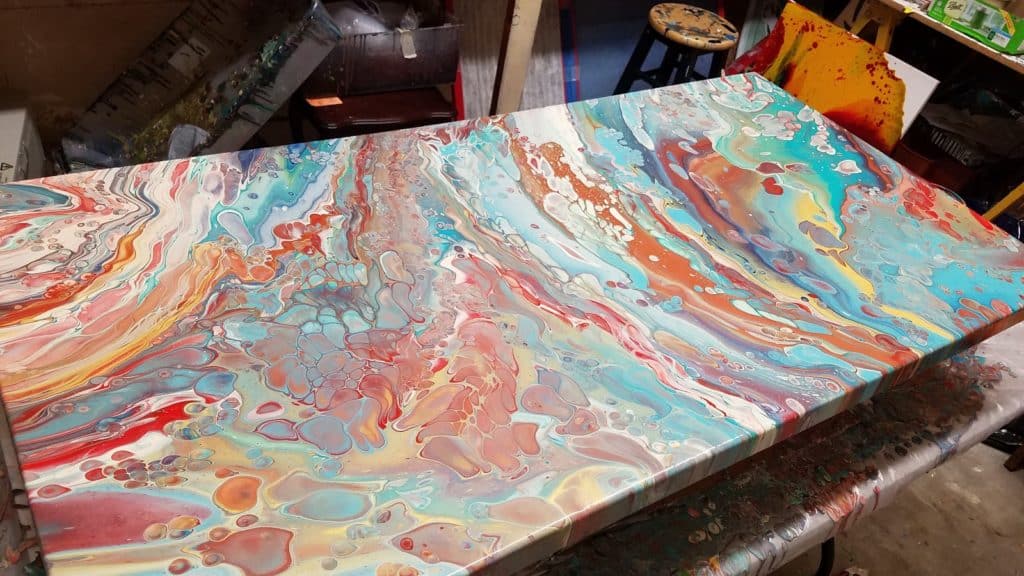
The second attempt was not quite right either. My major mistake on this one was using too little paint which resulted in over-tilting. As colors fold and slide over each other to cover the canvas, they mix and become less saturated. I also used more ivory than I did in the original, it appears.
Supplies I Used (in the third attempt)
- Pebeo Studio Acrylics in: Red Ochre, Yellow Ochre, Ivory, Iridescent Green Blue, Violet, Iridescent Gold, Iridescent Bronze, Magenta, Yellowish Green, Prussian Blue, Dark Blue Green
24” x 48” canvas - Golden GAC 800
- Liquitex Pouring Medium
- Thinning solution (mixture of 3 parts water and 1 part pouring medium)
- Treadmill Silicone Oil
- Kitchen Scale
- Kitchen torch with butane
- Heat gun
- Level
- Painter’s Tape
- Rubber gloves
- Cups
- Popsicle Sticks
I was rattled after the first two attempts, but we had to try again! We decided to make some changes in the color palette, adding a bright greenish yellow, violet, and magenta.
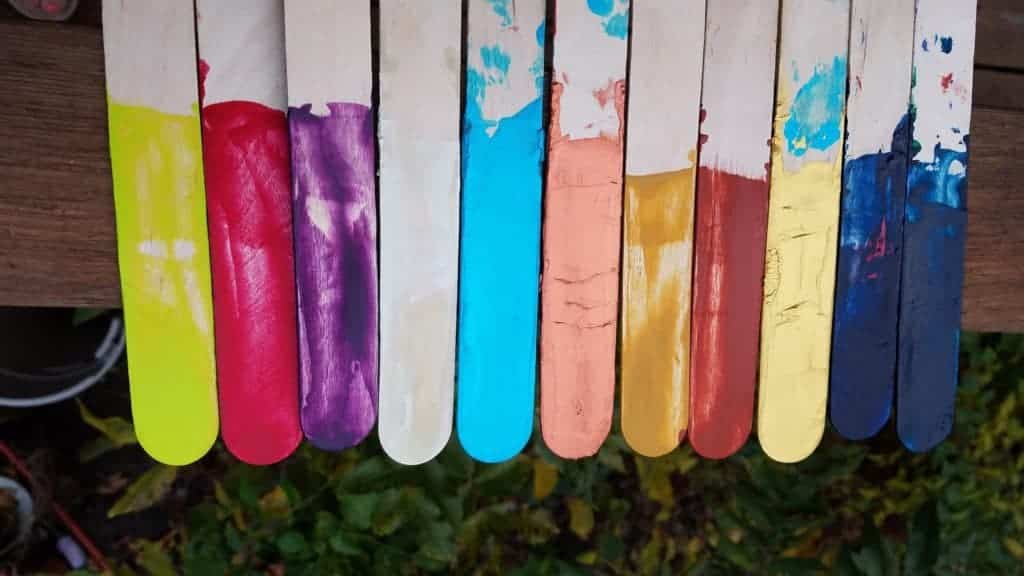
For the third attempt, I mixed a full 17 mason jars of paint (which included a couple of other colors we decided not to use). Mixing paint took eight hours. My recipe and process for mixing paint is pretty simple. Check out this tutorial video for details on how I mix paint and prepare for a large painting. I use three parts paint and one part pouring medium. For pouring medium, I use half GAC 800 and half Liquitex pouring medium. For example, if I use three ounces paint, I will mix it with one ounce total of pouring medium (.5 ounces GAC 800 and .5 ounces of Liquitex pouring medium). I then thin it down to the right pouring consistency using watered down pouring medium. Paint consistency is key and is difficult to describe. I would call it “warm honey” but warm honey exists on a continuum so that description can be misinterpreted! Some of my previous videos have a bit clearer visual on the thickness that I use.
To keep air bubbles at a minimum, I forced myself to wait and let the mixed paints sit for 24 hours before the pour. Immediately prior to pouring the nine flip cups, I added one drop of treadmill silicone oil to each ounce of prepared paint (eg. Add 12 drops oil to 12 ounces of red, six drops to six ounces of blue, etc.). I was very gentle in layering colors on top of each other (rather than pouring them from higher up). I also tried to alternate between transparent and opaque colors.
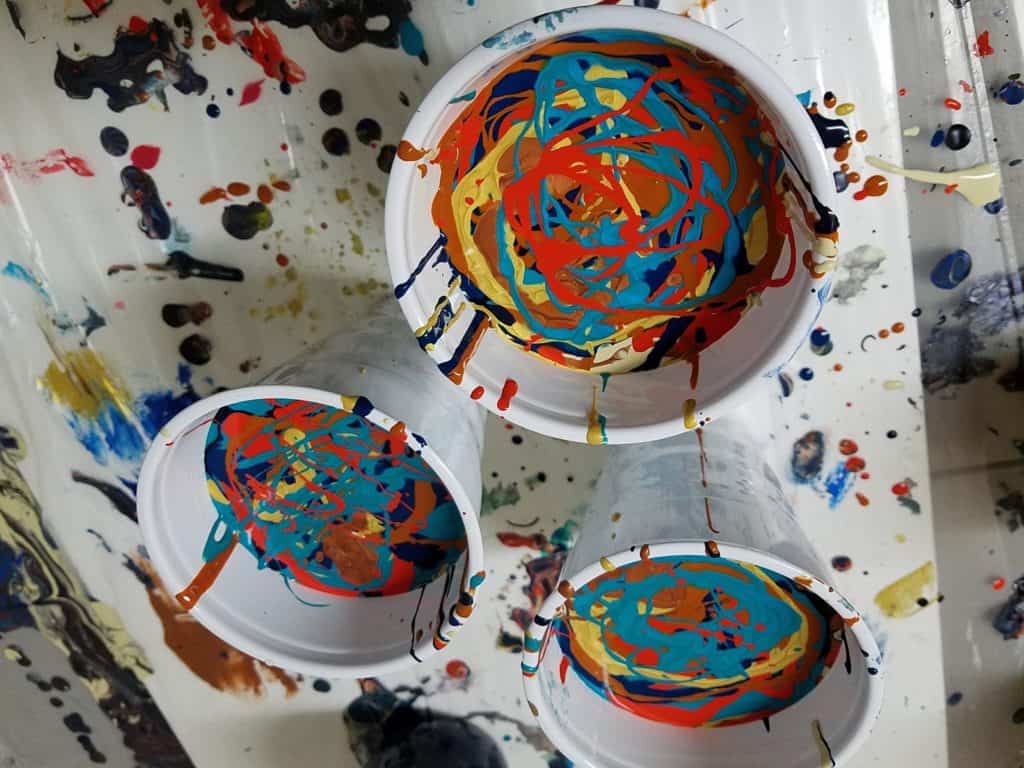
On this third attempt, I filled nine 16 ounce cups for a total of 144 ounces of paint. A decent amount ran off, but that extra paint is what gave us room to manipulate the composition and still keep distinct colors and cells. Using enough paint is absolutely critical to success in my experience!! We tilted the canvas very slowly and used pieces of wood as “corner catchers” to help keep the paint on the canvas. Moving slowly allowed us to keep certain areas and prevented the colors from mixing as much. For a canvas this size, I would definitely recommend having two people!
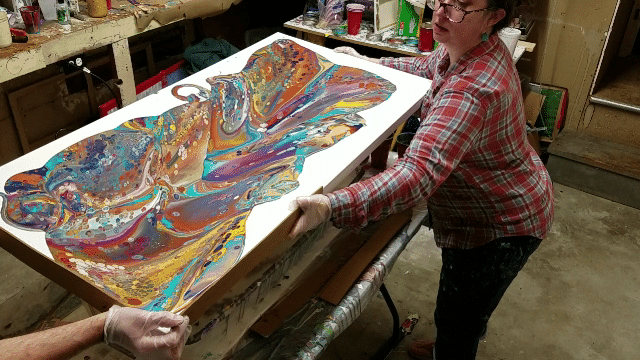
As you will see in the video and others, I do a ton of torching. My mixture is thick, so it takes a while for the paint to get warm. Once the paint gets warmed up cells begin to appear. I torch at two times (pre-tilt and post-tilt) to get a mix of large and small cells. For this painting, I used a heat gun in addition to the torch. We love the results of the heat gun… It seems more effective than the torch even!
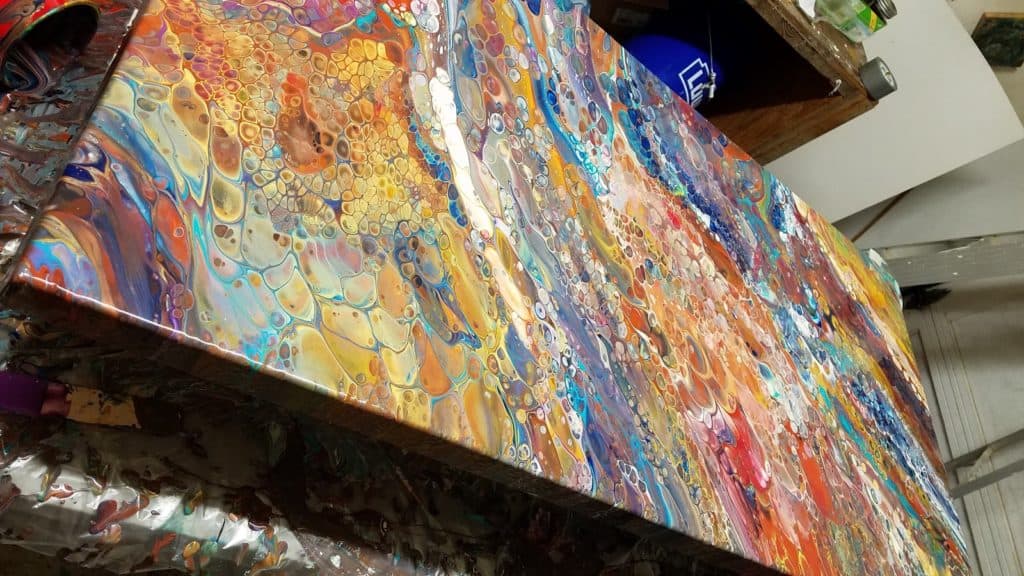
FINALLY! The joy we all experienced seeing the results of the third attempt far outweighs the frustration we experienced trying to get it right.
This was one of my first commissioned pieces. Even though the customer was my friend, I got a non-refundable 50% deposit on the piece before I started. My material cost for each attempt was about $120, so I had to request that she pay for materials on the second and third try. In the end, I recouped my material costs and made about $11.50/hour for the estimated 30 hours of work.
If this experience had happened with a stranger and not a long-time friend, it would have been much more awkward to navigate. I definitely learned some lessons that will change how I approach commissioned work in the future! I will be crystal clear with customers about the acrylic pouring process and the unexpected results that can and will happen. In addition to material costs, multiple attempts take lots of time and space. If a customer requests multiple attempts, I will charge for both time and material costs. Clearly, I need to develop a written contract to ensure I don’t get into any sticky situations! I hope others will share best practices they have learned doing commissions in the comments below. Happy pouring!!

Jenny Post discovered acrylic pouring in April 2017 and uses the therapeutic process to help manage the highs and lows of bipolar disorder and work-related stress. She enjoys sharing with and learning from the acrylic pouring community. You can check out her work on YouTube, Instagram, Facebook, and Etsy.

Wonderful advise. Thank you. Now you also have two beautiful large paintings I’m sure you will have no problem selling. Again thank you for sharing your experience.