The Classic Swipe
This week I continue my exploration into the color purple. Recently I had a friend ask me to make a large 36”x48” painting for her to give to her daughter. I gladly took the commission but before I committed to such a large canvas I wanted to make sure my friend/client would be totally happen with the final painting. To do that, I decided to make four smaller test paintings. Each painting was made with similar colors but different pouring styles.
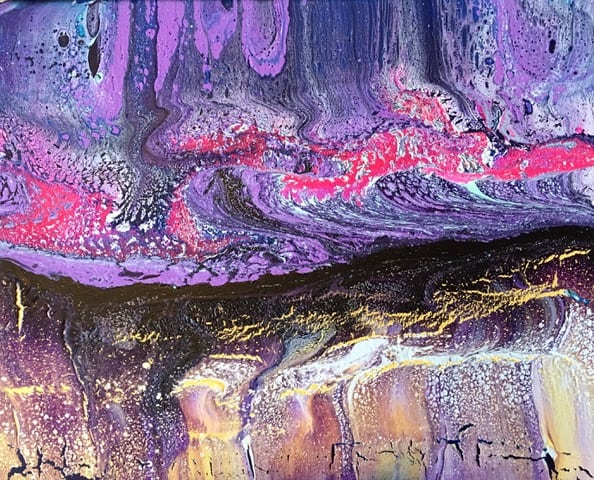
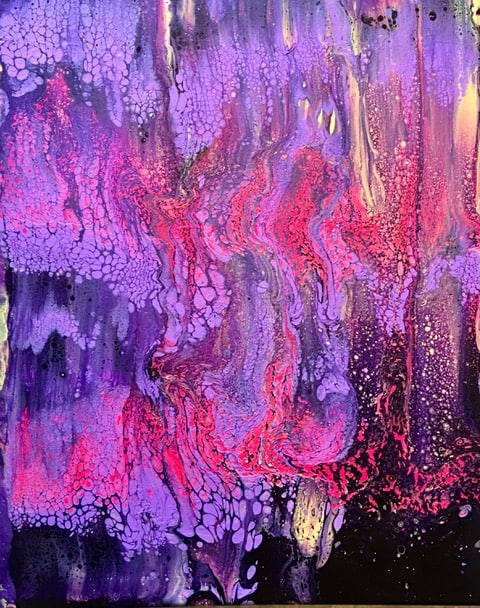
Last week’s video showed me creating a 16”x20” painting using a modified swipe technique. In that painting I poured out horizontal lines of paint and swiped out from the center of the painting to the top and then bottom of the canvas. This week I am doing more of a classic swipe where I lay down a base color, add horizontal lines of paint then swipe across the entire canvas from one side to the other.
Option One from last week
Purple Swipe from Center

This Week’s Option, Option Two
Classic Swipe from Side-to-Side

Don’t Settle
A few words of advice when you pour—don’t settle. About seven minutes into the video you will see where I have completed my first swipe. The canvas look okay with a few areas showing some great cells but frankly, the painting just doesn’t look done. In these situations I tend to do another swipe and that’s exactly what I did to this painting. I added more dark purple and swiped it over the other colors. The result was a huge improvement.
Next week I will post the third video in the series where I do a straight pour and finish it off with some tilting. Thanks for watching!

Steve Shaw is an artist and teacher living in Atlanta, Georgia. His days are spent in the classroom teaching his students the basics of art and self-expression. In the evenings and weekends, he paints. Steve has shown his work in several galleries in the Southeast and has illustrated three children’s books. Recently Steve has discovered acrylic pour painting and is putting all his other projects on hold while he journeys down this artistic road.
To see more, follow him on Instagram, visit his website, watch his videos on his YouTube Channel and purchase his paintings at Etsy.com.
