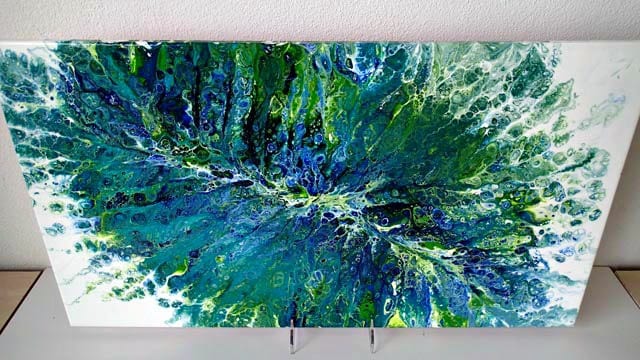
After the success of the smaller version that I tried out on a 6-inch square tile, I was ready to tackle my largest painting yet. I was so nervous. As usual, not having enough paint was one of my biggest worries so if course I had too much in the end, but better more than not enough.
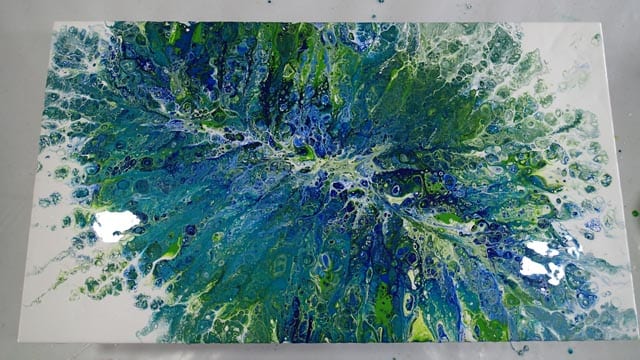
I mixed a selection of paints in cobalt blue, ultramarine blue, a green which was a mix of emerald green and chrome yellow, a metallic teal and white. This time I’m aiming for a more diagonal format, across the largest axis of the tile and I wanted ideally for the central motif to spread out and over the edges but still leave some white areas of negative space in which I could blow the colored paints.

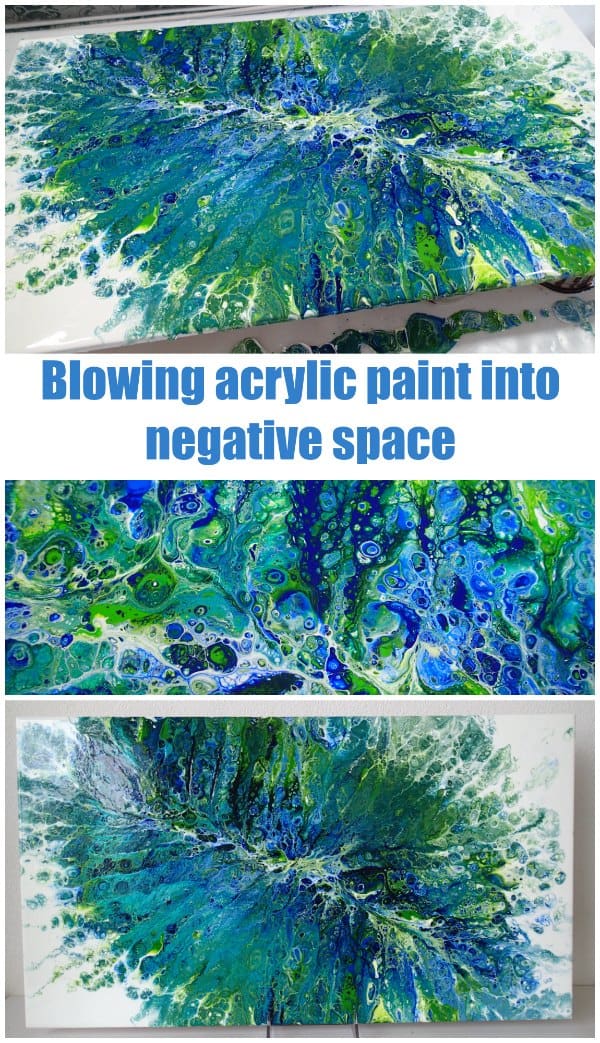
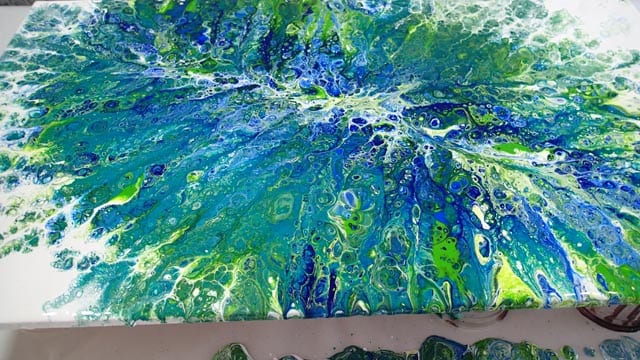
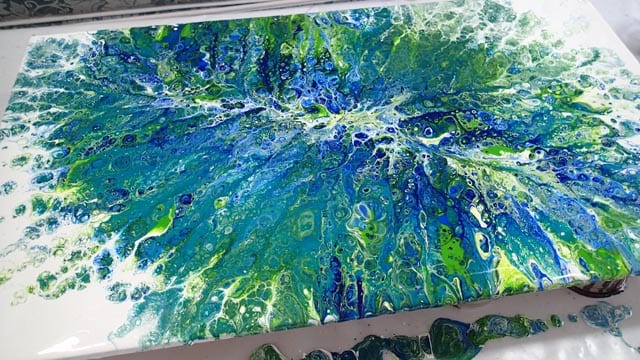
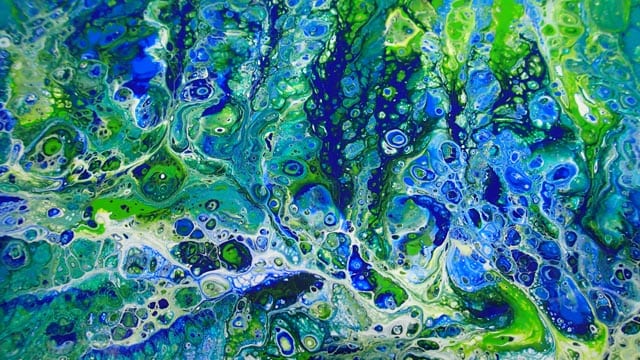
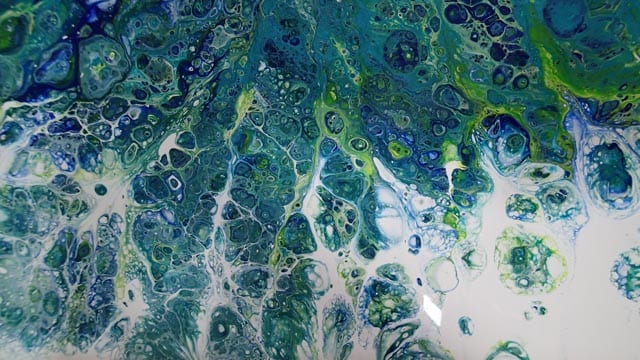
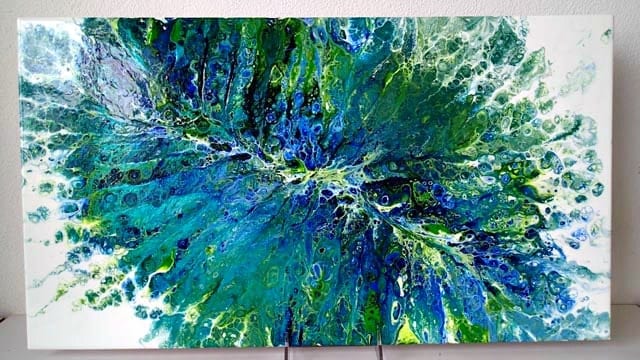
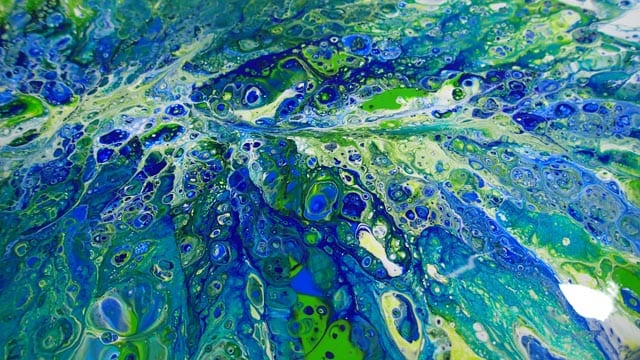
It was a lot of blowing! The hairdryer was on hand but in the end I managed the whole thing with a straw. As always, there are some areas I like more than others, some which had more of the dark color, some which were more green, some which were predominantly metallic. But wow, the overall effect is pretty stunning.
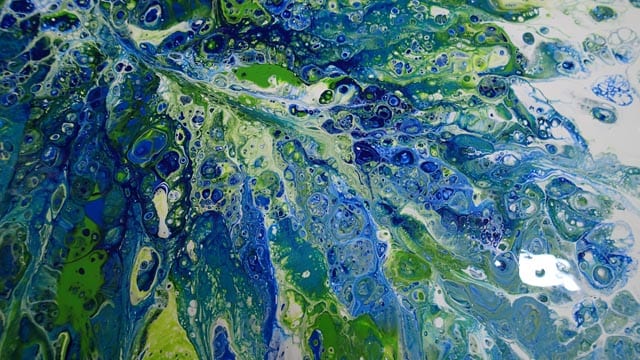
This looks gorgeous now it’s finished. I know I say this almost every time, but this has become one of my favorites too. I love that texture, the colors, well, everything about it. It makes a very nice display piece, and those stands are good too.
Here are the stands that I bought, called Gibson Holders. They are very strong, the spring on them is really tight so just one will even easily hold the weight of this big heavy tile. With the base being clear, they are really unobtrusive and a nice way to display art pieces that you don’t necessarily want to hang on the wall.
Small here Medium hereLarge here – the size I used for this tile
Check out the slideshow below for lots more pictures, both wet and dry, and close-ups of the details.
Frequently Asked Questions
1.Can blowing technique be used for larger paintings?
Yes, the blowing technique can be applied to artworks of any size, though larger pieces may require more effort and control.
2. Is it difficult to manage paint on larger canvases?
It can be challenging due to the increased quantity of paint and the larger surface area, but with practice, it is manageable.
3. Can I use a straw or a blow dryer for the blowing technique on large canvases?
Both can be used, but a blow dryer or a larger tool may be more effective on large canvases.
4. How much paint do I need for a large canvas?
The amount of paint needed depends on the size of the canvas, but generally, larger canvases require more paint.
5. How can I ensure uniform flow of paint on a large canvas?
Maintaining a proper paint consistency and using tools like spreaders can help in achieving a uniform flow.
6. How long will a large pouring/blowing painting take to dry?
Large paintings may take longer, possibly up to a week, to dry completely, depending on the environmental conditions and thickness of the paint.
7. Is it more expensive to create large acrylic pour paintings?
Yes, larger paintings usually require more materials, making them more expensive to create.
After being told in high school that she was so bad at art that she should switch to another subject, Deby didn’t paint again for 35 years. Then a stroke released a new wave of creativity and she began exploring with dot painting, abstract and eventually acrylic pouring, and at last the joy of working with color returned. You don’t need ‘talent’ to be an acrylic pouring artist – just enthusiasm, some basic instruction, and a willingness to try, fail and try again. Paint along with her and learn from her many mistakes, and you’ll soon make great art together.

Love your style of presentation, straight and to the point. Lost page to subscribe. Can you do it for me?
Thanks Helen. I just went to add you and see you are already there, so looks like you got it sorted. Thanks for following.
Beautiful colors on this one. Definitely on my “to do” list! I did one using the black, gold, white colors with negative space and while not as nice as the one you did I think mine turned out pretty good for my first attempt. Great inspiration! Keep them coming! Thank you.
Are you in the Facebook group Michelle? I’d love to see your painting. Drop in and share. http://facebook.com/groups/acrylicpouring
Love the large pour, great job. I just started pouring, but will be looking forward to doing a large one in the future.
I’ve found it large to move up to larger canvases and still get the composition right. What looks great on a small canvas looks incredibly busy on a large one. You’ll see some of my crazy attempts coming up in the future!
What kind of varnish do you seal your tiles with? Thinking of trying coasters but not sure what type to use to make it protected by sweating glasses.
For my artwork I use Polycrylic (I write about it here) but I have still yet to find a finish for tiles that I am happy with for use as trivets and coasters for things like cold drinks and hot coffee mugs. I’m still experimenting and have several more to try, but so far none are coming up really good for that.