Okay, I’ll be the first to admit I’m no expert when it come to doing acrylic pouring. In fact, I am still learning with the “trial and error method” of pouring with more “error” than “trial.”
Maybe you have had some of the same issues I have experienced with acrylic pourings:
1. They have many teeny, weeny, tiny baby cells. Whaaaaa!
2. The cells are all squished together and look like an oil spill on water.
3. The color choices were a little dark, too light, or what was I thinking?
4. The acrylic pouring lacks…oomph, pizzazz, appeal! Snore…Z Z Zzzzzz
5. Small cracks opened up in areas of the pourings looking like lava fissures around a volcano.
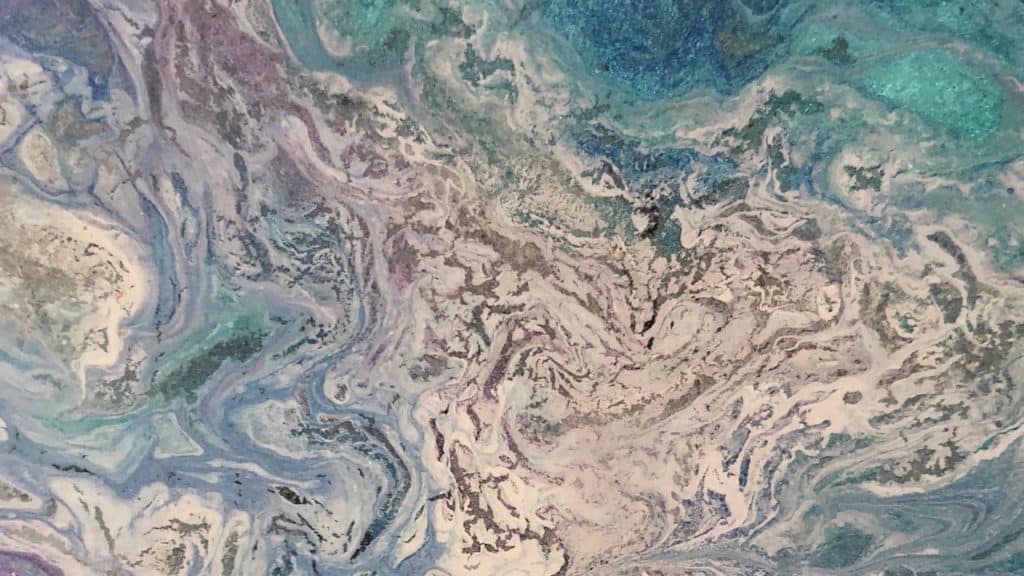
Example of a pouring with fissures, oil slick, baby cells, and no pizzazz! Whaaaa!
Most of my pourings are not failures, however when I am disappointed with one…I won’t call it quits and give up. It must be pizzazzed or die a slow death under my bed never to be seen or gifted. This is where I get rather creative (if I do say so myself) with those lackluster pourings that are kinda pretty, but only your mom would love it (maybe).
My Tip: Embellish, Embellish, Embellish!
Here are some of my favorite embellishment options
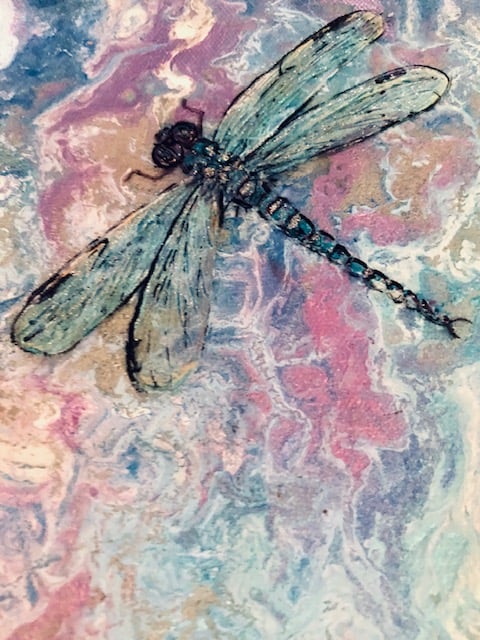
My Process: I apply one coat of resin to my cleaned pouring (silicone oil removed if used) and let it dry 24 hours. Next, I paint a dragonfly using metallic acrylic paints and iridescent medium on top of the resin. Lastly, I add a second coat of resin over the entire pouring with the dragonfly. Sandwiching the painting between the two resin layers and creating a three dimensional effect. The dragonfly looks like it’s under glass!
Easier Option: The same as above, except first you paint the dragonfly directly on top of the acrylic pouring adding one coat of resin or a water based gloss Liquitex Varnish over the painting to seal and add a glossy finish.
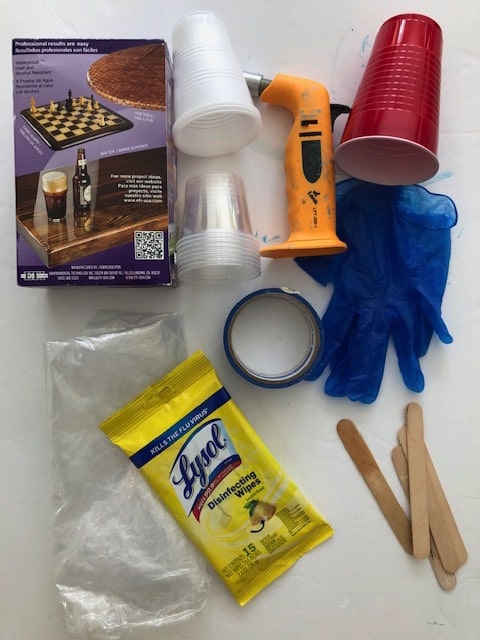
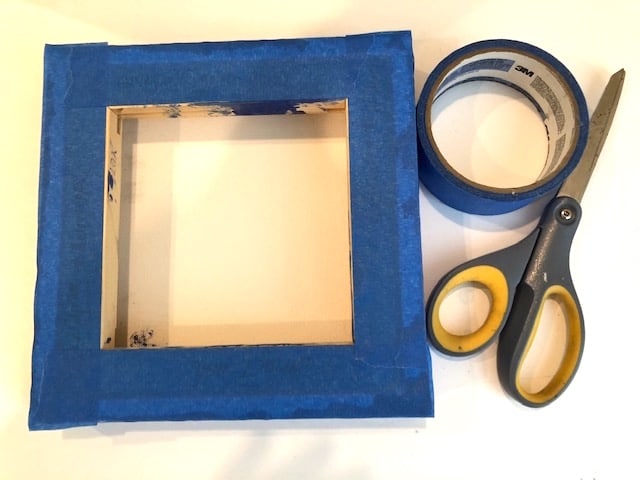
Supplies I Used:
- Acrylic pouring …dry and cleaned
- Envirotex Lite Pour-on (Complete directions are with the resin.)
- Two clear plastic cups for mixing and 4 cups for elevating the canvas
- two wooden stir sticks
- Disposable gloves
- 3M Painters Tape
- Spatula to spread resin
- Butane torch or heat gun to eliminate bubbles
- Disposable alcohol wipes for cleanup
- Plastic to protect work surface
I begin the process by cleaning my acrylic pouring (silicone oil removed) and then elevating it on upside down plastic cups so the resin drips off the paintings edge. Next, I add the first coat of clear resin and let it dry until the surface is hard to the touch. (About 24 hrs.)
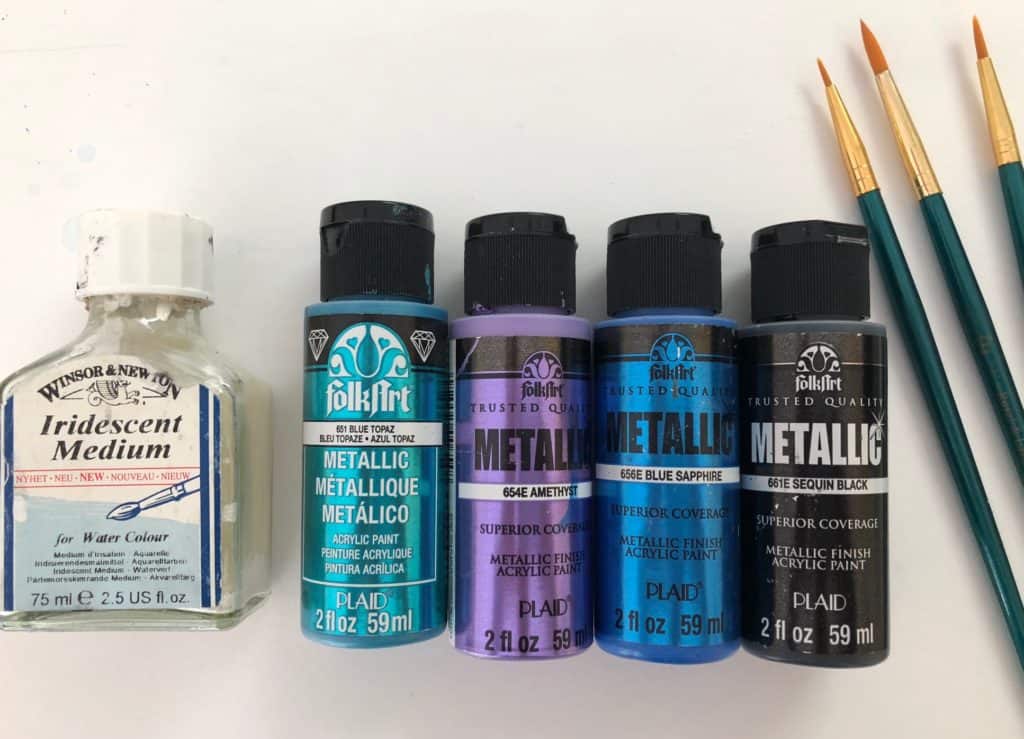
Supplies I Used (for my dragonfly):
- One completed acrylic pouring (on canvas or wood panel) that needs PIZZAZZ
- Acrylic Folk Art “metallics” in: blue sapphire, sequin black, amethyst, blue topaz, regular white
- Iridescent Medium by Winsor & Newton
- Assorted small paint brushes
- Water
- Paper towel
- Image for reference
- Tracing paper
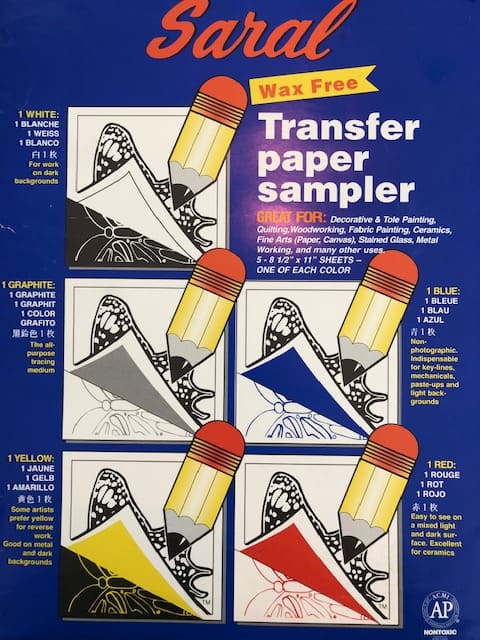
- Saral Transfer Paper for tracing on any surface
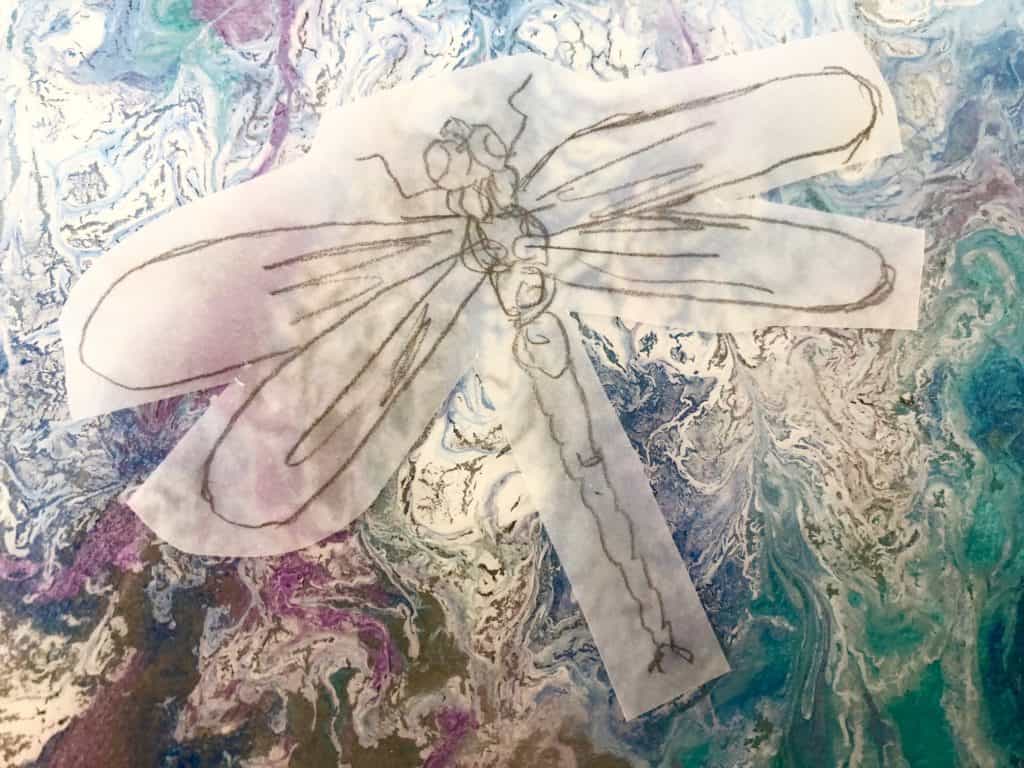
Next, I examine my pouring’s colors and resulting design to decide on the best image to use, size and placement. (I thought the metallic colors in the pouring reminded me of iridescent dragonfly wings.) I sketched the dragonfly onto tracing paper to help decide placement and correct sizing.
Once size and placement were decided, I traced the dragonfly on the resined surface using Saral Transfer Paper. Next, I painted using the same metallic colors I used in the pouring. When I was happy with my dragonfly I let it dry and then applied a thin coat of iridescent medium to the dragonfly body and wings. Lastly, I outlined the body with black paint using a thin brush and added a bit of white highlights.
Hint: A fine point black paint pen would also work.
Bonus #1: Resin fills in the fissures and intensifies the colors! Yes!
Bonus #2: Painting on a resin surface allows me to easily wipe off mistakes and start over again, again and again…which I did. If I didn’t like the way the dragonfly looked…it was off in a flash with the damp paper towel. You can do this an endless numbers of wipe-outs.

Midge’s work is characterized by bright colors and fun tropical designs. Primarily a self-taught artist who is constantly experimenting with different brushes, tools and mediums to achieve a variety of effects. Midge is inspired by the beauty of Anna Maria Island, Florida, where she currently lives.
www.midgepippel.com
Instagram: @Midge_Pippel
[email protected]
https://Pixels.com > Midge Pippel
https:fineartamerica.com > Midge Pippel

Great idea for all the pouring pours I have.
Hi, really enjoyed your idea of embilishments for not so great pours. My problem is that I can’t draw well. So how do I overcome this problem. Do a do a tracing? I also adore dragonflies.
Find pictures of dragonflies or other creatures online. Many are copywrite free. Print and enlarge if necessary. Then use Midge’s technique for tracing on your pour and painting to match.
Try a stencil, I use these from time to time.