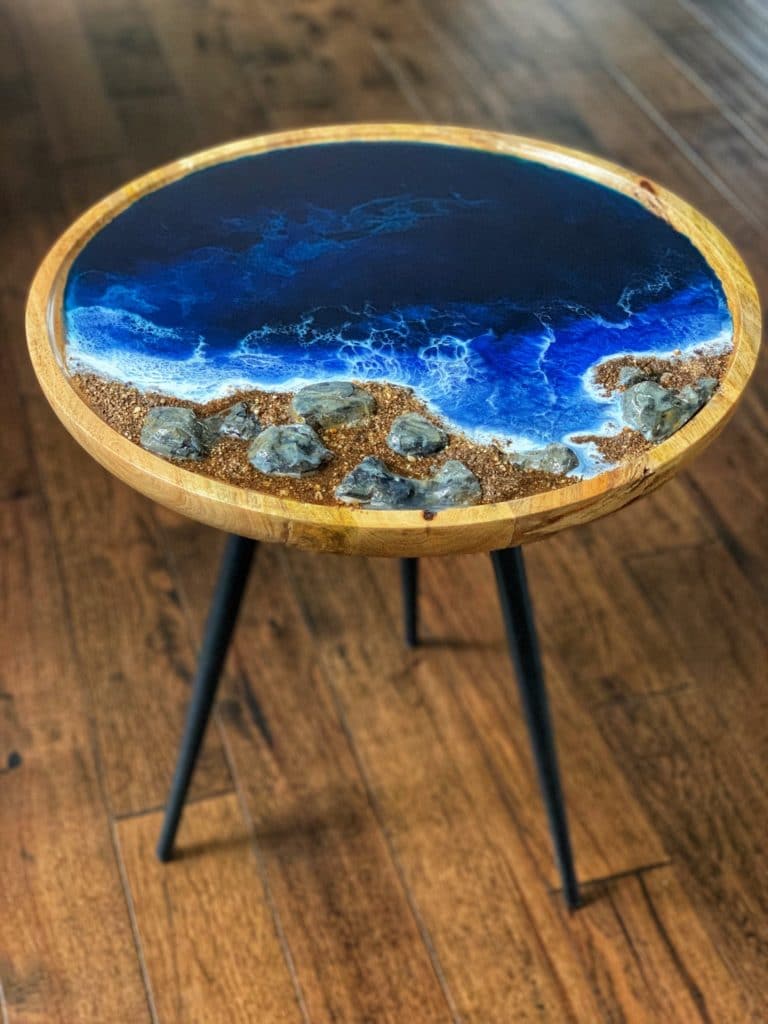
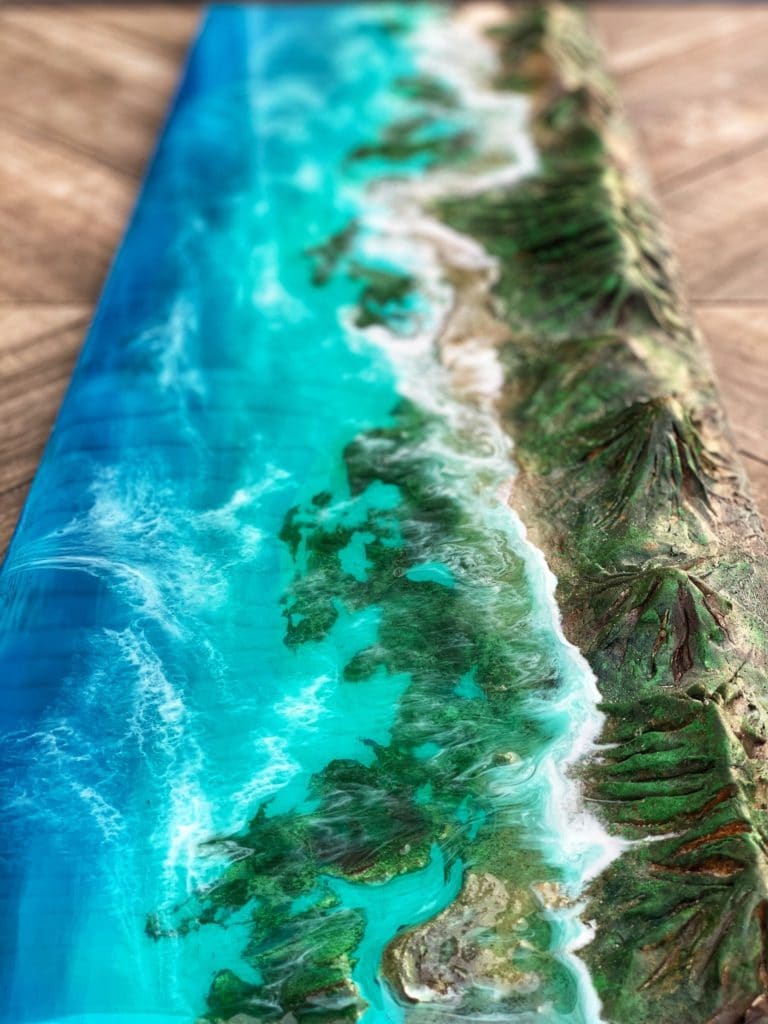
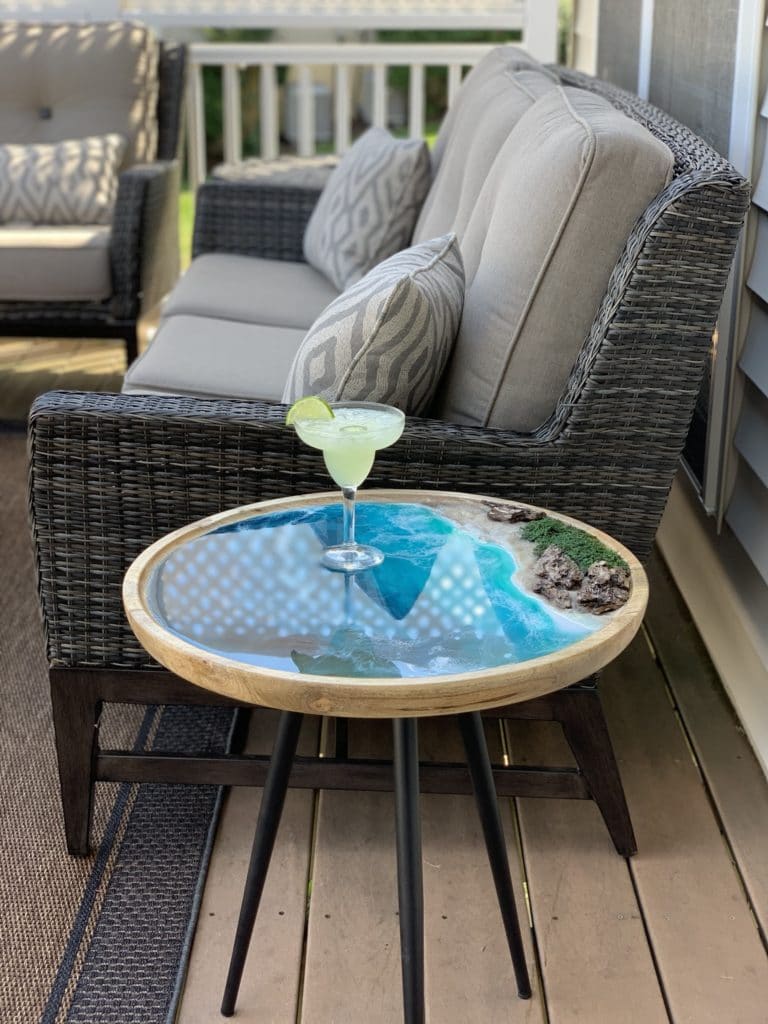
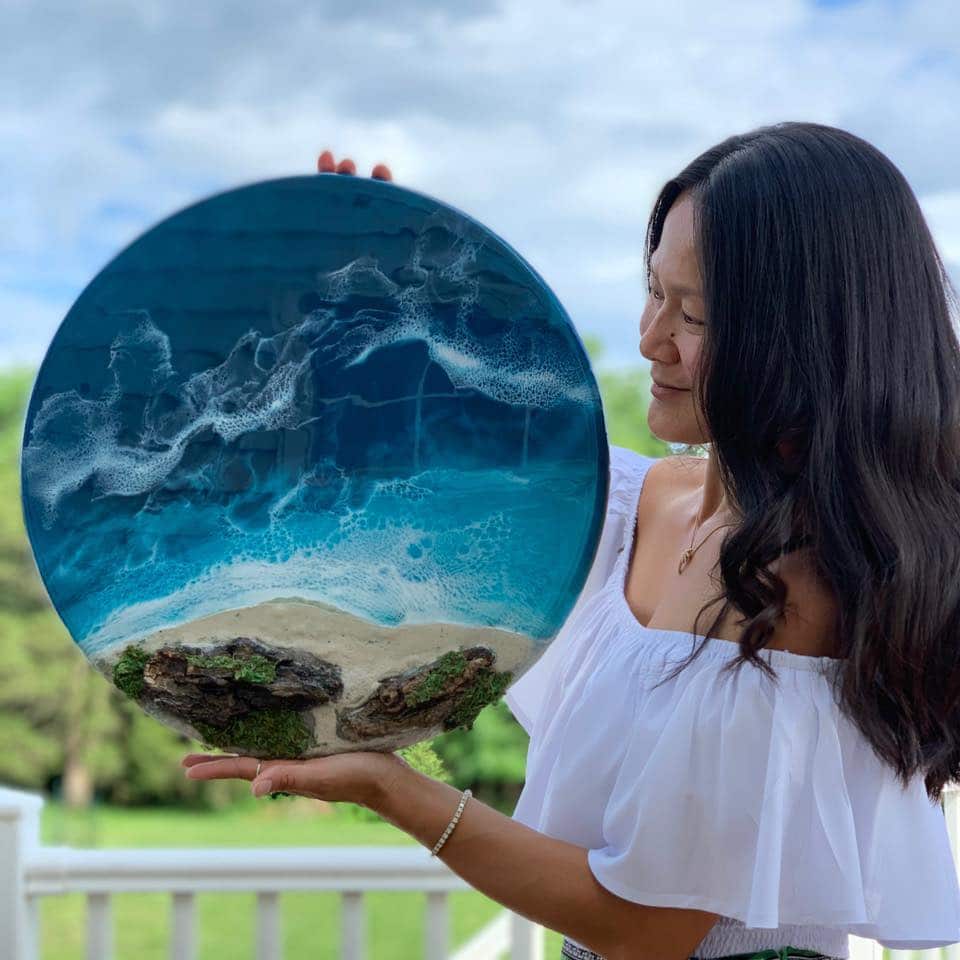
Several art enthusiasts at the 2019 Annual Employee Art Show inquired, what is that and how did you do this?!! The creative process is just as fascinating as is the medium used.
Apparently, inquiring minds do want to know. I draw my inspiration from aerial ocean photography as well as my love for world travels aiming to recreate realistic ocean seascapes. I have a reverence for nature and a love for the vast ocean.

The creative process starts with resin but goes far beyond just painting. The three-dimensional artwork process takes days of preparation. The initial phase consists of selecting what to paint on, gathering artifacts needed to create the seascape, and all materials needed to execute the vision. I enjoy enhancing accent tables so that is a popular choice to select and paint on. At times, I will either hike through a forest to find interesting bark pieces or incorporate other natural elements I have collected that have given some creative value to the process.
Next, I typically prep the surface with a layer of acrylic paint to cover the surface completely. To augment the bark, I use clay to sculpt land formations or boulders. I’ll then paint them to match the bark color, creating an entire coastline. I also use other natural elements to create my land formations, incorporating sand, seashells, and moss to brings my artwork to life.

Then I begin the super fun, very sticky process of painting with resin. Time to get messy! I put on my latex gloves, safety glasses, and carbon filter mask. Safety first folks!
The mixture is one part hardener and one part resin. I stir by hand and mix for approximately three to four minutes, making sure to stir thoroughly. Once mixed, I only have 45 minutes of working time (with brand ArtResin) before the clear viscous liquid becomes hard and starts to cure. In the first few minutes, I divide up the mixed resin into smaller cups and add color to each by adding acrylic paint or powder pigments. I then pour the mixture onto the prepared surface in layers starting with the 3-D structures working my way towards the coastline and outwards. I cover the entire surface of the painting with resin so it protects the natural structures placed on the painting. I then blend between different colors with either my fingers or a stick. I then blast the painting with a heat gun to remove bubbles and allow the resin to flow. Next, I take the torch and hover over the painting, torching the bubbles in a very quick motion so as to not burn the resin. I’ll then add waves by coloring a small amount of resin with white pigment or acrylic to allow for lacing. I use the heat gun and the torch to achieve this effect.

Once finished with the art project, I will go back about 20 minutes after I’m done to torch the painting one last time to remove any excess micro bubbles. It takes 24 hours for most epoxy resin to fully cure. Most artists will repeat the process of the resin work one to two more times to add more dimension and depth to their paintings.
Resin art is addicting! It is an inspiring form of art to explore!

Self taught resin & acrylic Artist. Let your light shine!

Hi! I’m a acrylic pouring junky myself and have been wanting to try this for so long! Thank you for sharing your beautiful work and process!!! I’m thinking that I’m as ready as I’ll ever be so was wondering if you prefer a specific brand or kind? Thanks again for your absolutely stunning art!
. Jamie Clampitt
Florida
Thanks for sharing this. Hoping to try resin painting soon. You have got me all excited. Thanks again.
Off subject a little, wondering where you sourced your table legs, and can you recommend a height for an 18 inch cirlcle I pored and resined?
I was wondering what you use to make 3D objects, rocks, grass mounds.
thanks janis
I realy love the look of resine but i fond it smell very strong.
I enjoy your work and I like that you are self taught with the resin. That is the way I will be along with your inspiration.