If you’ve been pouring a long time, you’ve probably thought…what’s next? Pouring is fun and the results are unique every time you pour, but the same techniques can become repetitive and predictable.
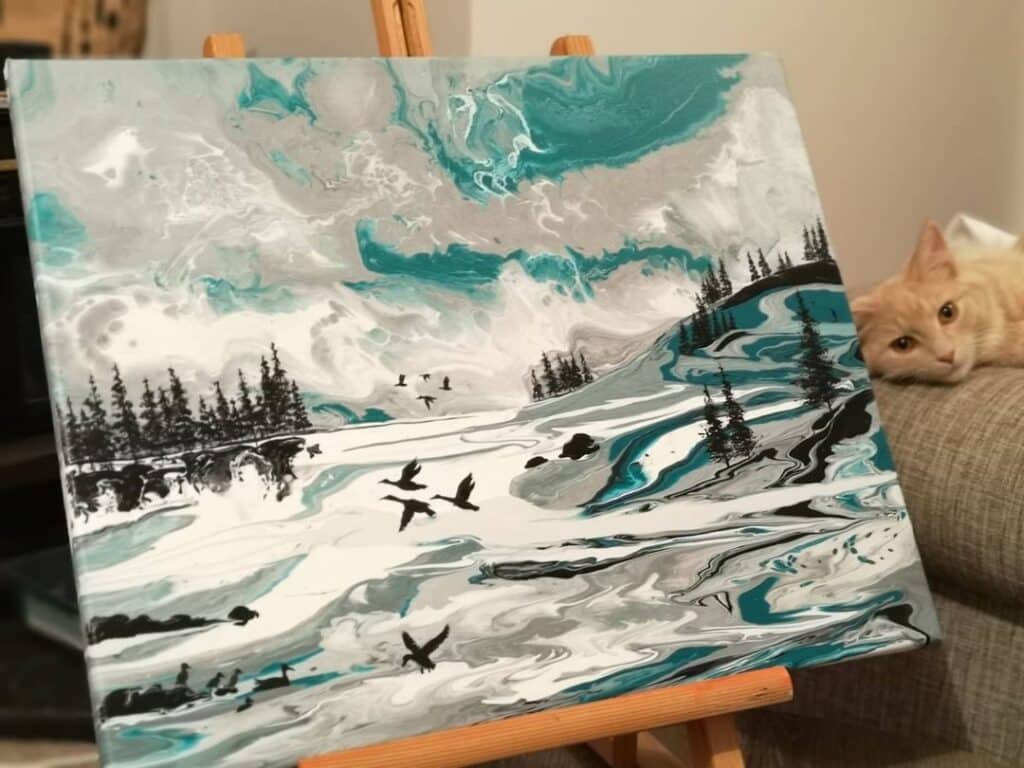
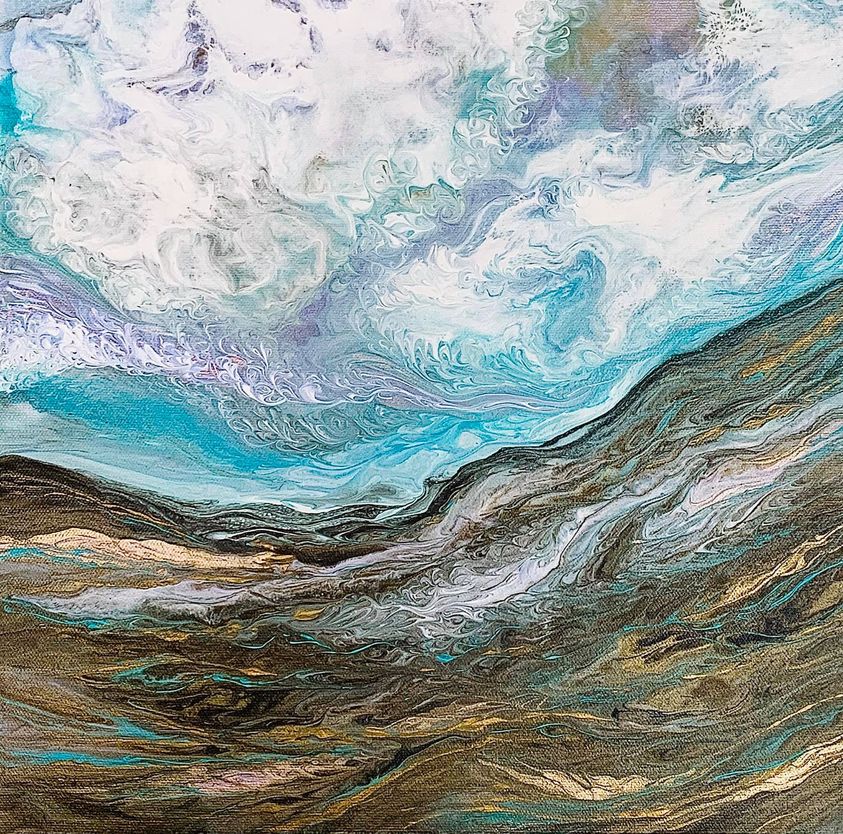
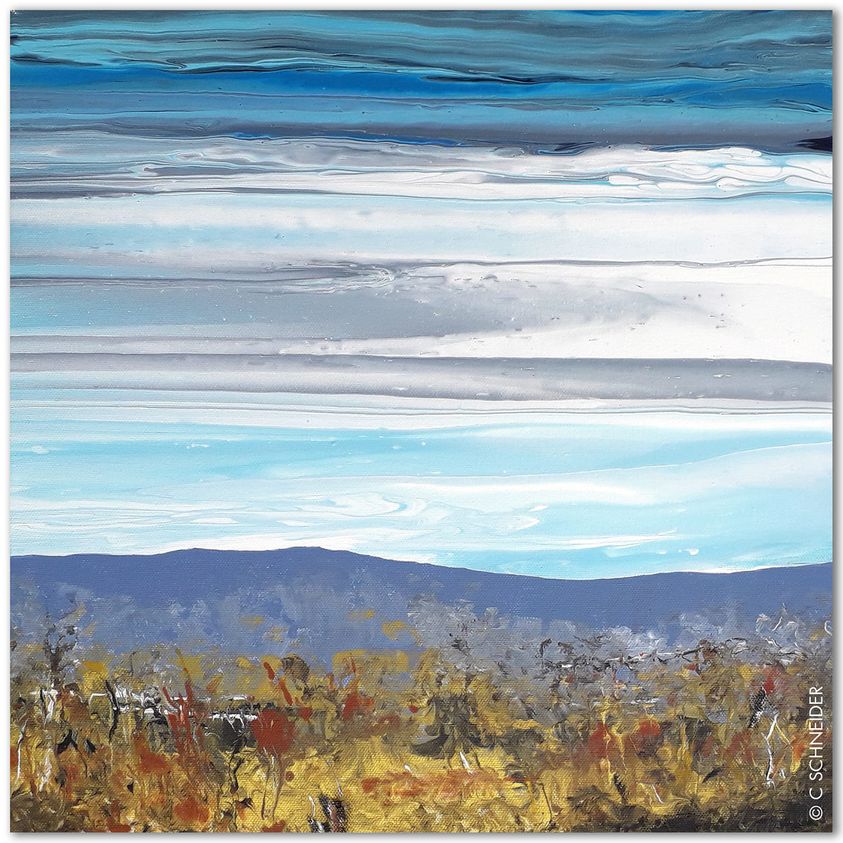
In this article, we’re going to tackle a more advanced topic; the landscape pour. We’ll talk about how to embellish a poured background to look like a landscape, and also how to pour a landscape itself!
Pouring a Landscape Background
Poured landscape backgrounds can create dreamy backdrops for all kinds of landscapes; mountains, seascapes, even celestial pieces. There are a few things to consider when you’re creating a landscape background.

- Think of your embellishment first. If this is a painting you’re pouring specifically for use as a landscape background, think about how you’ll embellish it. If you’re going for a lake landscape, for example, you might consider a tree ring pour to get a symmetrical look to the background, which will give the water part of your embellishment the appearance of holding a reflection.
- What orientation are you going for? Will your canvas be displayed as a portrait, or landscape? If it’s square, will it be displayed as a “diamond”? If you’re not sure which orientation is best, you can lightly sketch out your landscape with a pencil to make it easier to imagine.
- Where is the sky? Where are the trees? What color do you plan on using to embellish the pour? If you’re going for a silhouette embellishment and plan on using only black to paint the landscape, you should consider using a slightly lighter color palette so that it shows up easier.
What Can I Embellish a Poured Painting With?
There area a few ways you can go about creating a landscape on top of your already poured painting.
- Vinyl works great! If you have access to a Cricut or know someone who does, you can create trees, mountains and other embellishments using vinyl cutouts.
- Paint (oil or acrylic). Artists have used both oil and acrylic paints to create landscapes on completely cured poured pieces! If you’re not comfortable with a brush, paint markers also work well.
- Paint skins from other pours that you cut into landscape features.
If you decide to work with vinyl, it is absolutely imperative that your painting is completely cured! Vinyl cutouts require transfer tape for placement; once the vinyl is put into place, the transfer tape is then peeled off. If your painting isn’t cured enough, you’ll end up pulling your paint off right along with it!
If you’ve poured on a smooth surface like a tile, consider sealing the paint with a coat of Krylon spray first; the smooth surface of the tile can cause chipping in unsealed acrylic, and transfer tape might be the catalyst that causes your paint to flake.
You may also want to consider sealing your piece before painting or using vinyl on it if your poured painting is lumpy. Lumps will show through vinyl and your painted embellishments; if there are too many lumps, you may want to try pouring a different background, or sanding down and retouching the painting you already have.
Tools You Will Need to Embellish a Pour
If you’re already pouring paintings, you probably have everything you need already to get started!
- Acrylic paint and medium for the background
- A canvas or similar surface that holds up well to paint
- Measuring cups, stirring sticks and gloves
- Paintbrushes in a few different sizes, if you plan on embellishing your piece with a painted landscape
- Krylon spray on sealant or Polycrylic, whichever you prefer
- Vinyl cutouts, if you’ve decided to create a landscape in vinyl
- A flat surface on which to work
- A dust-free, flat area where your piece can dry.
- A ruler to make sure that your edges are straight, if you’re creating a piece that has reflections
How Can I Pour a Landscape?
Embellishing is great, but did you know you can actually pour a landscape? As in, pouring the mountains, the water and even the clouds?
For this technique, you really only need one specific tool….patience! Pouring a landscape takes time, sometimes even weeks; it all depends on the techniques you use and the end result you’re looking to achieve.

Multi-Layer Landscape Pour
To achieve depth in a poured landscape, we suggest creating a multi-layered piece. This takes a lot of time and patience, but can create a truly unique finished product.
A multi-layer landscape pour is created by pouring each layer separately, sealing in between.
Here’s an example step-by-step process so you can get an idea of how this would flow:
- Pour the first layer of color – usually water and sky elements. Allow the paint to cure completely, and then seal with a thin coat of Polycrylic or resin.
- Pour the second layer of color – this will be things like mountains. Allow the paint to cure completely, and repeat the sealing process.
- Pour the final layer of color – trees, rocks, etc. Then, seal with a flood coat of resin for a glass-like finish.
If you use Polycrylic or Krylon spray sealant between layers, you’ll have slightly less depth, but the overall piece will be lighter. If you use epoxy between layers, there will be more depth and shadowing, but the piece will be quite heavy overall.
Standard Landscape Pour
If you’re not ready to wait weeks four a finished product, you can create a beautiful landscape pour in one single pouring session instead.

Here’s how to create a landscape pour:
- Mix the colors you’ll need.
- For mountains: grey and black, grass green and forest green, medium and deep brown.
- For the sky: light blue and white, deep navy and royal purple, red and yellow (for sunsets)
- For water: light blue, deep blue and a bit of white to outline waves, teal and cerulean
- Layer your mixed colors for each element of your painting. This will give each individual piece of the painting depth.
- Sketch a rough outline of where you’d like the paint to lay. This will help you visualize where the paint needs to be, and keep things on track!
- Make sure your canvas/surface is on a perfectly even table! If your table is uneven, your landscape is going to run – and no one wants a melted landscape!
- Pour from top to bottom (or vice versa). It will be much easier to manipulate your painting this way.
- Tilt your canvas to manipulate the paint, or use a stirring stick or straw. Don’t manipulate too much if you’re looking for crisp lines!
- Use a stirring stick or even a toothpick to drizzle white lines to accent waves if you’re pouring a landscape with water.
Like any poured painting, a landscape painting needs to cure for a few weeks before sealing. However, you should not just move the painting even if the paint seems firm on top! To avoid any running, prepare to have this painting flat until it’s completely cured.
Once cured, you can seal your piece with a thin sealant like Polycrylic, or finish it with epoxy resin for glass-like results!
Final Thoughts
After you’ve mastered the basics, a landscape pour is a fun, advanced technique that you can use to breathe new life into your paintings!
You can also take “less loved” poured paintings and create beautiful landscapes over them; we all have at least one of those sitting around, and making a landscape is the perfect way to make sure they don’t go to waste!
Have you created your own landscape pour? Show us in our Facebook group!
More Resources
How to Turn a Flip Cup Pour into a Landscape – It’s Easy!
How to Enhance Your Acrylic Pours With Landscapes

Sara Wagner is an author and artist from Upstate New York. She is the owner of Studio Blackwater and can typically be found covered in paint, cats, or her two young daughters. You can find her on Facebook and Instagram as @studioblackwater.

All your lnformation is very useful. Thank for sharing…
Thank you, this was truly helpful!
Find this information to be most useful. Thanks for sharing!