Did you see my original Peacock Tail pour? It was a lovely painting in the end, but I had made a mistake. I set out 5 colors all based on a swatch from Pinterest of a peacock, and then for some crazy reason I missed out one of the colors from the flip cup entirely and added white instead. I’m determined to try that again!
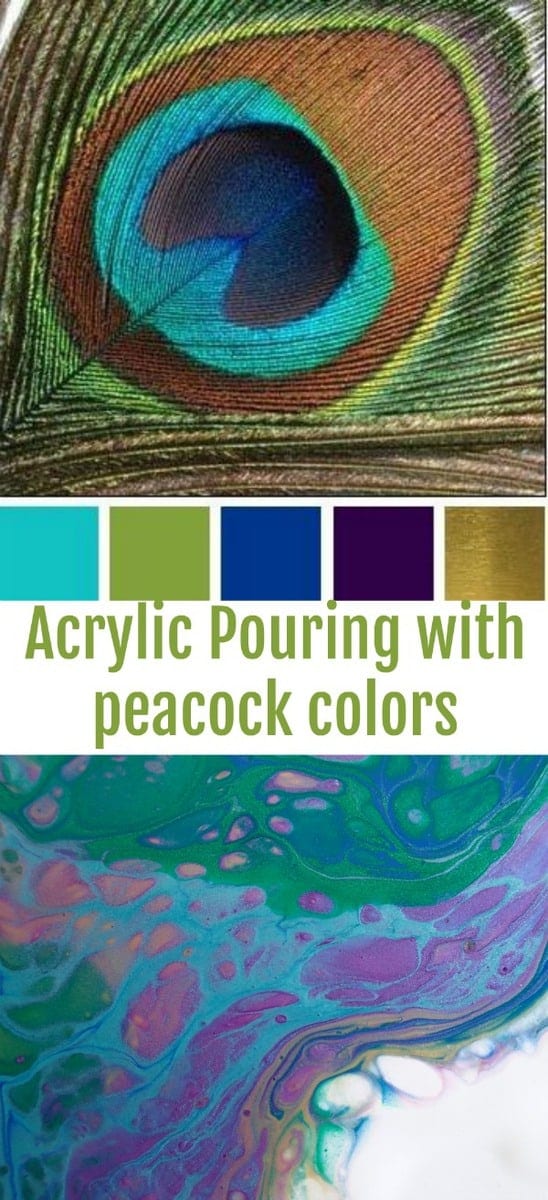
So this time, I’m going to try to concentrate a bit more. I’ll be using the same colors as last time, remembering to add in the Cobalt Blue, and leaving the white out of the cup itself, using that just for the background. I hope to get a more vibrant tail that way.
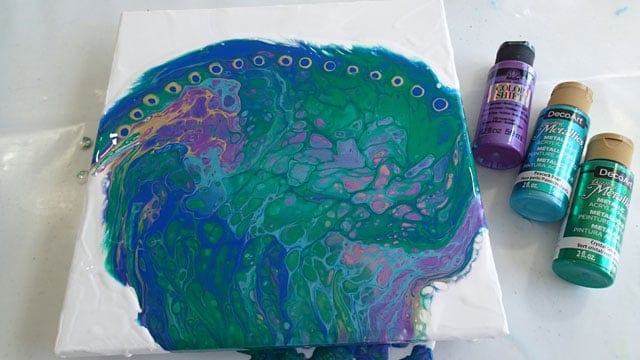
Materials used in this project:
Blick Student Acrylics in cobalt blue
Peacock Pearl metallic
Art alternatives titanium white and gold
Floetrol
Purple Flash Color Shift paint
Crystal Green metallic
Treadmill belt lubricant
10-inch canvas from multipack
Recipe for this project:
1 part Floetrol to 2 parts paint
Colors contain 1 drop of treadmill belt silicone oil
The white for the negative space has no silicone
Water is added to the paints as necessary to get the right consistency for pouring – varies
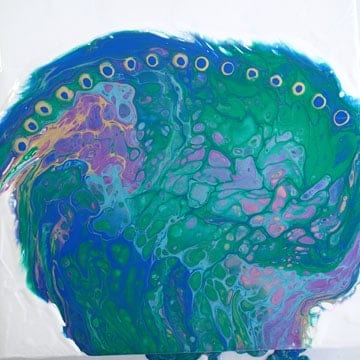
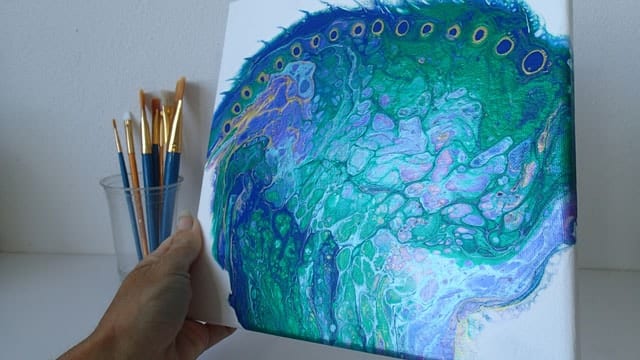
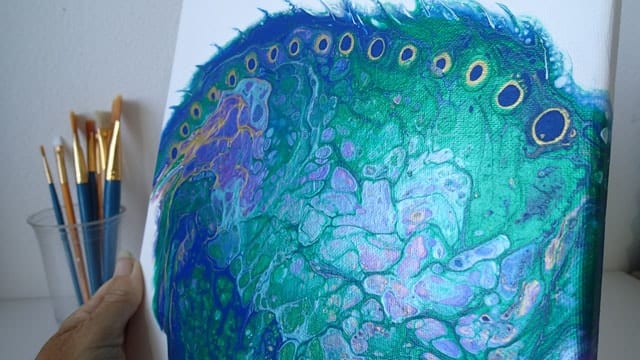
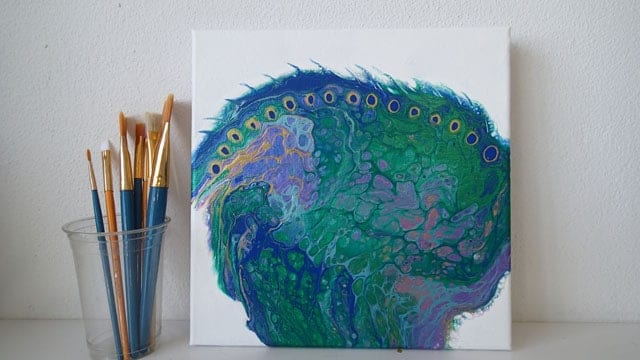
So in the end, despite using the correct colors this time, I’m not overjoyed with it. I think I much preferred the original one, even though technically that one was a mistake. But this does give me an opportunity to try out something I’ve been wanting to try for a while so in a future article, I’ll show you how I will try to paint a silhouette of a peacock’s head on this pour. Fingers crossed!
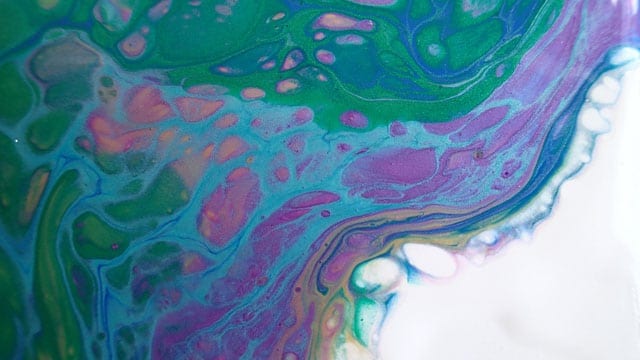
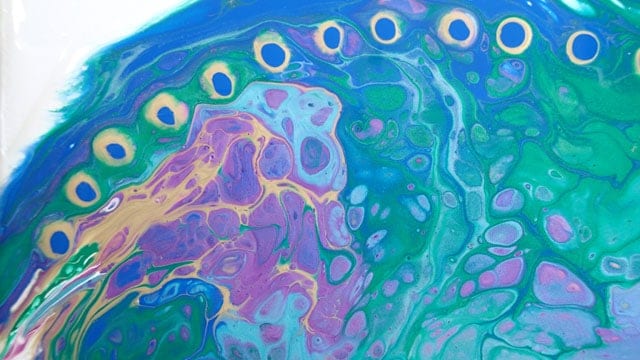
As usual, here is a slideshow of photos of this pour, both wet and dry, and close ups of the details.
After being told in high school that she was so bad at art that she should switch to another subject, Deby didn’t paint again for 35 years. Then a stroke released a new wave of creativity and she began exploring with dot painting, abstract and eventually acrylic pouring, and at last the joy of working with color returned. You don’t need ‘talent’ to be an acrylic pouring artist – just enthusiasm, some basic instruction, and a willingness to try, fail and try again. Paint along with her and learn from her many mistakes, and you’ll soon make great art together.

This technique is amazing. I can’t wait to try it. Thanks for the funny and easy to understand demonstration.
I think its still cool! I went back to the first one and I’m thinking the white might have separated the colors and the silicone. Just a thought. Love your work!
I think if you use a smaller cup (I keep a variety of sizes) it might be easier, I find a bit always stays in the cup. Love the result though!?