First, I want to start by saying that I am a self-taught artist and if I can learn this medium, so can you! In fact, here’s a big helpful guide for all things alcohol ink: Alcohol Ink: Complete Beginners Guide with Supplies, Techniques, Tips, and Tricks. Creativity comes from within, and everyone is creative in their own unique way. If you have patience and give yourself grace and time to learn, you can accomplish anything!
I hope this video and blog post of my process for creating Abstract Alcohol Ink Art is helpful for you!
Supplies I use:
- Various Copic Ink Refills, Ranger Inks and Jacquard’s Pinata Inks
- 91% Isopropyl Alcohol in a small needle nose bottle (for maximum control)
- Yupo Paper in Medium or Heavy or canvas
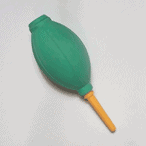
- Hair Dryer, heat/air tool or even an air blower for succulents! (pictured below)
Helpful Tips Before You Start
I always start my work with a clean sheet of Yupo– meaning I wipe it off with alcohol before I start. Dust or hair particles in the air can settle on your paper causing tiny little imperfections in the ink when it dries. I also clean off my work area with a light cleaning solution to get rid of any dust laying around that can be blown into my work.
Make sure the surface you are working on is flat and free of anything that can create lines or move the ink and alcohol unwillingly. I personally use a large piece of glass on top of my art desk to keep things smooth.
If you are using a high heat tool, sometimes the paper can warp. You can use Heavy Yupo paper for tools with a higher heat level but keep in mind that ink and alcohol react differently depending on the substrate you are using. I personally use a low heat “hotel style” hair dryer.
I use Medium Yupo paper because I have found that it allows more mistakes to be “erased,” the inks flow easier and it creates less hard lines. It all depends on what look you are trying to go for.
As for colors, I would suggest using a sample sheet to try out your combinations first. Sure, yellow and purple look great together in your mind, but when mixed they make a muddy brown color. That’s great if you are going for that color but it can also come out looking dreadful. The beauty of inks is that when diluted with alcohol, they bleed out and reveal their beautiful undertones. You can discover their glory for yourself!
My Color Selection
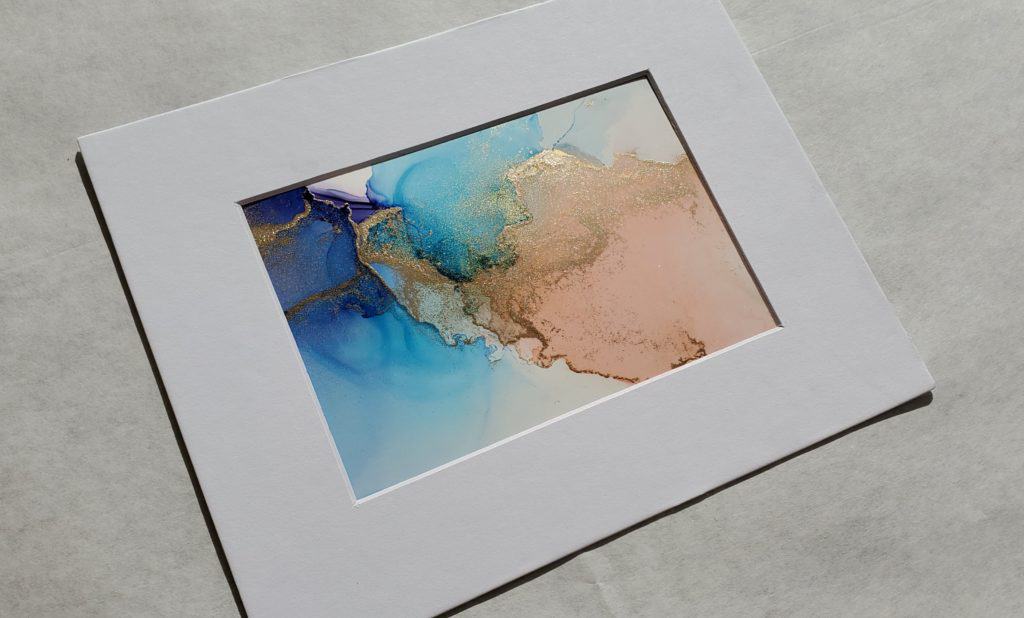
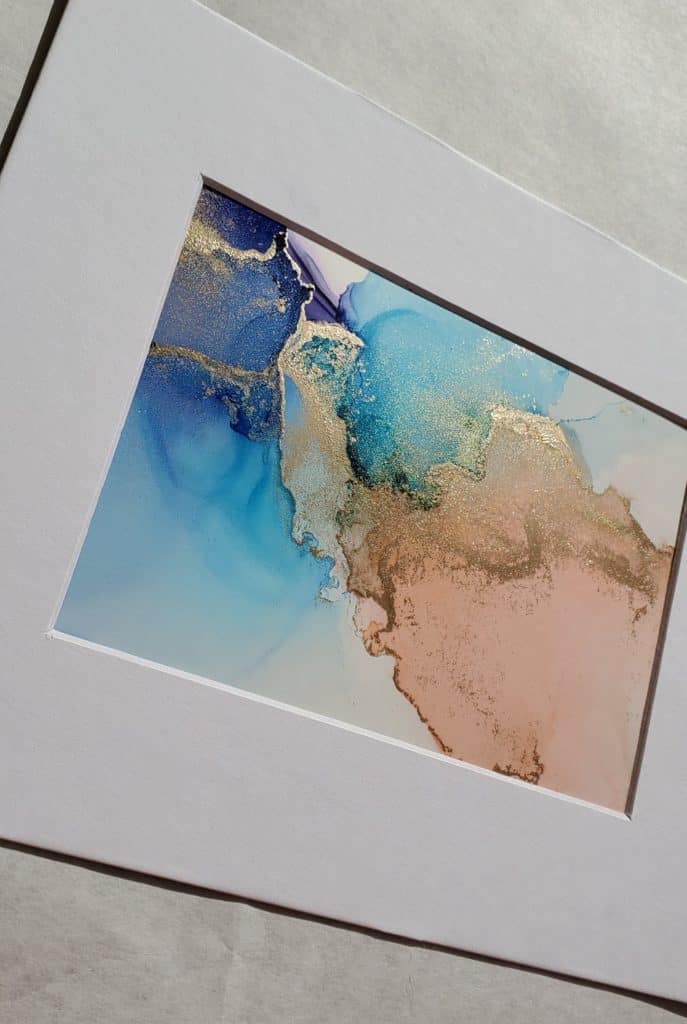
Today I will be using Copic Refill Inks in B02 (Robin’s Egg Blue), BV08 (Blue Violet), and R20 (Blush) and Jacquard Products Pinata Brass as a base.
I keep my Brass in a small squirt bottle container with a needle nose tip for easier application.
First, I envision my piece–how I want it to flow and what colors I want to use to express my mood! Decide if you want it to flow vertically or horizontally and adjust the position of the paper accordingly.
The Technical Side
My paper is prepped and my surface clear of any obstruction. My technique is to first apply some isopropyl alcohol in a shape that feels in line with the way I want my inks to flow. Depending on how intense you want the color, you can either directly place a line or a drop of ink in the alcohol so you can begin to blow it around.
If you want less intense color, you can dilute the ink with alcohol in a small container or bowl and then pipette the mixture on the paper. After your ink and alcohol are applied, you can begin blowing the ink around in any desired pattern. If you are using a blow dryer, my suggestion is to use the lowest setting for air flow. If it is too forceful, it will cause the ink to splatter off the page.
Another technique you can use is simply not using any air flow at all. You can pick up the paper and move it in a circular motion so that the ink and alcohol mix together. Swirl around the paint mix to your desired outcome. You can also blow dry it a little bit to keep the ink in place once you have what you like.
Mastering the Alcohol Quantity
Add more alcohol as you go to force the ink to spread out and fade. If you keep adding it to the edges before it dries and continue to blow it around, you will have a wispy outcome. If you don’t continue to add alcohol to the edges, you could have some hard lines. Keep in mind if that is what you want, then great! All styles are different and there is no right or wrong way to create!
Adding more alcohol not only gives you a slightly blurred effect, but it gives you a chance to start adding more colors if you want to start mixing. Blow the second ink up and around! This gives the two colors a chance to mix, and even create a new color! You will want to keep blowing around the inks until they are mainly dry.
This can seem time consuming but, if you leave the inks wet, they can dry in an undesired pattern. That is not always a bad thing because art is all about experimenting! You will never know what your style is or what you like if you don’t try different things. My personal style is to dry with an air source until I am satisfied with the way it looks.
Simple Ways of Making Additions and Corrections
The great thing about alcohol ink painting is that it is very forgiving for the most part. If I want to add other colors, I can do so either by using the alcohol as a vessel or I can add the ink to the paper on its own and then add the alcohol for mixing purposes. You should add alcohol anytime you are mixing colors because adding ink to ink and blowing it around without it will not allow the inks to flow anywhere.
Something I enjoy and do in almost everything I create is add metallic ink. My favorite is Brass from Jacquard Products Pinata Color. I have used other gold mixative products but have found that Brass adds so much more sparkle and stands out more than regular gold. It also mixes with inks to create a shimmery new color.
The trick is to make sure that is shaken very well before applying. If it’s not, it will add a layer of oil like substance that does not mix with ink or alcohol and can leave your inks looking less than desirable. As I previously mentioned, play around with your style. Some people prefer no shine or metallic at all, and that is perfectly fine!
As you can see in the video, I keep applying the alcohol to hard edges that I don’t like. Be careful about adding too much; the alcohol can repel the ink and can push back a nice section of your painting. If you do mess up, you can always add more color and blow it out again.
Other Tools for Alcohol Ink
There are many other tools you can use in your painting! For instance, I use a blow dryer to move around my ink but sometimes I also use an air blower brush used for succulents! The handheld air blower can be used for smaller spots you wish to mix, or to blow around metallics into the ink. It gives you a little more control than the blow dryer.
I also use small paint brushes to fix spots I don’t like. I try to use inks or metallics because if you use a paint brush with alcohol, it will cause a new line and it will erase some of your ink.
Here are a few other essentials for your alcohol ink creations: Alcohol Ink Supplies – Essential Materials for Alcohol Ink Art.
Final Thoughts
Think of the alcohol as a road for your ink to walk along. The more alcohol you have, the more space the ink has to flow and create different patterns. Accidents will happen, but not all accidents are bad. Give yourself grace and create from your heart.
Remember, if you don’t like a section of your painting (like I did) you can always add alcohol and ink to it, and “start over!”
Other Alcohol Inks Content

Hi! I’m Amber! I’ve been obsessed with art since I was a young girl. I started branching out in high school using mixed media, then in my later years moved on to watercolor, acrylic painting, and now alcohol ink! I love alcohol ink because of its wispy effects, bold colors and forgiving nature. You can plan all you want, but it rarely comes out exactly as you envisioned it. Its wild and beautiful and unpredictable!

I love it… thank you.. I am going to have a go….