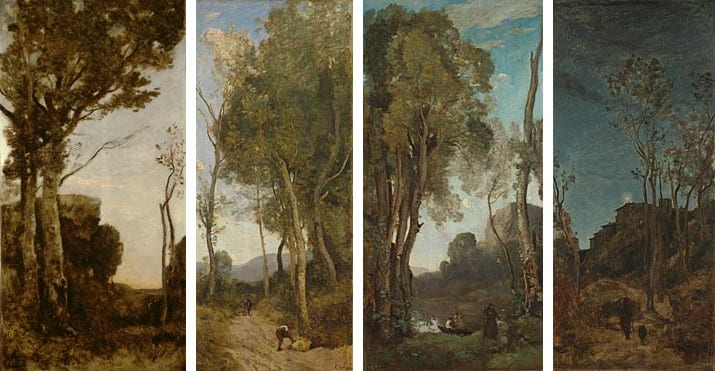
When was the first time a piece of artwork took your breath away?
For me, it was the first time I saw a triptych. I was young, visiting the New York State Museum with my grandmother, and we were meandering through a revolving art exhibition. I can’t remember the name of the painting, but I’ll never forget what it looked like; a sprawling, detailed landscape split between three different canvases. Together, they formed one cohesive picture, but separately, they were their own pieces with their own unique voices.

As an artist, I’ve always loved the idea of making my own polyptychs, but the notion of making individual pieces that flowed together seemed intimidating. Should they be negative space pours, or should I fill the canvas with color? What direction should they flow in? Do they have to be connected somehow?
Let’s demystify the polyptych pouring process so that you can make your own fabulous multi-masterpieces!
Make a Plan
All pouring takes a little advance planning, and pouring a polyptych is no different. You’ll need to decide how you want to present your pieces. For me, pouring on canvas works best, mostly because I like the way that canvas looks when you stage multiple pieces together. My best advice is to use what you are most comfortable with, at least for your first polyptych.
Everything Doesn’t Have to Be the Same Size
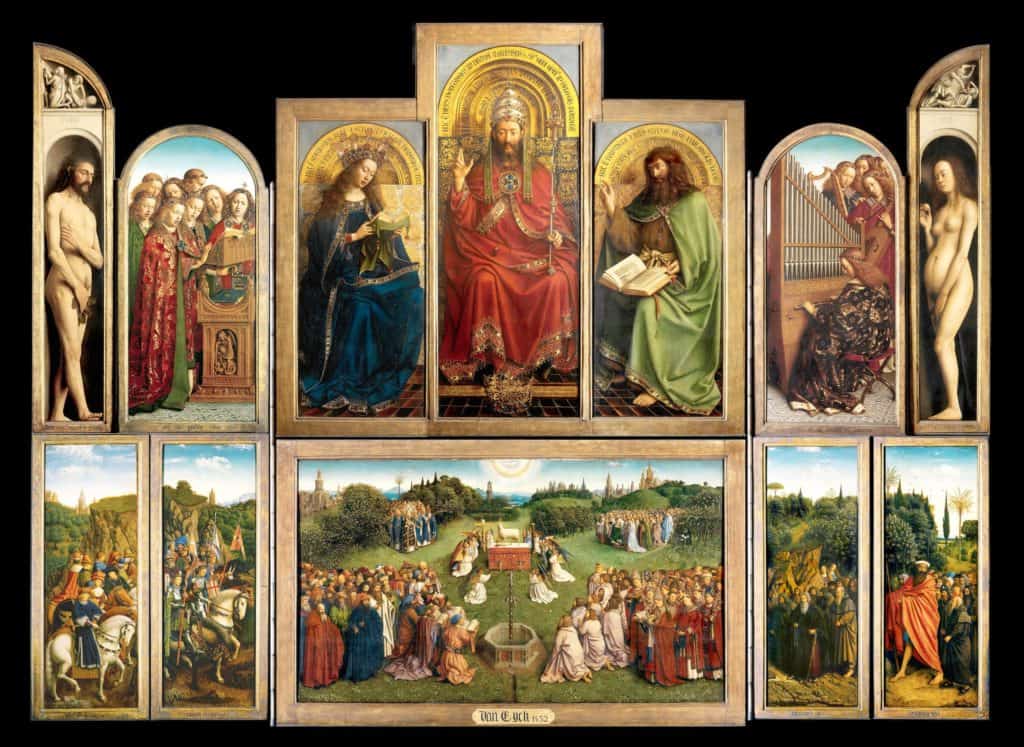
There is a misconception about multi-pieces that each panel or section must be the same size, but that is untrue. Take the Ghent Altarpiece for example: it’s huge! It is also comprised of panels in different shapes and sizes but still had a great flow.

Now, no one expects you to go all Hubert and Jan van Eyck and paint a 12-panel piece (although that would be amazing), but also remember that no one expects each panel to be exactly the same either. Keep your final vision in mind, and size appropriately.
Flip Cup, Dirty Pour, All Are Welcome Here
Once you’ve decided what your layout will be, it’s time to nail down a technique. If you would like to fill up the whole section with color, try a flip cup or a puddle pour. If you are in love with the idea of a negative space pour that reaches across multiple sections, a dirty pour will work great.
No matter what technique you choose, I recommend getting familiar with the technique before attempting a polyptych. Practice on a few singular panels beforehand so that you are comfortable with the manipulation of the piece, formulation of your paint mixture, and whether you’d like to add heat or not.
Approaching a polyptych with confidence in your technique will help you produce the best piece(s) you can.

It’s Pour Time!
You’ve got your paint mixed, your preferred pouring surface prepped, and you are ready to rock! Now, there are a few ways to pour, and each way will produce a different result.
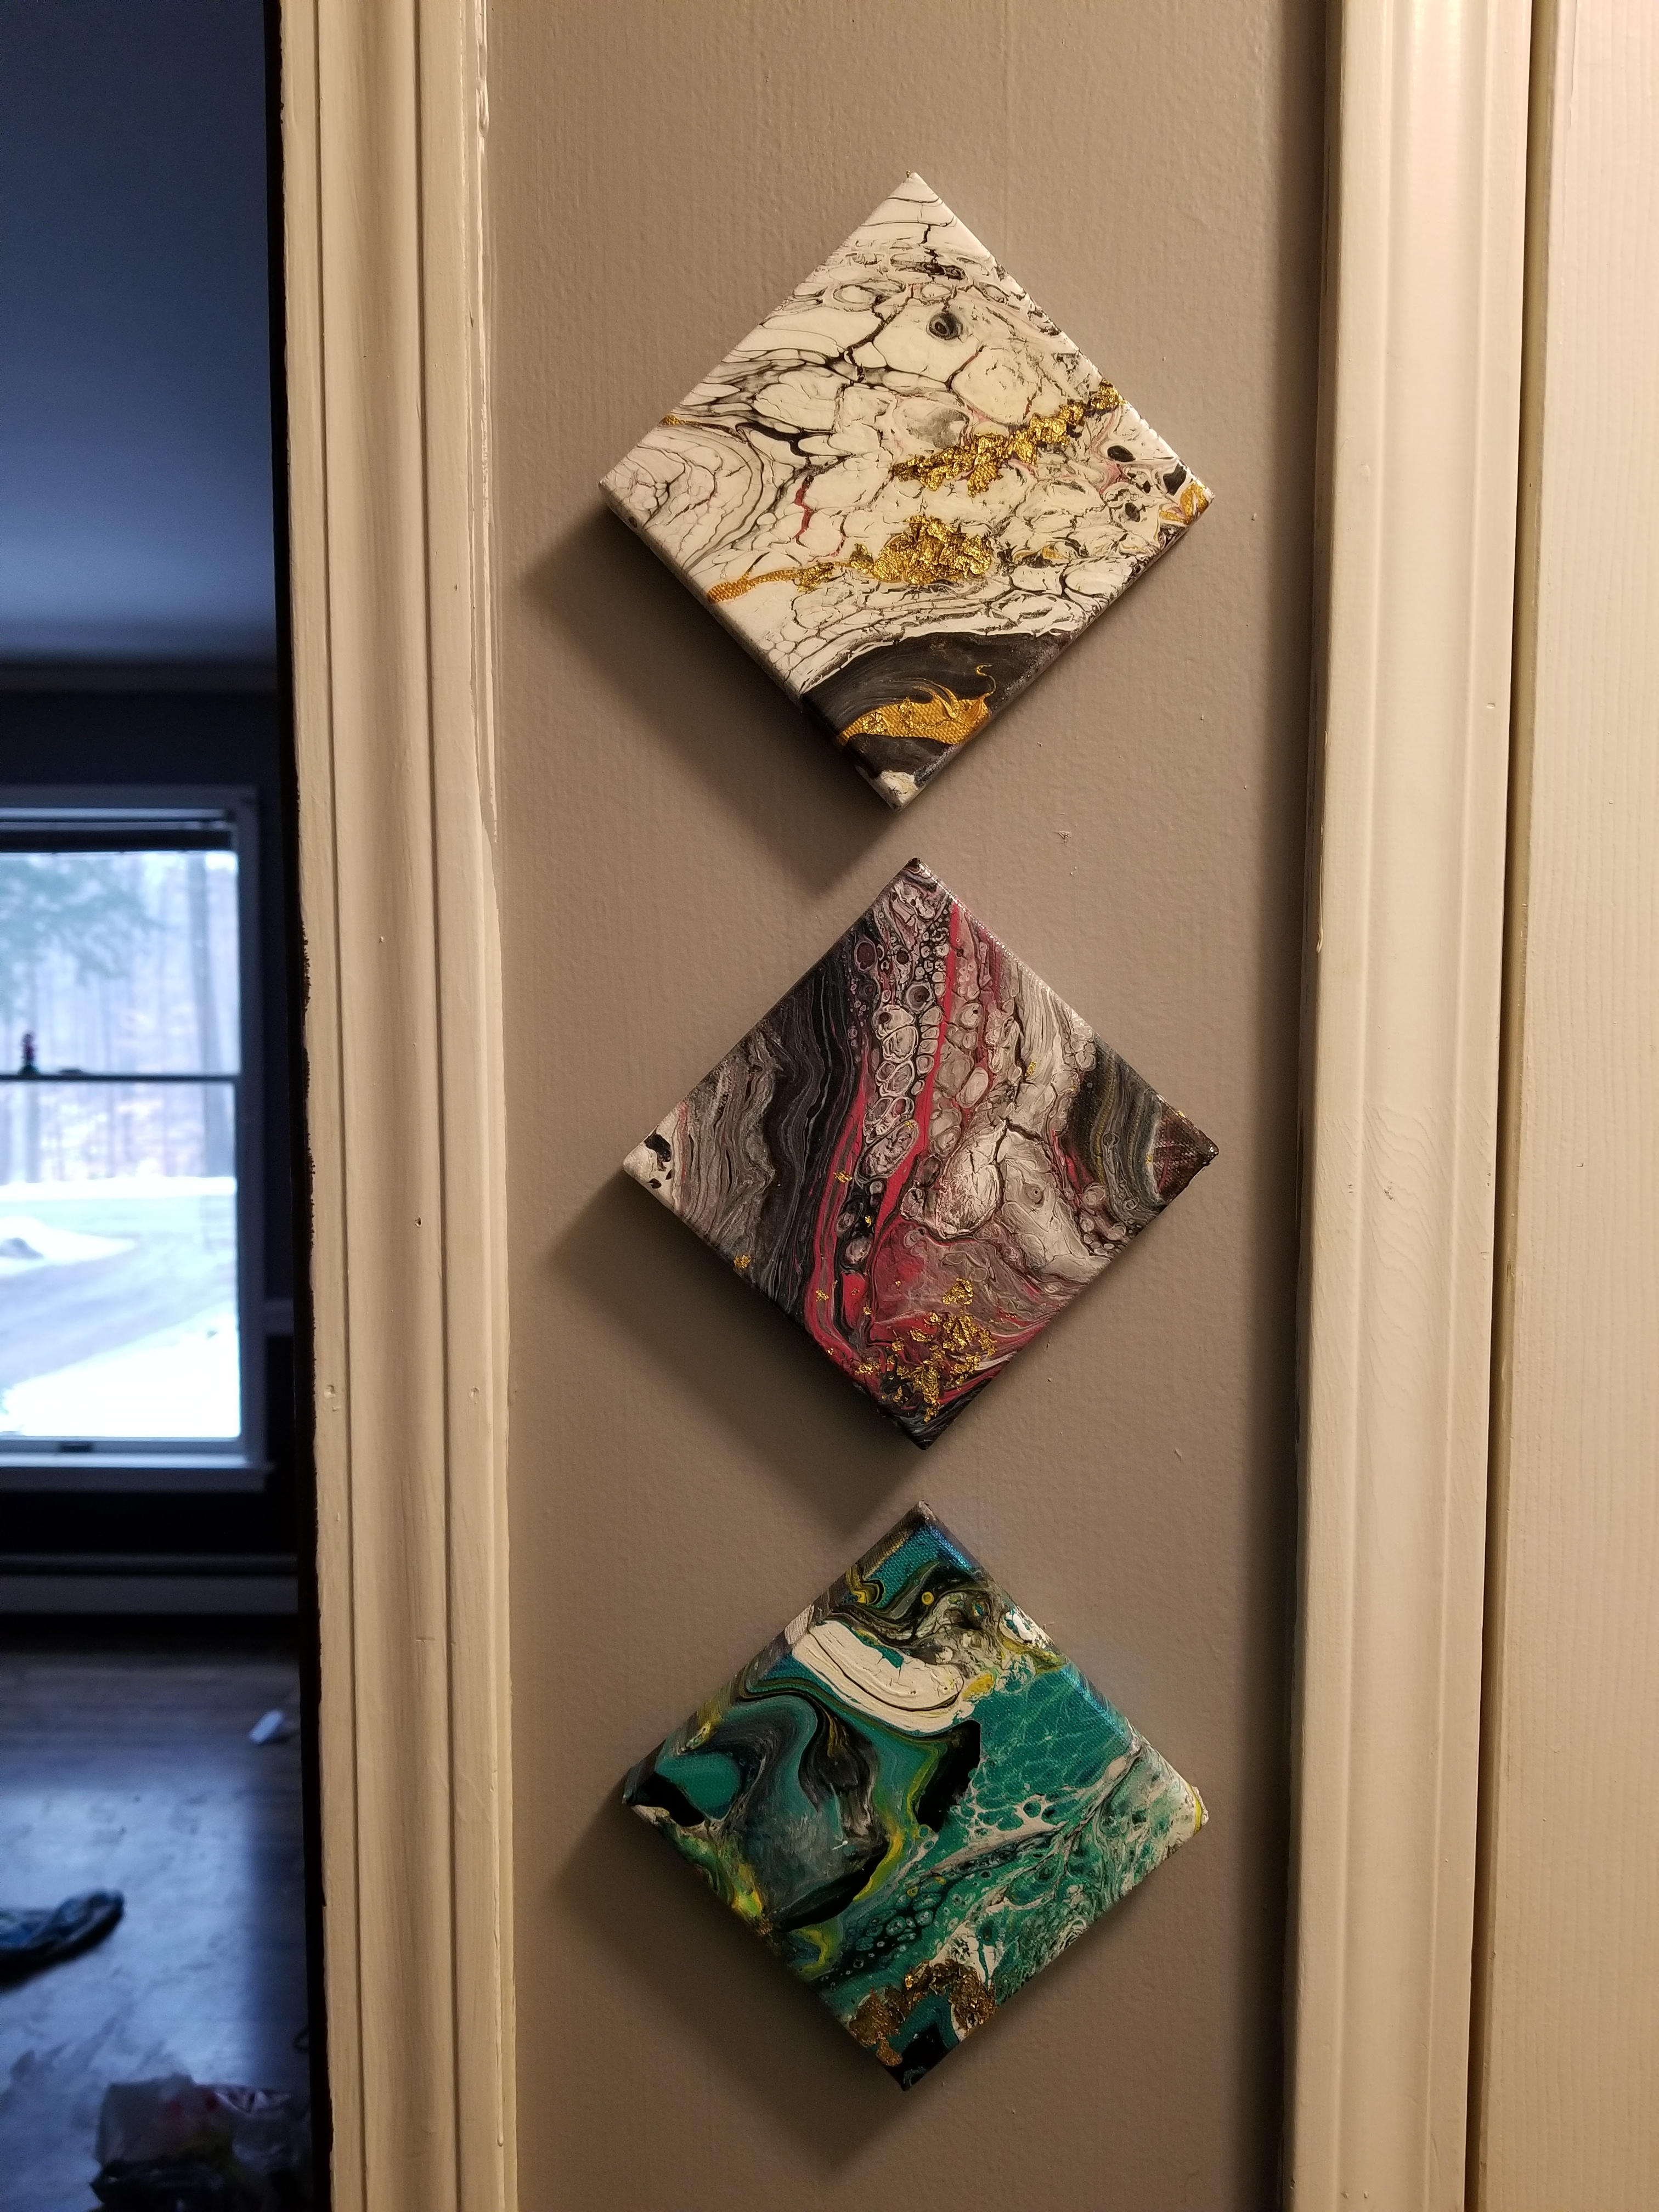
For my first polyptych, I used the runoff paint from my main section. I did this by holding the small, 6×6 canvas in one hand over the baker’s rack that I use to pour on, and I staged smaller 4×4 canvases on the rack itself. As I poured, the paint ran off the canvas in my hand and onto the waiting canvases below; the effect was beautiful! I noticed that colors were more sharply contrasted on the 6×6 canvas, and the canvases positioned below had more color variation by way of paint mixing as it dropped onto them. The result was a trio of unique canvases; I called them cousins because you could tell they were related only by subtle similarities in composition!
You can also stage the canvases side-by-side. Then, you can either do a flip cup that you drag between all three, or a dirty pour that spans the length from the first surface to the last. This will give the movement of the colors continuity and connection.
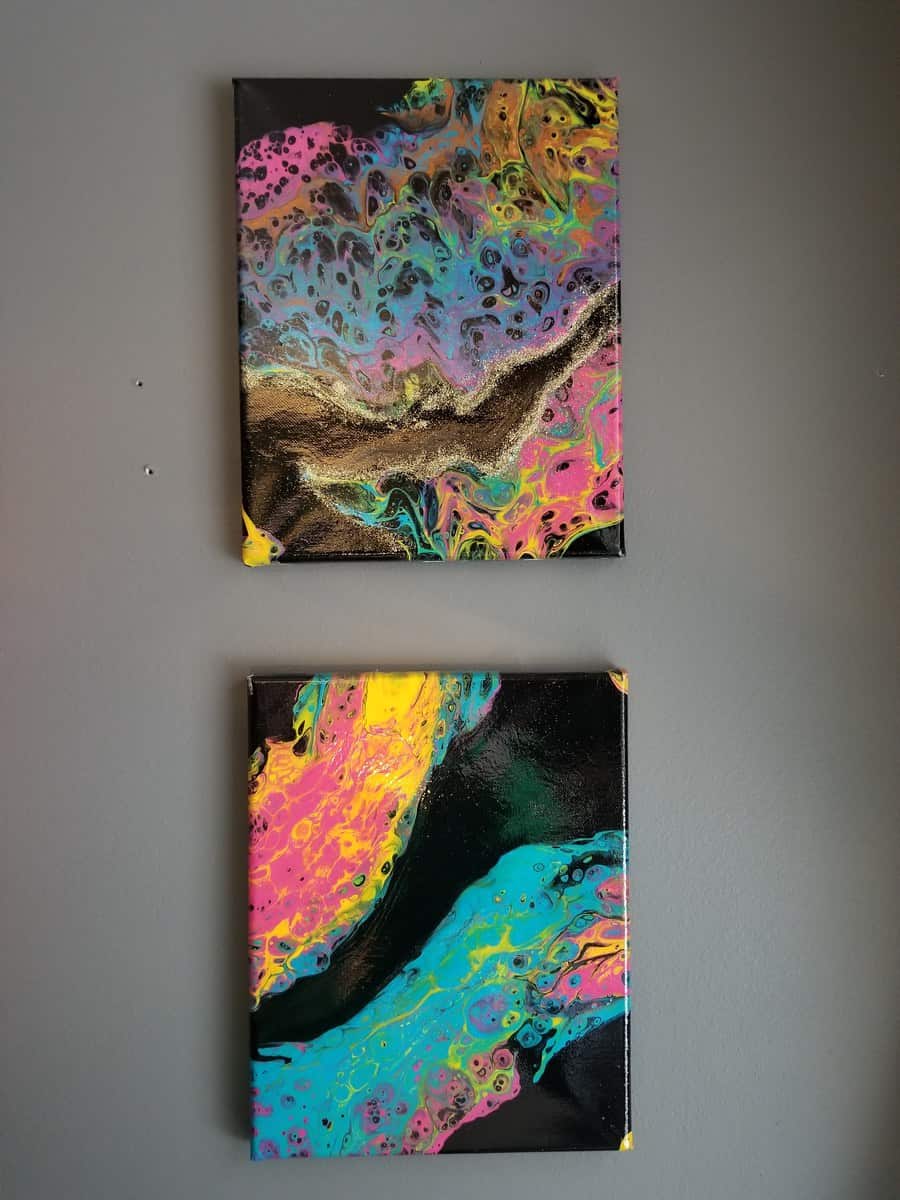
If you want to pour separate pieces that will be displayed together, I would suggest choosing a common color. This common color is the difference between a polyptych and just putting multiple canvases side by side. Your common color could be something as simple as a shared gold, or something like a rainbow pour, where you might pour red, orange and yellow on panel one, then yellow, green and blue on panel two, ending with blue, indigo and purple on panel three. Using a shared color will pull your piece together, but retain the individuality of each panel in the process.

Learn the Terminology to Market Your Polyptych Accurately
When you’ve finished your piece and you are ready to sell it (or keep it, as is the case for most of my own artwork). Make sure that you’re using the proper terminology when advertising.
A polyptych is a general term for a piece consisting of more than one section.
If you’d like to be more specific, tryptych means a three-part work, tetraptych or quadriptych has four parts, pentaptych has five or if you’re feeling really frisky, octaptych means eight!
Creating a Polyptych is an Amazing Experience
With a little bit of planning and a lot of patience, you can create a big, beautiful piece (or an itty bitty incredible one) that spans multiple surfaces and adds a ton of dimension wherever the piece is hung. If you don’t nail your first polyptych, don’t be discouraged; ask for advice, mix yourself up a big paint cup of confidence and try again!

Sara Wagner is an author and artist from Upstate New York. She is the owner of Studio Blackwater and can typically be found covered in paint, cats, or her two young daughters. You can find her on Facebook and Instagram as @studioblackwater.

This article could not have come at a more appropriate time. Just finished my very first tryptych. Many lessons learned, in the end it was well worth it. I plan to do more. I myself made three separate pour cups using the same colors but alternating the order in which they were mixed.
I love this idea and have done a few sets, but I haven’t a clue how to hang them. Can you give some advice?