Hi everyone, I’m excited to do my second blog post on this double manipulation style! Hopefully it will help you on your journey in acrylic pouring. My experience has had ups and downs, I’ve practiced a lot, some pours I love and I’ve also had a lot of pours that I did not like at all. So don’t get frustrated, just keep trying!
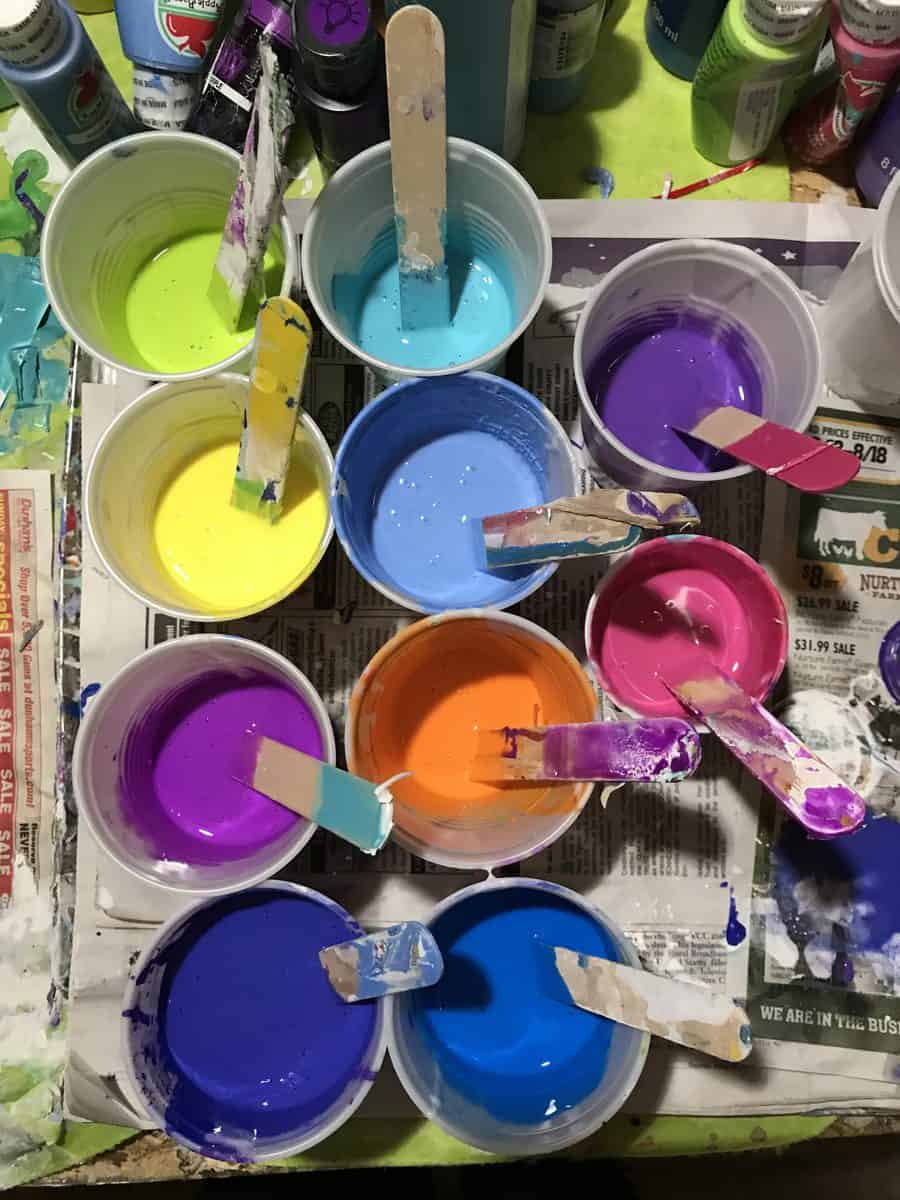
Getting Started With This Technique
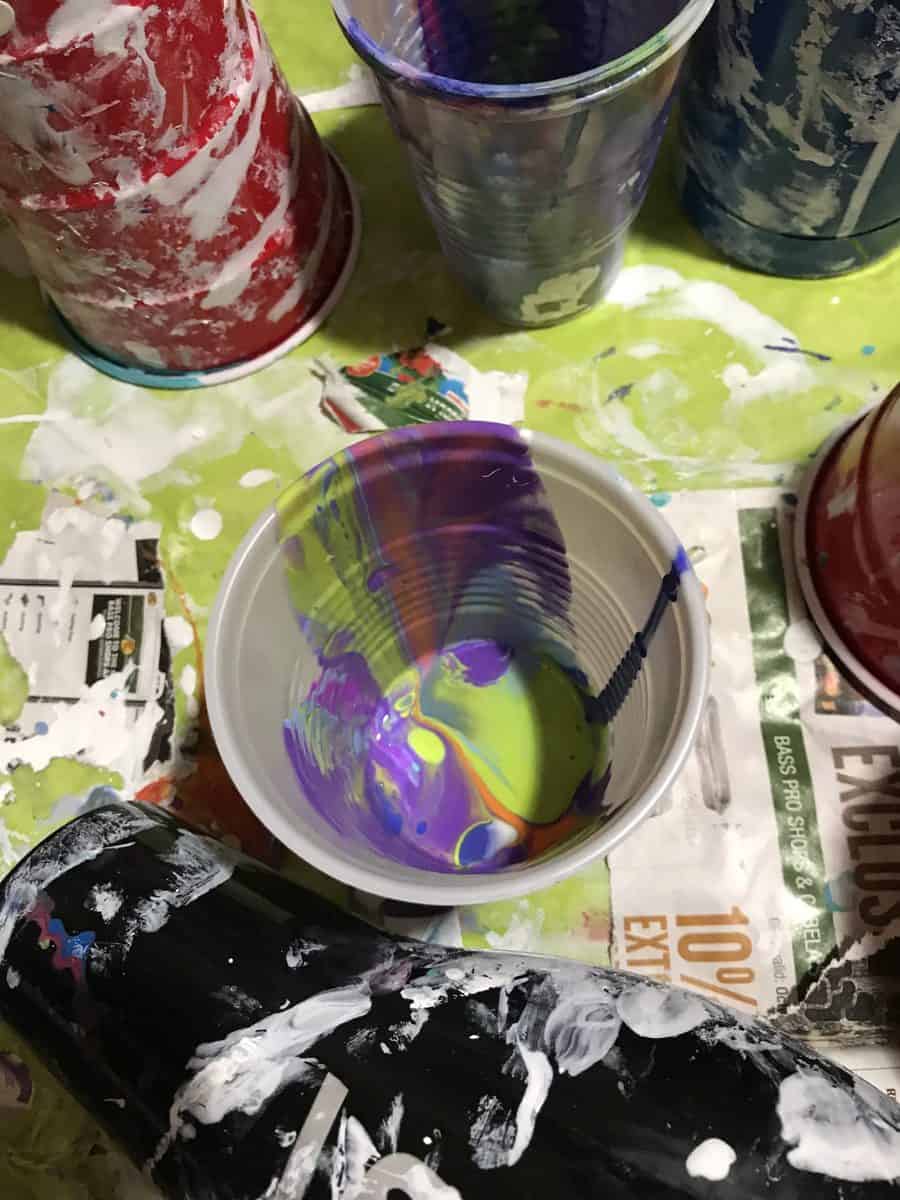
For this technique, I had an idea a little different than the ones I had seen where people pour small puddles of paint on the center of their canvas like a white drop then a blue drop on top of the white and so on. I decided I would put all the colors in the cup so they would mix more and I liked that effect better. And I decided I would blow them outward and just see what happened. The final product was something different and that’s what I wanted, I tried it and I really liked it! It was unique, the colors were amazing. They would mix and stretch and form unique shapes and cells, I was onto something!
Common Problems and my Corrections
Sometimes I had a hard time getting my paint to move all the way to the sides of the canvas so I thought to pull the paint out with something. I grabbed the popsicle stick I used for stirring and pulled from the center of the paint, that way the paint could reach the edge. And then I needed a bit of air, but not full forced air so it would blow my paint off the canvas.
I put a small hole in the bottom of a solo cup and placed it over the blow dryer. At first it was on hot and making the paint dry or crack so I turned it on cool and that helped! I also tried to be somewhat delicate if there were cells I wanted them to move or stretch, not break apart. I used a bit of air, not full force and tried to be patient.
Like I said, in the beginning my paint was to thick and it wouldn’t move. So I tried again by watering things down a bit more and that helped a lot. Even when the blow dryer was done with the paint I still wanted it to move a bit more, so I used a straw and very delicately blew until I liked the effect. I kept moving around the canvas and making sure to leave some white on my canvas as I like negative space and sometimes less is more.
With all of that laid out, let’s pour!
- First, I drop a few quarter sized colors in the bottom of my cup.
- Then pour your white mixture on your canvas, just get the canvas coated. I use a popsicle stick to spread the paint and cover the edges too.
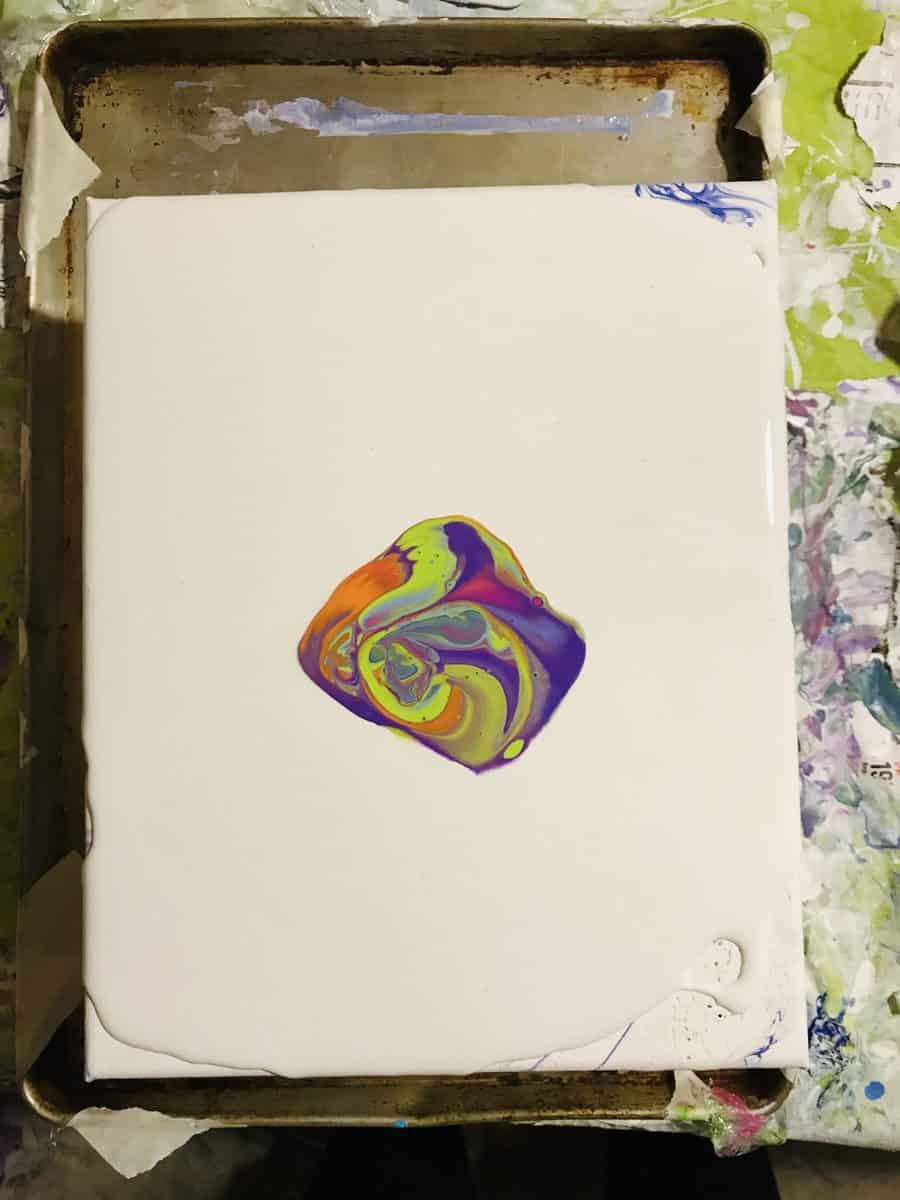
- Then I pour that small amount of paint in the cup in the center of the canvas.
- Next, I grab my white mixture and flood all around the canvas leaving the colors in the center.
- Take your popsicle stick and wiggle or pull it straight outward.
- Now, put your blow dryer on cool and low blow your paint where you pulled outward with the popsicle stick, take your time and move around to each side.
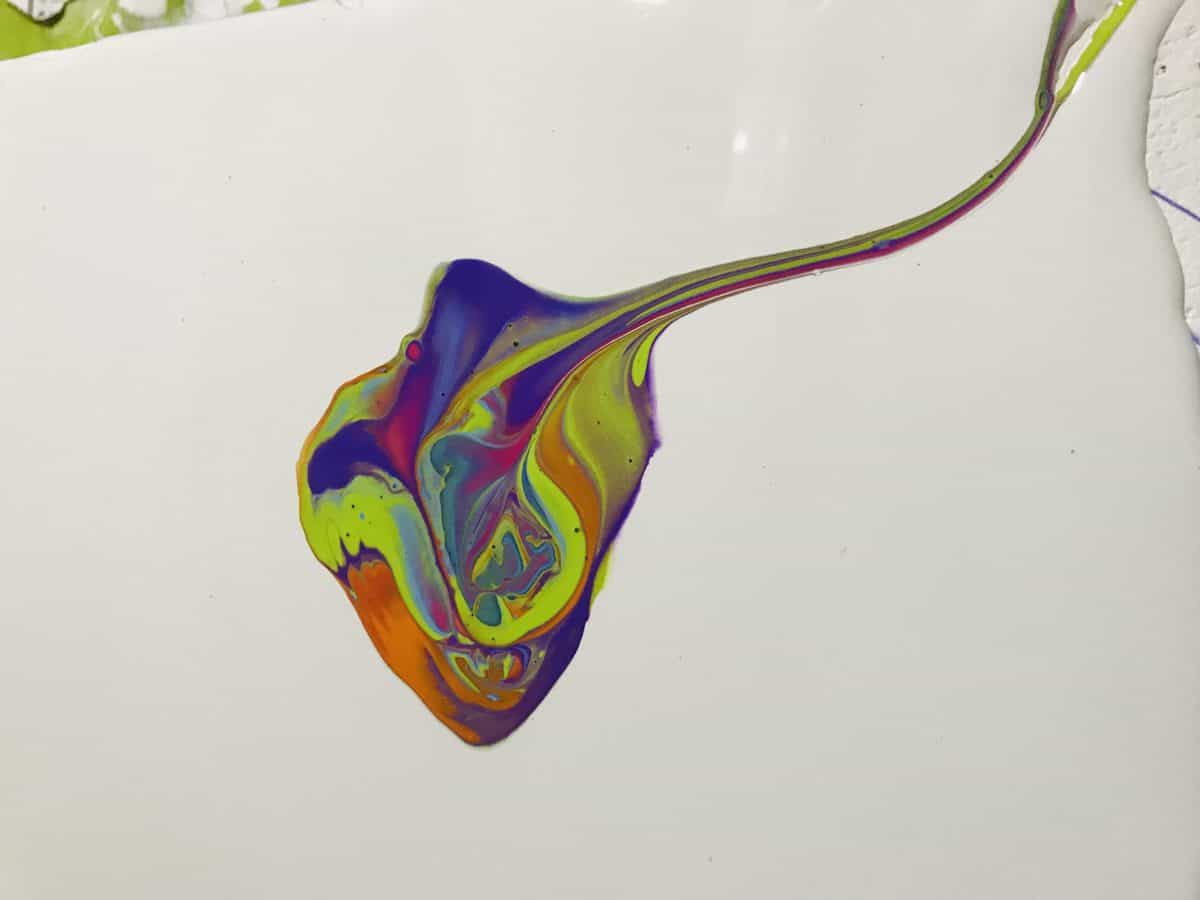
Step back and see what you think. Blow outwards again between your popsicle stick lines, if you want more blow outward with the straw, moving around your canvas. If you love it, set it on a level surface and let it dry. If you don’t like it Scrape it off and try again. I learn from good and bad pours. Keep trying different colors and just have fun.
Some General Pouring Tips
A common problem I ran in to was that my paint would be too thick most of the time, especially my white. If I didn’t thin it enough it would make my painting crack when it was drying. I also wasn’t stirring my white enough, which would leave me with an uneven white surface.
You can add quite a bit of water to your white mixture and you’ll be doing yourself a favor by really stirring it and getting it to a smooth consistency with the paint glue and water. I prefer glue only because of the cost and I can get gallons of it easily. I did try Floetrol and I personally was getting frustrated because my cells would fall apart. I really have no clue why, I don’t know if different types of humidity effect things or it’s just me. I know it’s one of the most popular additives but it just didn’t work for me, so I went back to the Elmer’s glue! Do what works for you.
I also learned the hard way to make sure your drying surface is level. In the beginning I would wake up to a pour I loved and it had totally ran over the edge of the canvas overnight! Another thing I’ve learned is have everything ready to go, have all of your supplies ready.
I usually mix all of my favorite colors whether I use them or not. You don’t want to be starting a painting, thinking you’re ready to go and not have your colors all mixed.You might want to throw in a little yellow or orange or something different and you can’t add it if it’s not ready or available, so have those ready too!
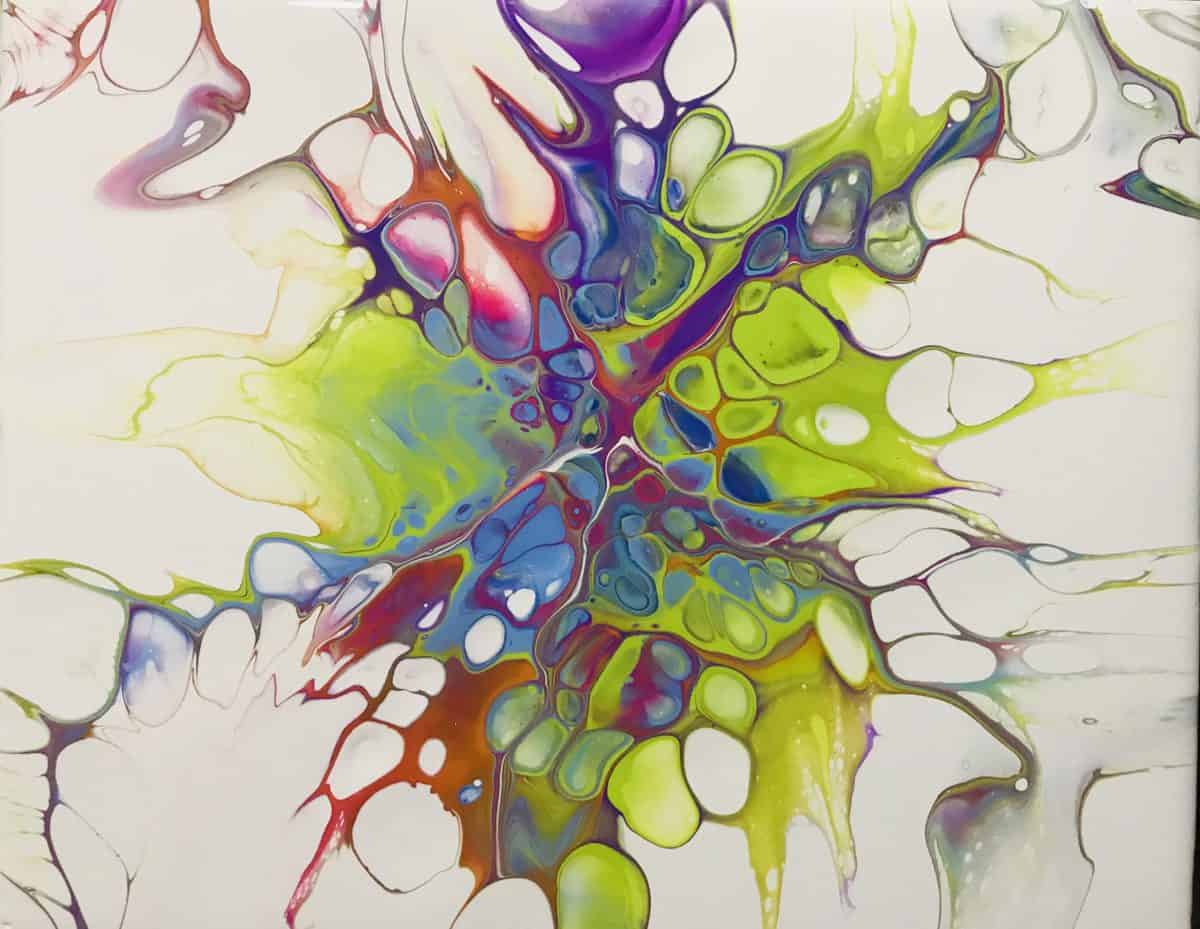
Thanks for visiting my blog I love sharing what I’ve learned!

I saw an acrylic pouring painting on the internet and couldn’t stop thinking about it. I was in awe, I could hardly wait to buy the supplies and give it a try. I have loved learning this technique of painting. I love the bright colors and seeing how colors mix. Its a surprise every time.

I’d like to start using glue also. But wht type of Elmers and what racio of glue to water to paint. Any help you can offer is appreciated. I’ve been using Floetrol and a drop or two of oil.Do you use oil and how much? Many thanks for all you do. I love your work!, Lauren
Sorry it took so long to get back to you I was on vacation … anyways I buy mostly school glue in the gallon … if I pour a 1/4 cup of paint I ad more than that maybe 1/3 cup of glue each color I add 3 or good drops of silicone …. Thanks for visiting
I am from Windhoek in Namibia and I tried to do the pour an blow but what I really wants to know is what to mix with the acrylic paint to get the best results…I am with my hands in my hair and would appreciate your help
Thank you for sharing!
Thanks for visiting Tami
Thanks to every one for all the help i have received.
You are very welcome