How many times have you watched a video or viewed a post on Facebook and thought, “That was Brilliant!”? Well, maybe not those exact words (for you), but for me, it’s an everyday occurrence. Our fellow pourers are not only innovative but generous, because they gladly share their creativity with us and we all benefit.
Supplies I used
- Paint
- Floetrol
- GLAD Press’n Seal
- Plastic Squeeze Bottles
- Solo cups
- Decorative Marbles
- Paintbrush
- Carpet Protector
Such was the case when I was reviewing comments on AcrylicPouring.com for another article I had written, “Top Ten Mistakes (Most) Acrylic Pourers Make.” I came across this comment from Deborah A Sherl:
When we prepared to sell our rather new house, we found large rolls of adhesive-back (very light amount of stick) clear carpet path protector. It protects the surface beneath it and comes up easily! I use it a LOT in my studio particularly around work benches set up for Pouring classes. The floors are protected, but nobody needs to fear tripping on the edges. After each class, I just lift up & pitch. Also always use the disposable shoe covers on each students’ feet. Those are removed & pitched if anyone leaves the work benches.
Patricia Fuller says:
Ok Deborah, YOU need to write the next article- BRILLIANT things to do when Pouring!
Well, Deborah didn’t take me up on the offer, so I decided to write it myself and give her credit for my article idea.

Have you heard any of these BRILLIANT ideas?
- Pouring in a plastic kiddie pool. I saw this once on Facebook group page and thought—brilliant.
- Drinking an adult beverage while pouring. Yes, this is brilliant too.
- When pouring on glass, have pieces of folded cardboard handy to use to grip the glass. The weight of the paint could (and has) broken glass and sent some to the hospital.
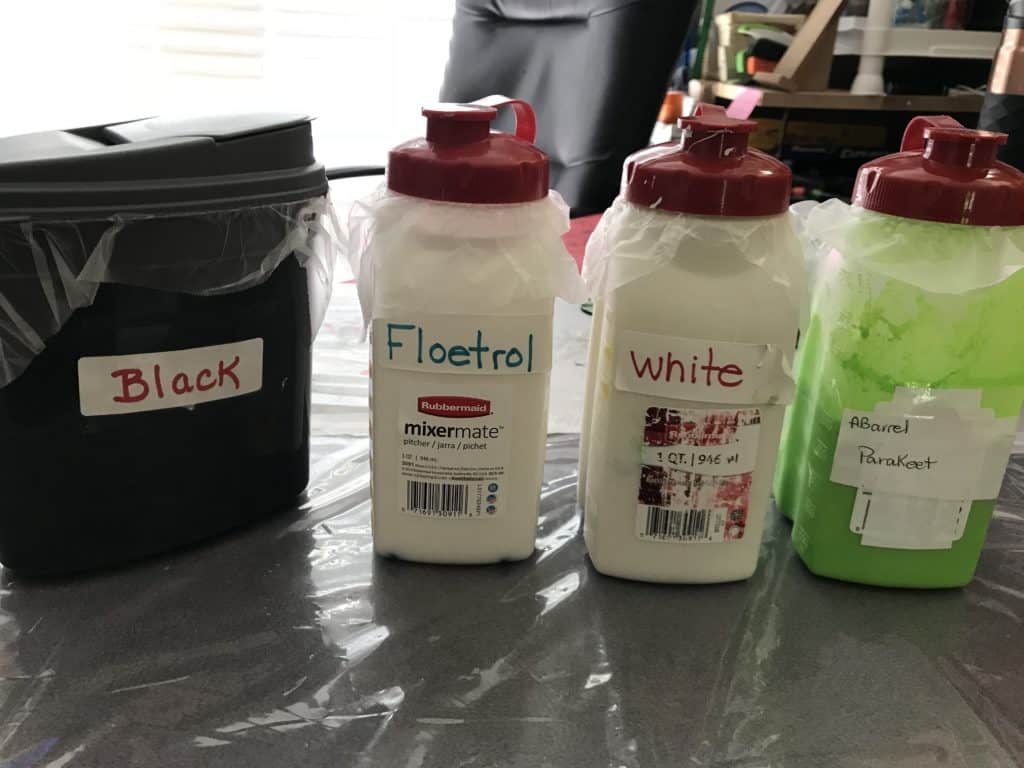
- Putting pantyhose over your Floetrol bottle before pouring—NOT WHILE YOU ARE STILL WEARING THEM. This keeps the lumps inside the bottle and not in…whatever you are transferring it into.
- Putting hardware (screws or bolts) or glass pebbles in your pour bottles to keep things gelling properly.
- Keeping your coffee cup on the opposite side of your pouring cup. Stuff happens!
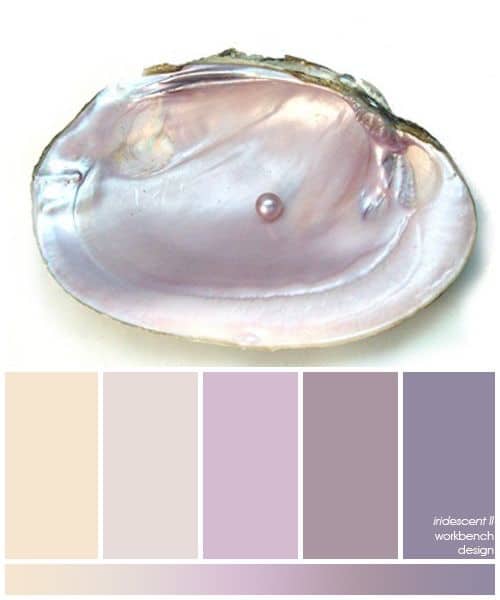
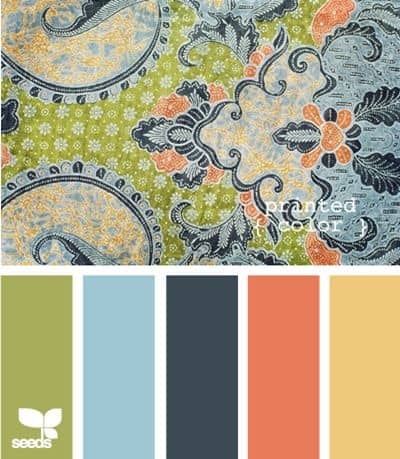
- Using Pinterest to help you choose a color palette. Regardless of your comprehension (or lack thereof) of color theory, sometimes we get in a rut and stick with the same colors over and over. Yeah, they are pretty and we like them, but is it getting boring? Here are a couple of examples I would have NEVER thought to put together. Pinterest basically says ‘try it’.


- You will eventually pour a penis. Don’t freak out, we’ve all done it. But WHY?
- Do your child’s elementary school bulletin board. It may not be a paying gig, but you’re still doing art. Always be doing art.
- Putting a canvas UNDER the canvas you are currently working on to capture the run-off, and thus having the beginnings of your second pour.
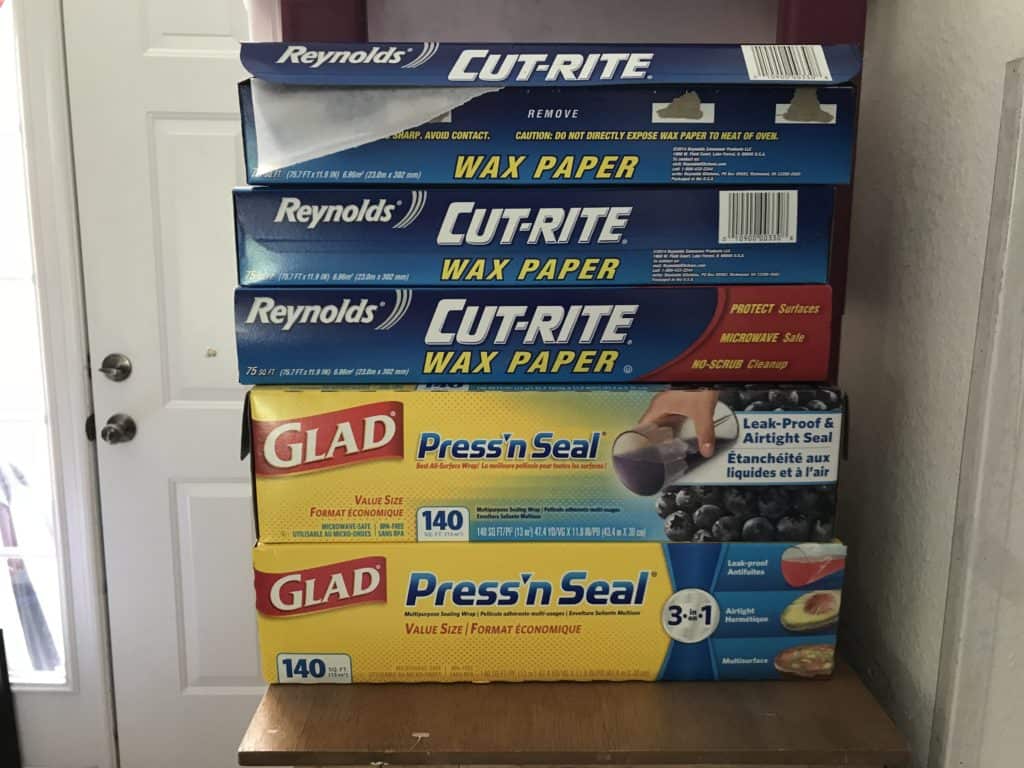
- GLAD Press’n Seal. It has a multitude of uses. Covering cups, wrapping paint brushes, sealing paint bottles.

Well, I didn’t want to seem like I am the one who is so brilliant. So I asked some of my closest friends (i.e., people I’ve never met) on Facebook to give me their brilliant tips for this article.
Below, you will see some wonderfully BRILLIANT tips. If you would like to get clarification on a specific tip, please feel free to contact that contributor directly. I’ve provided their links below.
For our first tip, I give you our very own founder of Acrylic Pouring…Deby Coles. Take it away, Deby.
Deby Coles of Mixed Media Arts
One thing I did just discover this week, if you brush your stir sticks with a little clear resin and let them dry, then you can use them over and over indefinitely. They become waterproof and the paint just wipes right off. No need to wash them or anything.
Find what you are good at and don’t stress over the ones you suck at. Practice, and if you still don’t get it, well, that is not your lane. Be true to your heart and pour with love, patience, and enjoy the ride we are all on.
Ross Rasmussen, creator of the “After the Pour: Look What I Did to My Pour!” Facebook group.
Especially for beginners: Try stapling light cardboard to your edges (especially your corners), making a dam to prevent the paint from falling off. Takes some of the nervousness off those first pours. Additionally, the paint will interact with any edge it encounters and you’re likely to get a new pattern or design as it rolls back into the canvas.
Joanna Lush of Lush Crafties
I recommend watching loads of videos on Youtube, both for techniques, mixing proportions, and ideas. I’m fairly sure it’s saved me a lot of costly mistakes. I’m quite a maverick, so I tend not to follow the herd, so perhaps suggest not being afraid to experiment and that no idea is a bad idea until you try it out!
My tip is about the silicone oil and the right temperature and the right way to stir or not to stir.
‘Cause I use the oil with a temperature of 25 celsius [77 fahrenheit], and put it only in the final cup for the canvas (flip cup) not in every cup. AND I don’t stir for big cells, and stir a lot for little cells. Most people do the mistake of using a too cold oil. And the tip is to put the oil on a heater 5 minutes before pouring, but only liquid oil, not a spray with aerosol. The heat can be dangerous. It’s important to use a liquid oil. It’s cheaper and better for the health.
The quality of paint. I’ve started using more of the Beauti-tone brand (from the hardware store)… especially for the white and black. I also look for discounted paints, usually mistint paint. The better paints tend not to crack and to flow better.
I think the most brilliant part is sharing it with a class of 28 students. I was able to use regular school (tempera) paint mixed with school glue and diluted with water to have “melted ice cream” consistency. Adding minimum silicone (1-3 drops) into the 8-ounce mixture actually did the trick.We were able to create 16”x20” pours/swipes using just regular construction paper.
Hmmm, I would say, at the start, take notes and measure everything, so if you get a result you like, then you can reproduce it from your notes and reproduce the recipe by re-measuring your ratios of paint, medium, and water. You will end up getting more comfortable and used to it and eventually have a paint recipe that fits your needs! Also, know what pigments are used in the paints you are using and know the density of the pigments; it really helps a lot for cells!
Always have tweezers handy to remove the bumps or any other unwanted particles, and don’t be afraid to experiment. Just have fun. ????
The most valuable tips that I would give a beginner is to do lots of research, then practice, practice, practice. That’s how I got to where I’m at today. Other tips would be:
- Take time to mix your paint properly.
- Let paint sit for at least 30 minutes before pouring.
- Premix and have white paint ready at all times.
- ALWAYS make sure that the table is level.

You can mix your paint-Floetrol mixture ahead of time with silicone and store it in squeeze bottles indefinitely and have guaranteed cells and lacing from my swiping technique. The other tip I love for really large, juicy cells is to mix your paint-Floetrol mixture on the more fluid side. Add a half pump of OGX Coconut Milk to just a few colors with very little stirring. Flip your cup or pour, and allow the paint to sit on the canvas, torch if wanted, and wait at least five minutes… wait and torch before… This allows your cells to grow before you slowly tilt, so they have a chance to grow and stretch.
So there you have it, folks. I hope this inspires you to go to your studio and make some BRILLIANT pours.

Born in France, Patricia now calls Palm Coast, Florida, home, where she runs Oceans Apart Studios. She’s had the pleasure of raising two daughters and nineteen medical foster children. Now she specializes in watercolor, acrylic pouring, and custom jewelry taken from the run off of her paintings. Her pieces aim to capture the differences that make each woman uniquely beautiful. Check them out on Etsy.

Patricia, great article not just great……brilliant!
So happy you wrote it & so happy you had so many great artists participate here.
I have a big class coming up in a new (to me) studio. Perhaps after that event I’ll have a few tips to ADD.
Of course, this should be a regularly produced article…at least monthly!
Cheers & Thank you for the shout out!
Thank you Deborah. Feel free to share the article with your fans.
Patricia! That big class happened on Friday nite 7/27 and I pulled up your top ten mistakes article on my cell phone & used them as New Pourers Ice breakers through out the evening! So well received!
With your permission, I’d love to print your top ten article with your bio & contact information to hand out to class attendees…..OK. Cause now there will be 2 classes a month!
I would love that. Thank you for asking. May I also recommend this article? https://acrylicpouring.com/tips/
Deborah, please have your students read this too. https://acrylicpouring.com/safety-tips/
I have done some pouring for a group of people working in a store en South Africa called PNA – It is a stationery store for all. It was just to wonderful to do this form of art. I am really getting a real specialist with this medium. I work for a company called Zellen Art and they manufacture all art products, including the acrylic pouring medium to use with the acrylic paints.
Regards
Judith Haefele
Ok
That was informative and entertaining! Thank you.
Jeanne, thank you so much
These are all very helpful tips,
Thank you everyone!
My tip would be to research your colors before your pour. As some colors will tend to mud together. I have a 12″×12″glass paler, and will pour small amounts of my colors onto it to test first, just in case they don’t look good together, or mud up in the process.
Doug, that’s BRILLIANT
What’s is a glass paler? I tried to google it and am wondering if it was a typo..? Thanks!
Super video, I learn something new everyday! I too love press n seal, and I have become a jar scrounger! Going to look for the carpet protecter sheeting when I sign off-thank you for being a great teacher.
Awww, thank you Sandra.