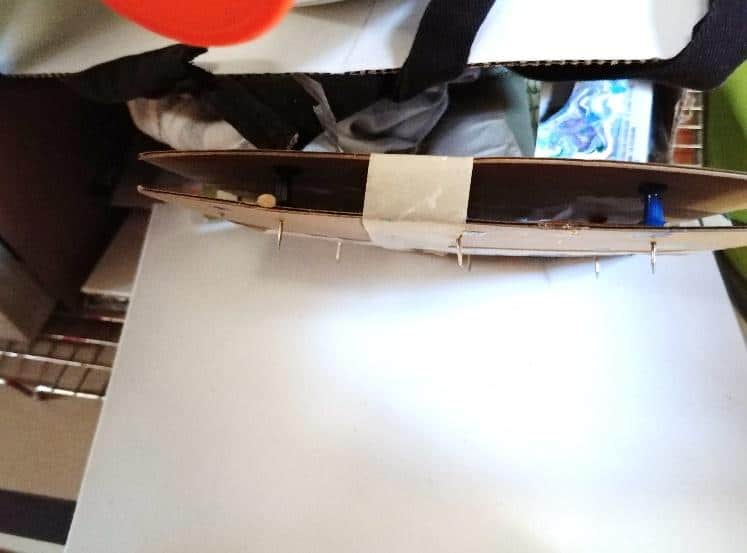
It’s time to acrylic pour! Picking right up from my last entry on the Acrylicpouring.com blog, I’m pouring on a frame, and that cute little heart frame was just the ticket! Now, push pins will not go into the back like they did with the canvas, so creativity abounded! A few pieces of cardboard, a few push pins and voilà! There you have a platform for holding the wood.
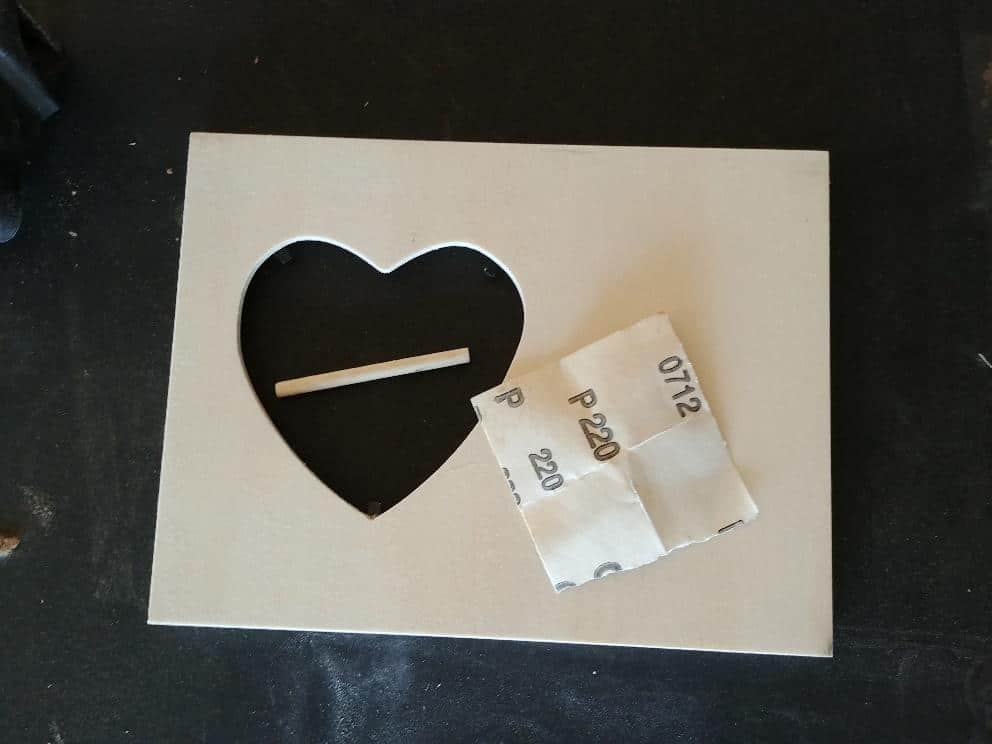
This time, the whole frame needed to be painted white and Since there is this huge gapping hole in the middle, I decided that instead of a “dirty cup” pour where you put all the pain in one cup, I simply squeezed the paint out onto the frame.
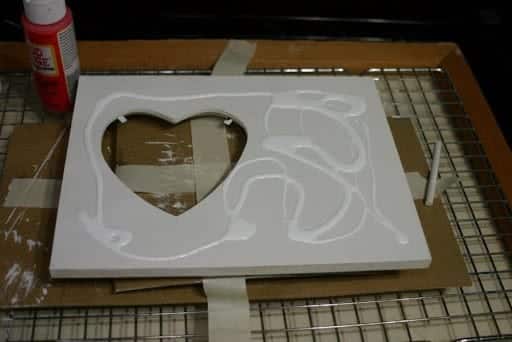
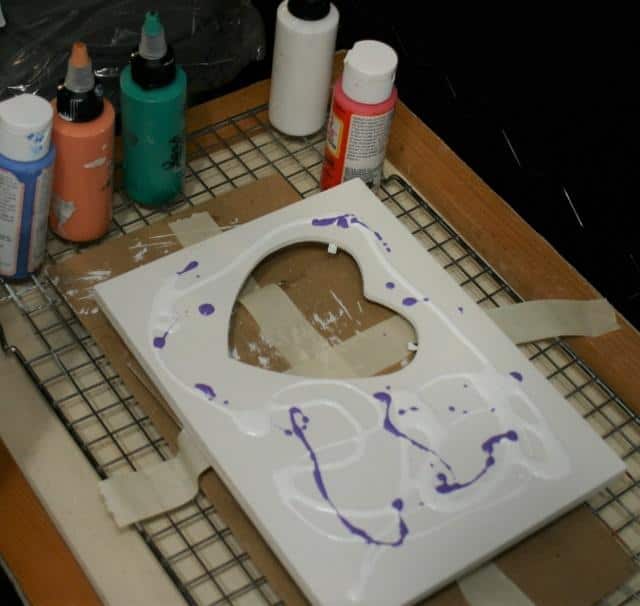
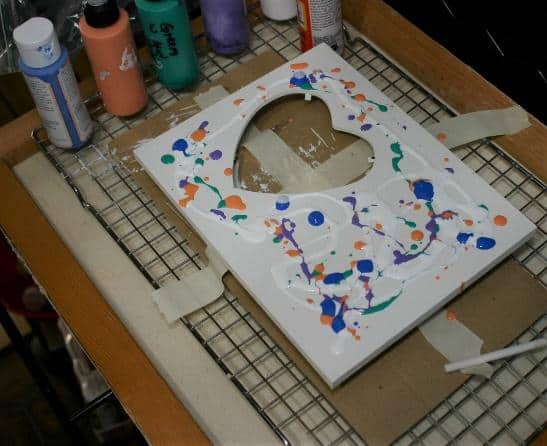
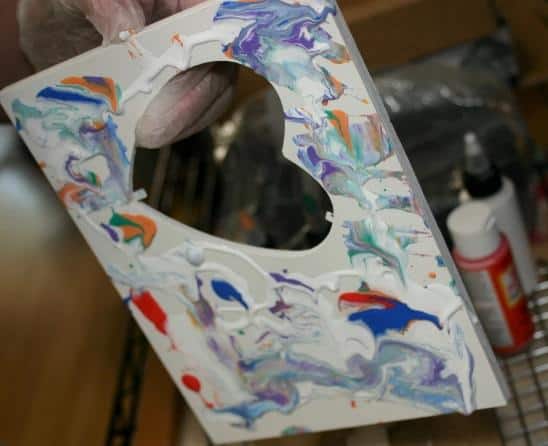
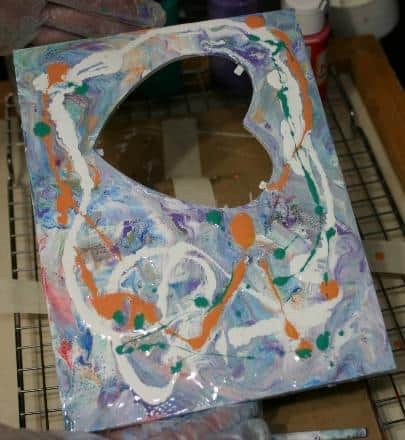
A little tilting, a little manipulation with the plastic knife. But there still wasn’t enough paint, so layers ahoy!
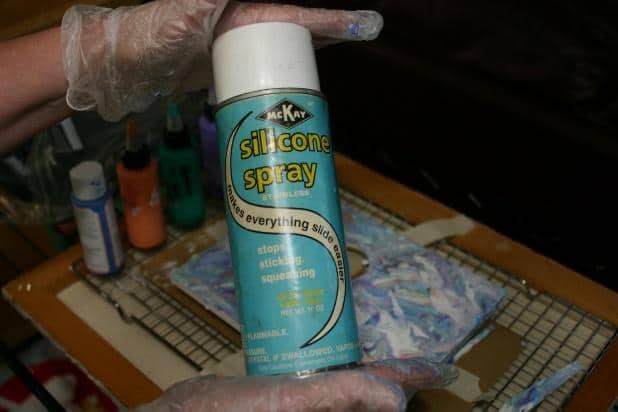
Decided to try to get cells, by spraying a light coat of this silicone spray right over the wet paint. Experiment failed. Even without the cells… I still like it!
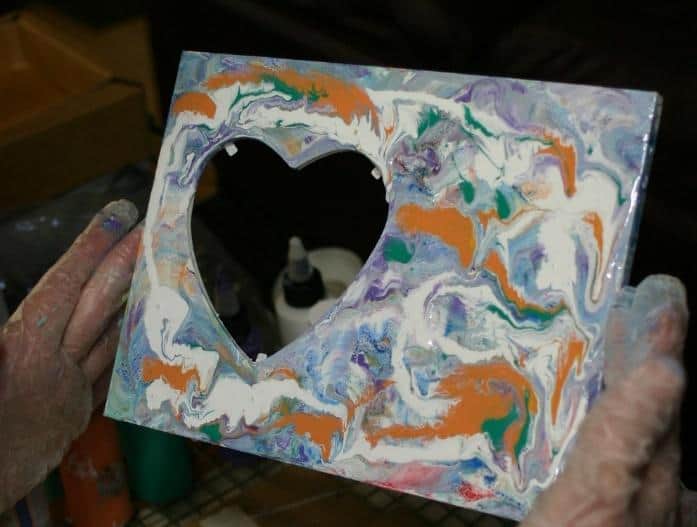
After it had sat for a few minutes, I picked it up to get a closer look and bam! It fell out of my hands and landed on my bare arm! Different kind of canvas for sure! That’s actually a very pretty design, but I just couldn’t figure out a way to preserve it.
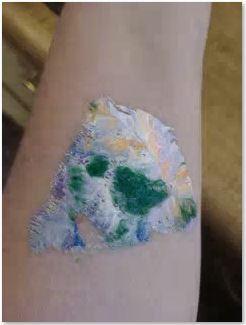
Luckily, the original is no worse for wear!
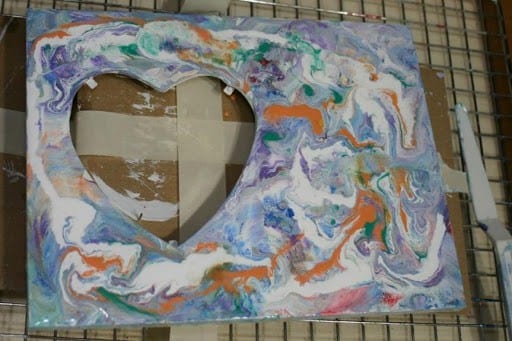
Thursday, I was really digging the dried pour, but the back was still just primer and since this was designed to be set upon a desk the back needed, I say needed, to be decorated. Or was that just an excuse to do more pouring???
Same technique as the front, same colors as the front, but man oh man, I like the back so much better!
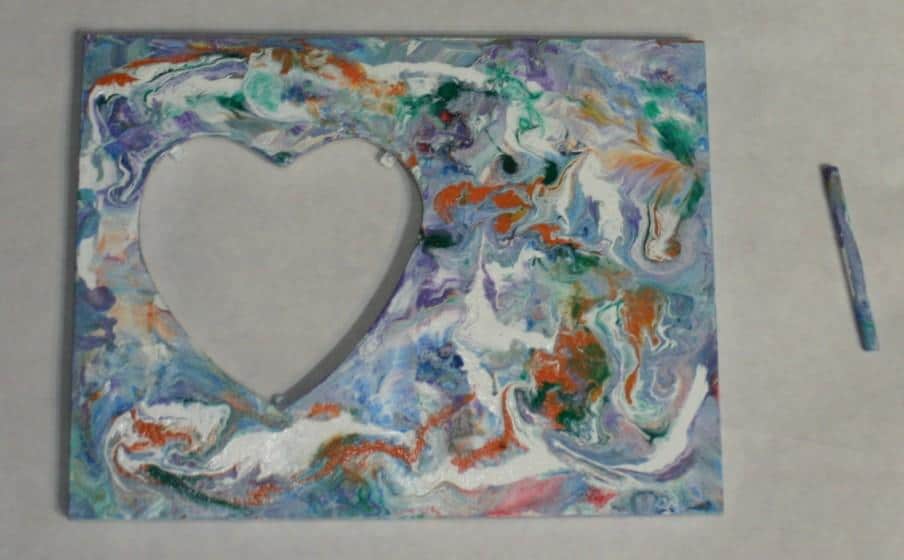
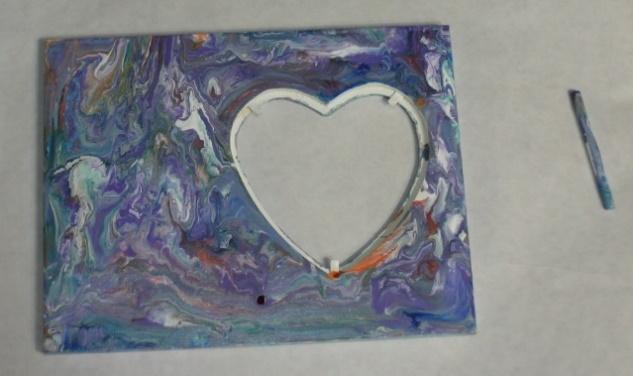
There was this beautiful pour sitting on its inverted push pins drying in the cool house air, when suddenly…
Rumble
Rumble
Rumble
Rumble
Rumble
Rumble
Bang! Shake shake shake!
I felt the earth move under my feet! Welcome to California the land of the earthquakes!
What a celebration for Independence Day!! 6.4 on the Richter Scale! The epicenter was just a little over 100 miles from us! Yikes!
When it was done shaking and we climbed out from under that dining room table that had been discarded like yesterday’s news, simply for the love of pouring, I looked at hubby and said (can you guess?) “Oh man! We need to set up a canvas, so when the aftershock hits, we can see what designs an earthquake makes!!” Seriously! I kid you not! Acrylic Pouring was my first thought!
There was a rather unusual lack of strong aftershocks that day. So, it was easy to just fall back into our plans for that holiday. Early the next day, I figured the frame was dry enough to be handled (hopefully no more arm art!) and resigned myself to clean up the mess… This is the dining room after all! When I went to put away the gloves I had used, I found they were stuck to the red paint!
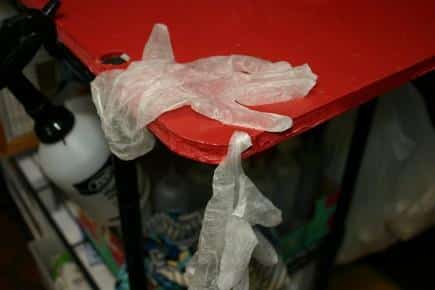
Ever so gently, the gloves were pried from the surface…
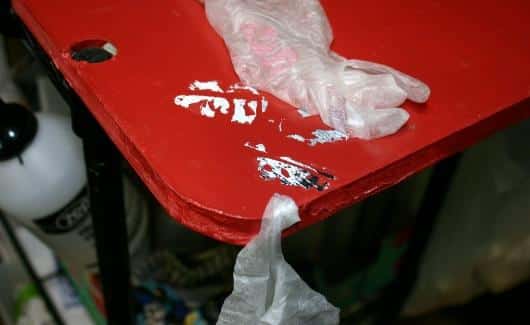
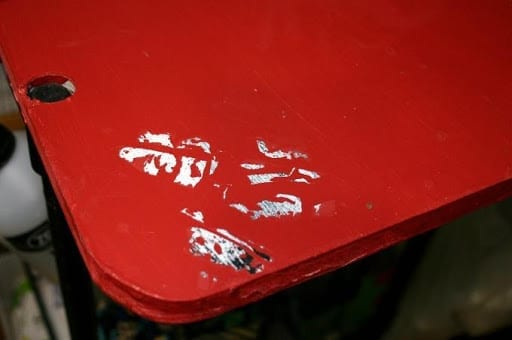
Did I mention I really don’t like red paint? Now the red is not only ugly, but the primer and the ugly wood from under the paint is showing! Sigh. It’s time to step up my game and get good enough to pour a huge plank!!
Even though it was a Holiday weekend, Friday was still payday, so we budgeted, you guessed it, another $20 for pouring supplies! Am I breaking the bank yet? Friday evening, we met a friend for dinner and decided in order to step up my game, I needed to run by and spend that entire $20 on the way home! Buy all the stuff!
Well, powers that be, just might not want me to buy all the stuff because, there we were standing in the dollar store, looking for the goodies when you guessed it, rumble rumble shake shake!
It was a mere 7.1 on the Richter Scale this time!
Needless to say, we evacuated and left all supplies behind! To my dismay, we never did get an earthquake designed pour! But have no fear, this is California, and earthquakes are a dime a dozen!
After we made it safely home, hubby queried: “When do I get to learn to pour?” Stay tuned for another exciting California Acrylic Pouring by yours truly!
God Bless!

Let’s see, where to start? Ah yes, the introduction: My name is Rochelle Freeman and I live in Sunny, Windy, Hot, Cold, Dry, Don’t like the weather, wait 5 minutes Desert of Southern California in the good old U S of A.
The Love of My Life and I met when I was in High School, and we’ve been happily married 36 years. (Shhhh don’t try to guess my age, that’s not polite!) During the weekdays, I work for a paycheck, gotta pay for that crafty stuff somehow! During the afternoon hours I tend to the farm critters and the house. Somewhere in there I manage to squeeze in a minute or two of creativity.
When I was 6 years old, the woman who lived next door to me introduced me to working with resin, crochet, & knitting. The woman who lived on the other side of her, introduced me to sewing. In 3rd grade, we were blessed to have a teacher that was very crafty, and had us doing every conceivable art within the scope of 3rd grade, even to the extent of having us use knives to carve apples!
By adulthood, I had taken every available craft, art, & photography class, and even a wood shop class or two! As a grandmother, I continued to learn new handicrafts, and enjoy teaching them to others.

Amai aardschokken, daar zou ik toch schrik van hebben. Ik woon in België
Europa, in dat kleine landje tegen Frankrijk geleund langs de ene kant en langs de andere kant Nederland. Je kunt mijn gemeente Wevelgem vinden in het hoekje langs onder van West-Vlaanderen, juist naast Kortrijk. Ik ben al 43 jaar gehuwd en moeder van 2 kinderen en oma van 2 kleinkinderen.
Hier hebben we geen aardschokken, ik zou het veld inrennen.
Oeioei niet voor mij, ik kom er zeker niet wonen.
Wat het gieten betreft, daar ben ik sedert 2017 mee bezig. Ik gebruik geen Acrylverf maar gewone schoolverf en mijn medium maak ik met schoollijm en water.
Het enige wat me extra kost is de glansvernis.
Als je wilt stuur ik je even mijn werken op.
Laatst heb ik zelfs 2 vazen gegoten ook met de schoolverf.
Mijn mailadres is [email protected]
groetjes
Claire en bedankt voor al de uitleg.
Greetings Claire!
Earthquakes are scary! But having grown up with them,
it’s not too bad.
I would love to see your works! The vases sound awesome!
Thank you so much for sharing with me!
Rochelle
what ratio do we mix the paints, with Elmer’s glue and what else if there is anything else to mix? Please help me with this. Thank you.
Hi Beryl,
This is all very new to me, so, I’m no expert, but so far
on this journey, I have had success by mixing as it was
suggested several times on YouTube:
add 1/3 water to 2/3 pva (elmers) glue
and then add 1/3 of that pva/water mix
to 2/3 paint.
As an example 1 oz of water to 2 oz of pva glue,
then add 1 oz of pva/water mixture to 2 oz of paint.
A secret I haven’t shared yet is take a large condiment bottle,
and mark it in 3rds on the outside with permanent marker,
and clearly mark the bottle as being glue mixture.
Fill it to the 2/3 mark with pva glue, and then fill to the
top with water, close, hold the lid tight and shake well. Then
the glue mixture is ready for adding 1:2 ratio to your paint.
Hope this helps!
When I get pretty designs on my arm, I apply a clear cab onto it and then dry it laying upside down. McE on YouTube has several good videos of this.
Hi Kathy,
Thank you for the suggestion.
It was easy to find McE Art on YouTube, but she has
a few HUNDRED videos, LOL .
Would you mind elaborating about the “clear cab”?
Sounds fascinating!
Thanks!
I enjoy your storytelling!
Thank you so much Kathy!
I really enjoy writing! 🙂