Recently, I stumbled across a few products sitting in the back corner of my hobby room, and I honestly have no clue how old some of them were. Old mixed metallic paints that have been sitting in a bottle for at least a couple of years; and also two varnishes I bought for other projects but never used.
So I decided it was the perfect time to experiment again. Actually, I ended up with seven different experiments— some turned out great, and some horrible, but remember even the poorest results can still teach us valuable lessons.
Supplies I Used:
- Americana Dazzling Metallics Fan Favorites Sampler Set
- Arteza Canvas Panels 11×14
- Artist Loft Acrylic Paint in Titanium White
- Floetrol Flood
- Can Strainer
- Varathane: Triple Thick Polyurethane
- Minwax Fast Drying Polyurethane
Experiment #1
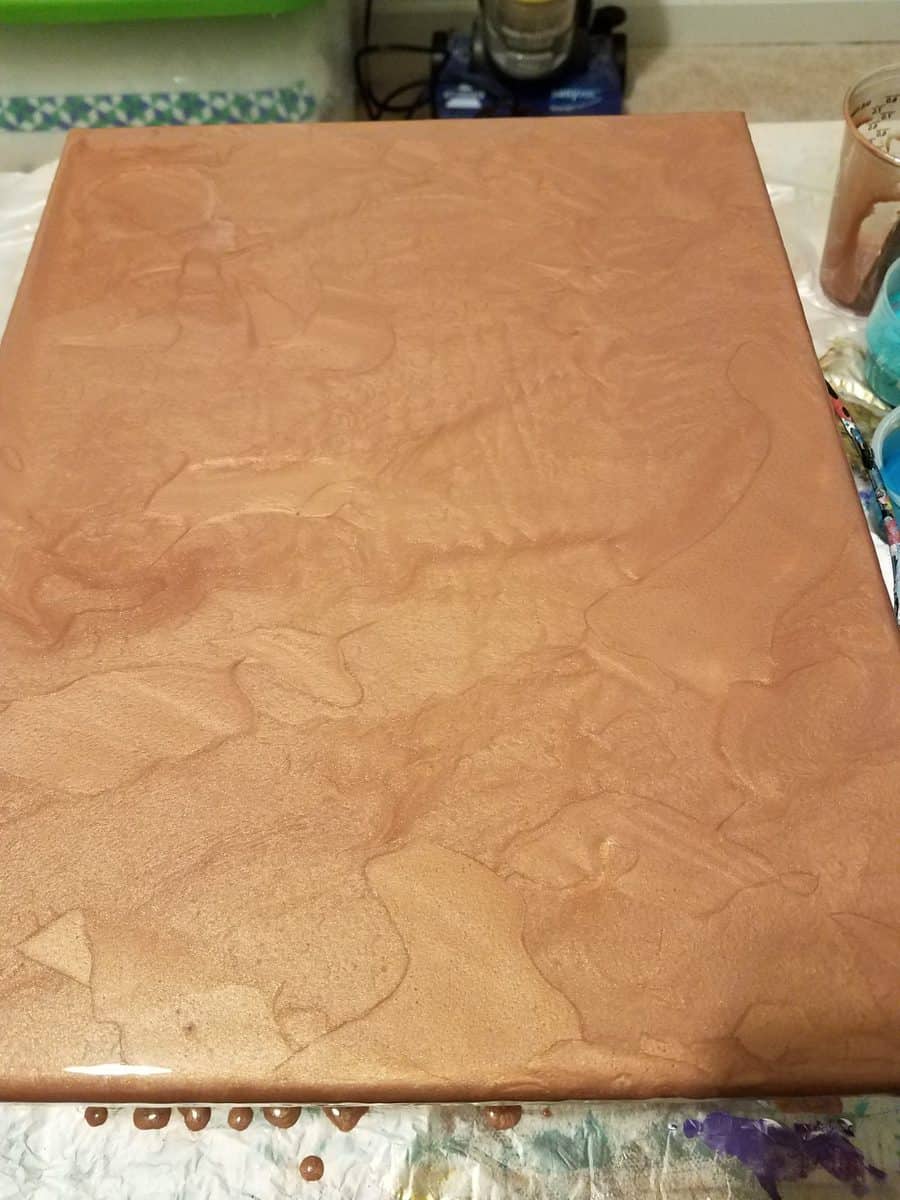
Creating a poured texture: One of the older premixed metallics had been a mixture of Copper and Antique Bronze. It was definitely thicker than what I would normally use in any pour project. It did flow easily, but the stir stick could stand straight up in the cup. I wondered how it might do as a “textured” base. I took a chance and poured it on the canvas. As I started using the spatula to spread it around, I noticed the variations that formed with each stroke… it looked like leather. I instantly had a million ideas for this type of background!
Experiment #1: Win!
Experiment #2
All metallic string pull: While the base was still wet with the thicker metallics in experiment #1, I was curious how string pulls, also using metallics might turn out. As you can see in the next picture, this does not look like a normal string pull.
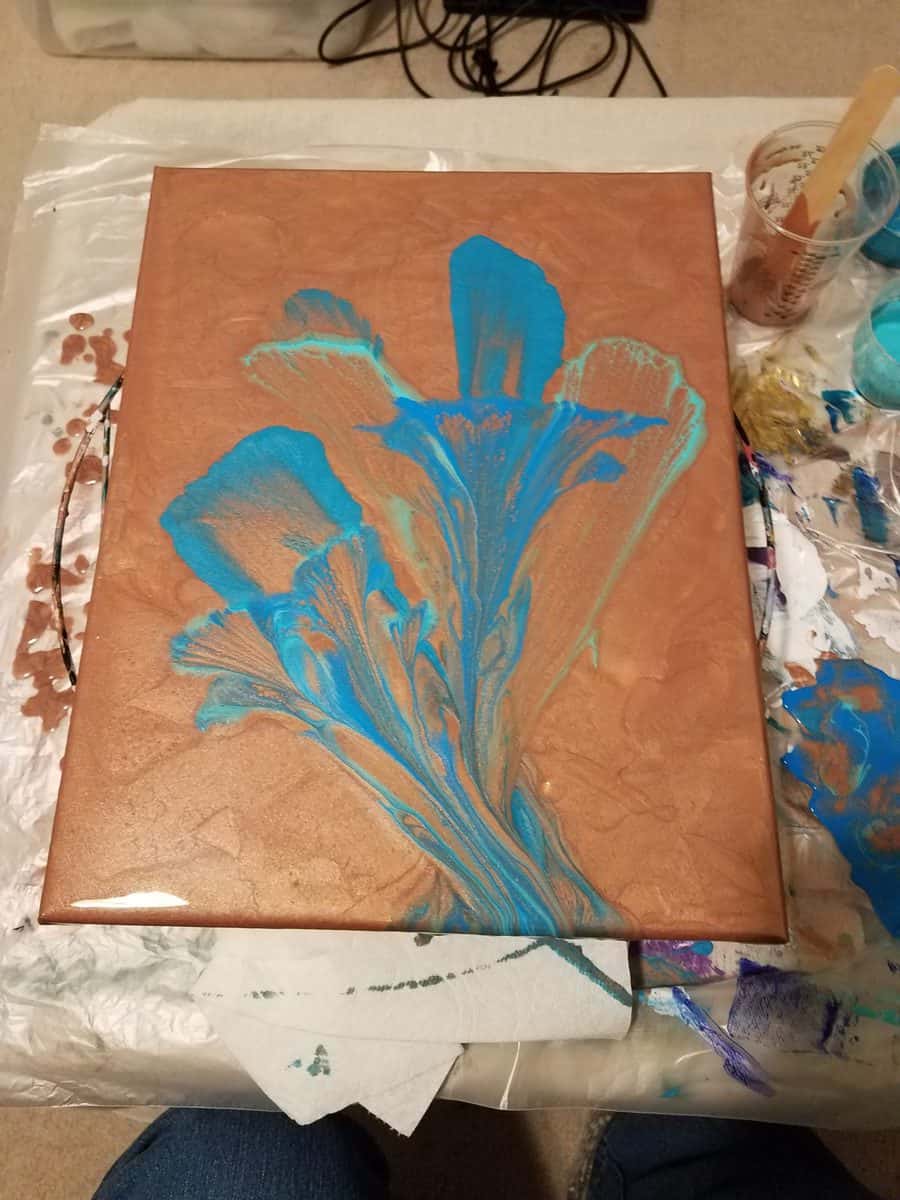
The strings were saturated with paint, but they did not provide a nice coverage. The paints were not bonding to the base, instead they were fragmenting and separating from each other.
The thicker base (copper-antique bronze mix) should not have caused these results. The only thing I can think of is it must have been a reaction caused by using nothing but metallics between the base and for the string pulls. I would suggest sticking to a non-metallic base, hopefully then the bonding will likely be better with more desirable results.
Experiment #2: Fail.
Experiment #3
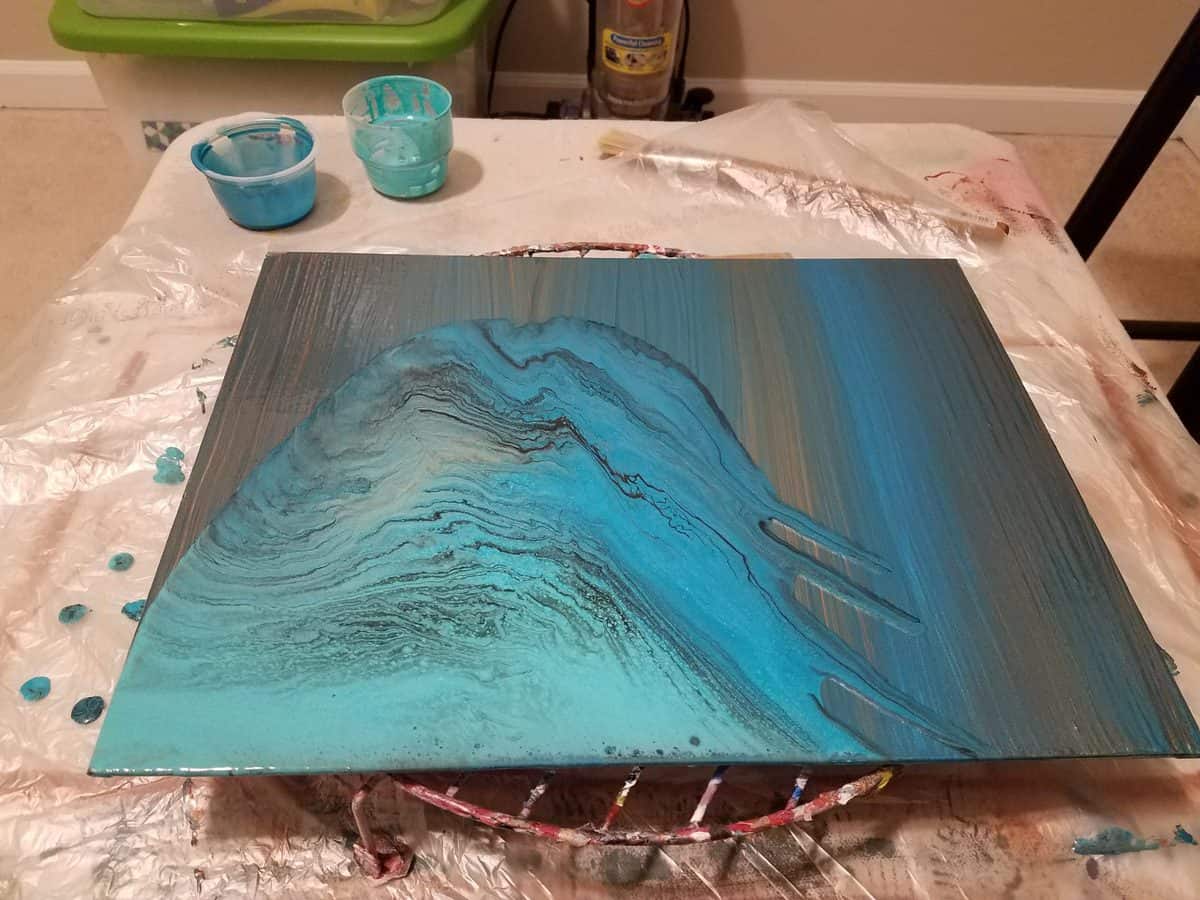
Puddle pour over dried base: For those who have never tried this, there are both advantages and disadvantages. As you can see the base was created using metallics with simple horizontal brush strokes and a little blending, and then let it dry. I used a simple puddle pour with metallics and a drizzle of black. Obviously the paint does not move the same over a dried base. It can leave you with smooth edges, but no fanning or lacing at all as there is no interaction with a wet base paint. For example, if you were to use a straw to try and create lacing, you’ll end up with splattered paint as there is nothing for the poured edges to flow across.
Experiment #3: Could be a win or a fail— simply depends on what you want in the end. As an experiment, it’s promising— just spend the time to create the background you really want. Here I was mainly curious about two different patterns in metallics.
Experiment #4
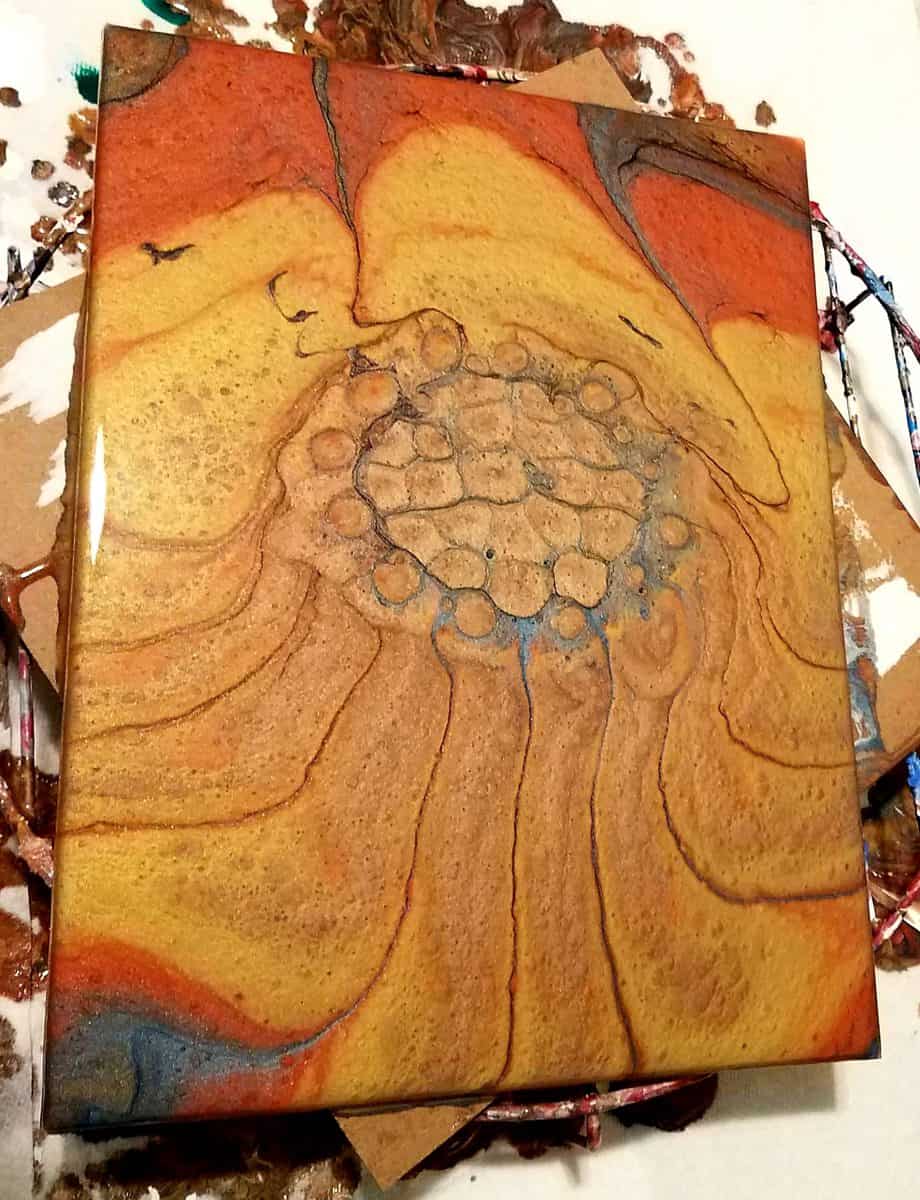
All metallic strainer pour: I started with utilizing titanium white as a poured base coat. Then created a pour cup with nothing but metallics, and poured over a can-strainer. Since it was on an oblong canvas instead of a round, I did have to stretch it out— so it warped a little. Again, just experimenting. The colors stand out nicely after I varnished it, but before varnishing it looked so dull I almost tossed it. Even though this was also all metallics, it held together since I used the titanium white as the base, helping it adhere securely to the canvas and bind with the metallics.
Experiment #4: Win!
Experiment #5
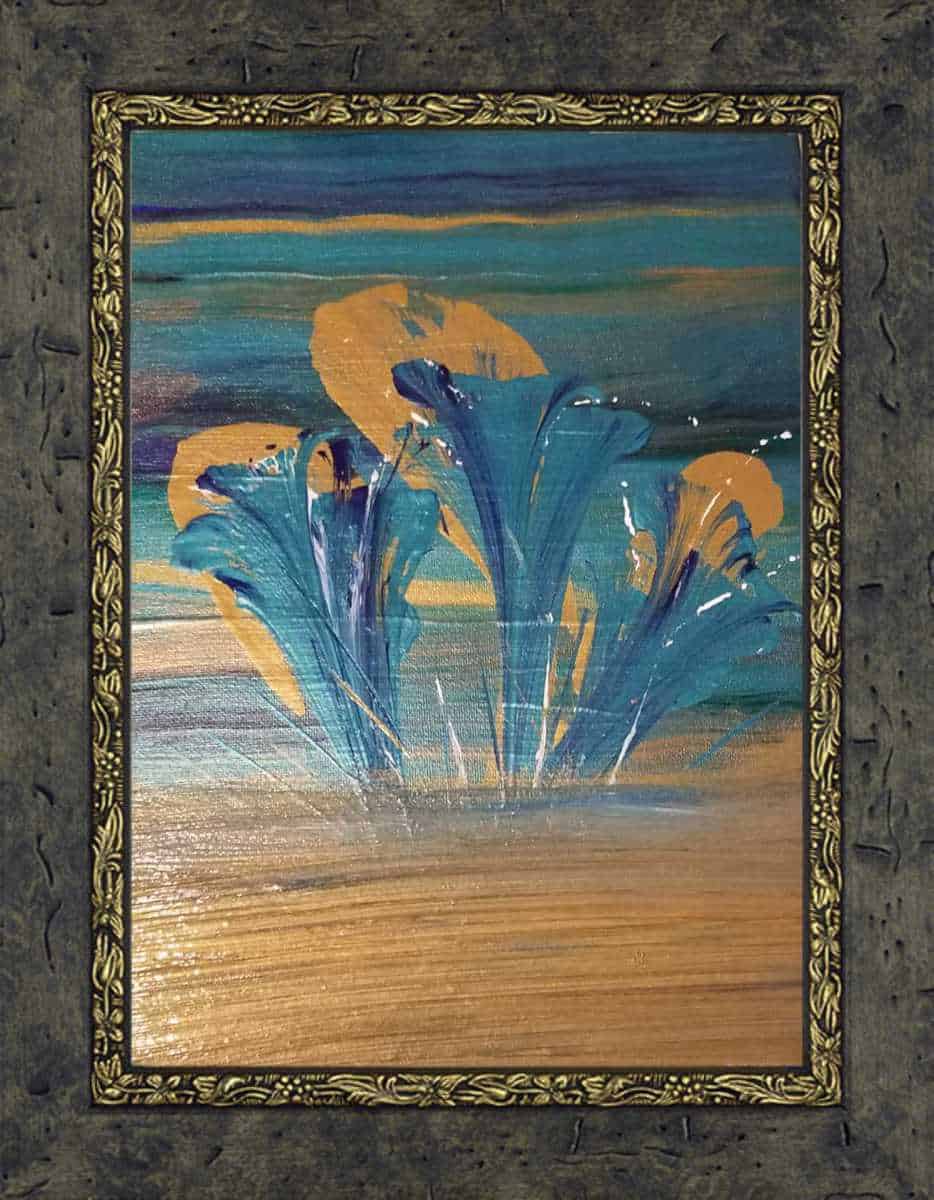
Metallic string pull over dried base: In this one I had an old canvas I painted over with metallics and let dry. Using the same metallic paint soaked strings as in experiment #2, I initiated string pulls on the dried base. I started with the gold to give it a leafy background, then moved onto the turquoise and purple metallics for the main pulls. I used a smaller diameter string with a tiny amount of white to create the highlights. Not my favorite by far; but this does prove that string pulls work on a dried canvas.
Experiment #5: Win!
Experiment #6
Minwax Fast Drying Poly: This is a spray on gloss finish polyurethane. I have used several spray polyurethanes in the past for finishing my poured projects with great success, so I had high hopes for this product. The product claims a fast dry time, this can also be a plus!
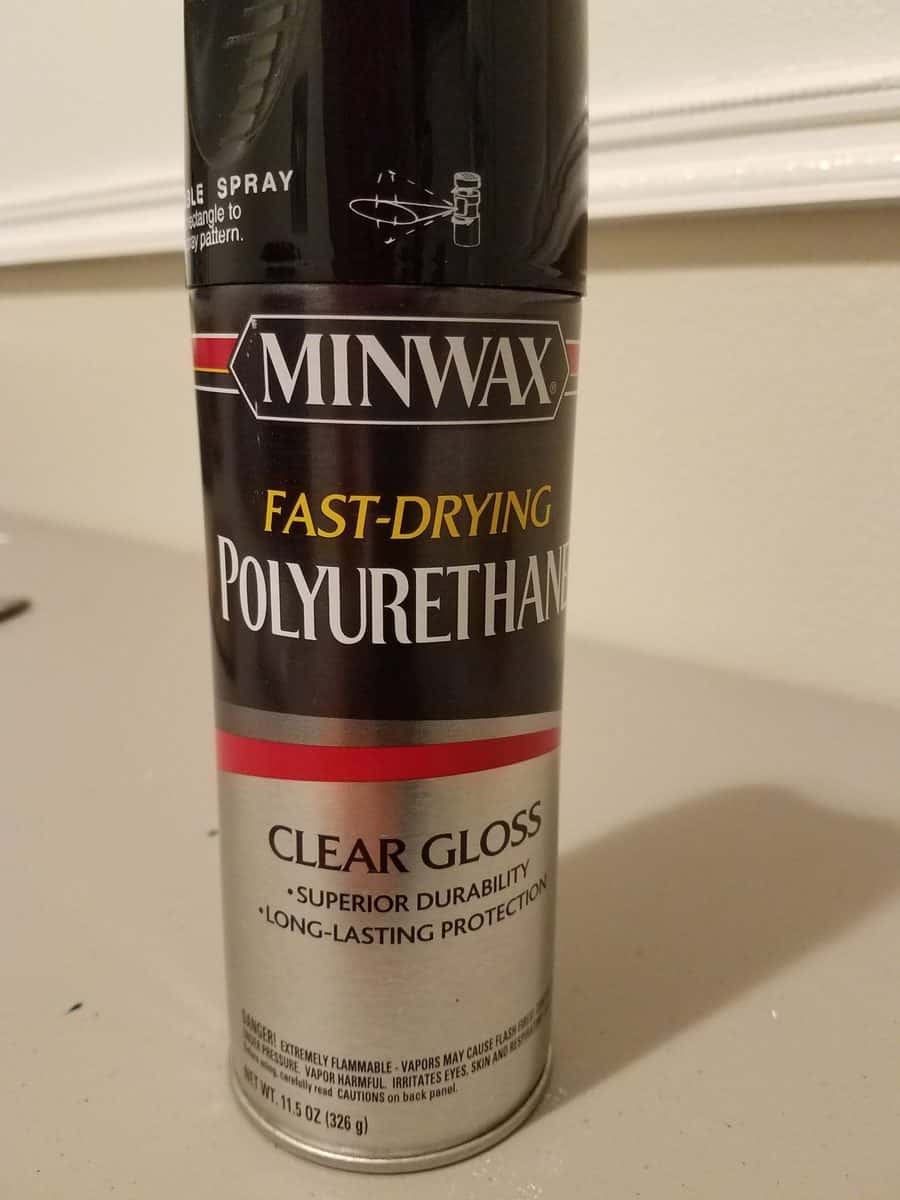
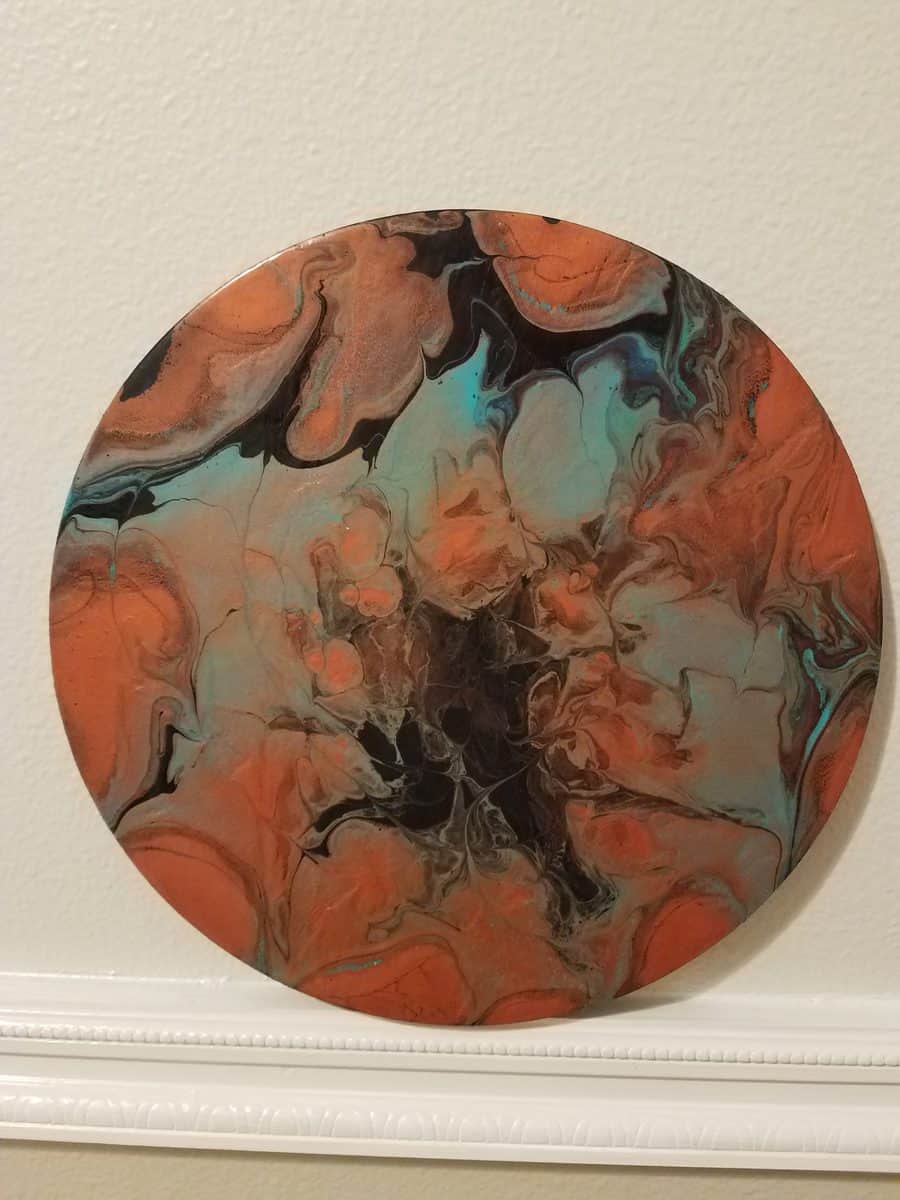
With Washington’s outdoor temps in the high 30’s and very rainy, I questioned if I wanted to attempt this now since I need to use this product outside. In the end, I gave in and pulled out a dried metallic round I had never varnished. After cleaning and drying it, I stepped outside under the porch to spray the varnish on, then immediately brought it back inside. It was placed on a drying rack in the bathroom, where it was warm and I could leave the vent on to keep the fumes from traveling throughout the house. The piece was completely dry within 30 minutes in a nice glossy finish.
Experiment #6: Win!
Experiment #7
Varathane Triple Thick Poly: I purchased this product for a project I wanted to do over the summer, but never got around to it. It states that its water based, self leveling and that one coat is the same as three coats of polyurethane. So I thought, who knows? After all, I was in full on experimenting mode. I used #800 grit sandpaper to do a light sand on the same round I used above in experiment #6. My hopes were to obtain just a thicker finish. The manufacturer does not recommend their product for this type of project, but I’m curious.
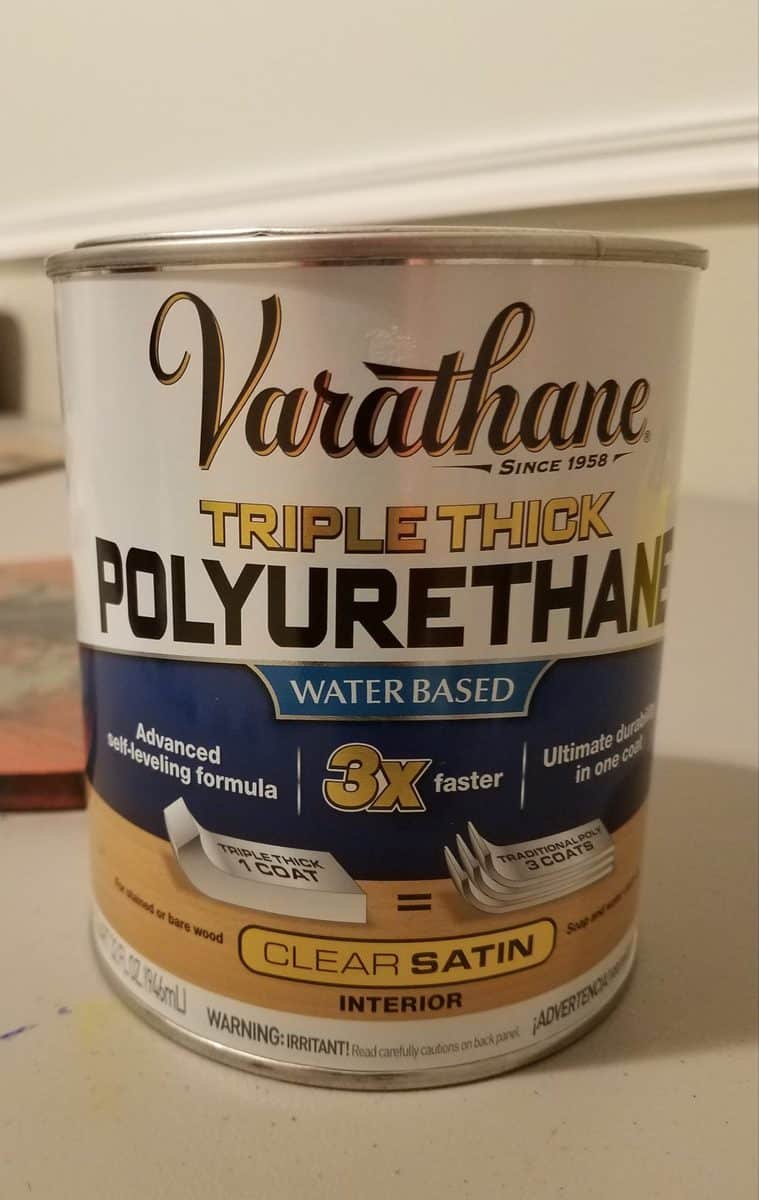
I opened the can and started to stir— it is thick— I mean it takes some strength to stir it, thick. I decided to take it into the warmest room of the house and let it set for a couple of days, just to see if that would help with the thickness. It did, a little, but it was still the thickest polyurethane I had ever worked with. I pulled out a finishing brush and used just a little at a time, not knowing how it would spread. Think about… refrigerated honey! Super sticky!
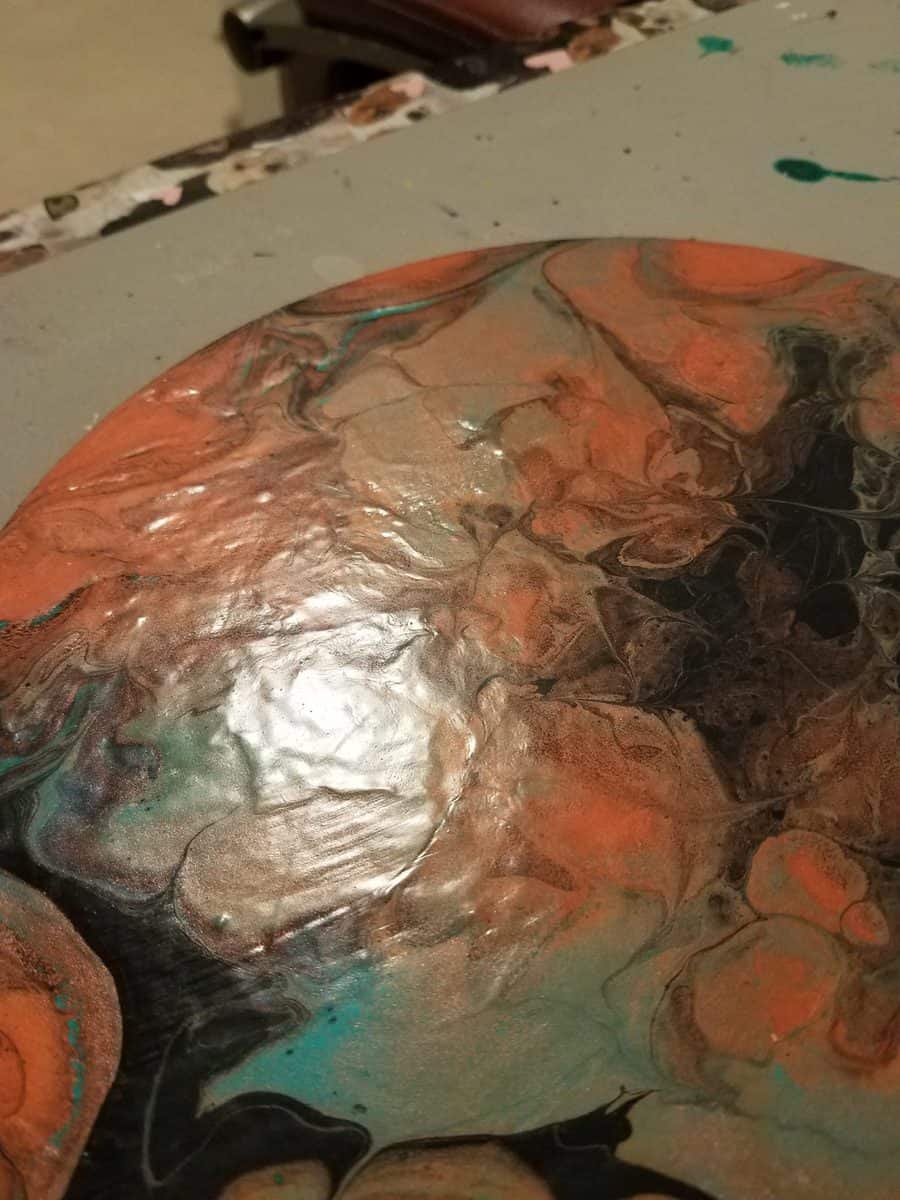
I kept trying to work it and no matter what I did, it was thick and sticky, showing every single brushstroke—and the self leveling it claimed, well not evident on this project. If I had used it during the summer-outside where the temp was warmer, it might have been better, but inside during the winter— I don’t recommend it. After two weeks it was still soft, the coat never did get hard enough for me, still easily dents with even the slightest impact. I will try it on other projects, but not on anything I prefer a “hard” smooth finish on. Again, it’s not recommended for this type of work, but curiosity got the best of me.
Experiment #7: Fail.
Final Results
Who knew? Four wins, two fails, and one that could go either way depending on preferences. That’s what experimenting is all about, we learned seven new things by stepping outside the norm.
Your turn! Take a chance and try something different, step out of your comfort zone every once in a while. There are always leftover paints, canvas and/or products laying around from previous projects. Step up to the table and set your curiosity free.
Since she began creating art in 2007, Tina Swearingen’s focus has evolved from repurposed conceptual art into the creativity and flow of acrylic pouring. Her pours are inspired by the movement and colors of Southern Arizona’s amazing thunderstorms, and the majestic beauty of the Pacific Northwest, which she now calls home.

what little i’ve seen, i have loved.