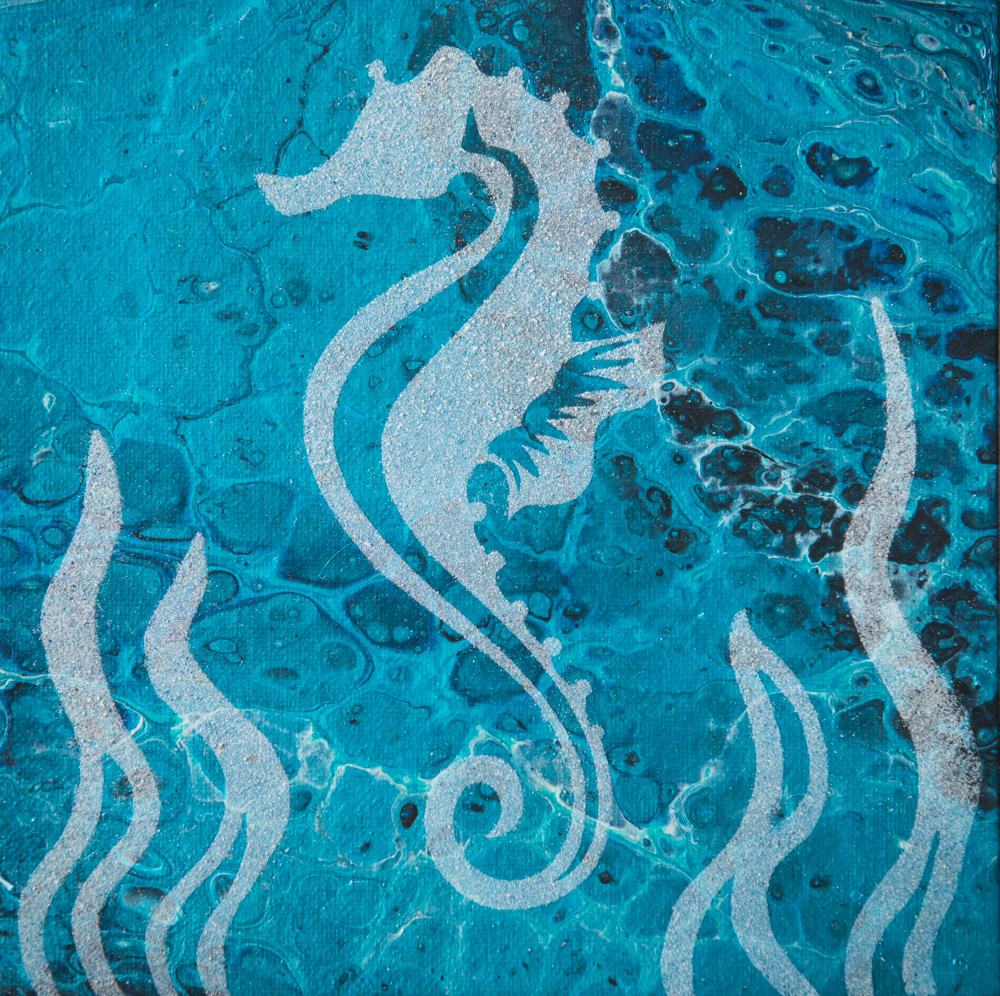
Hello everyone! I’m CraftyJenn and I’m super excited to be a contributor for AcrylicPouring.com! I wanted to share with you all today a technique to embellish your acrylic pour paintings with a pretty under the sea silhouette. So even if you have a pour painting you might not be very excited about you can use this technique over top of it to enrich the painting. In this example, I have an acrylic pour painting that had lots of metallic blue and not very many cells on it so I decided to embellish it.
Supplies I Used:
- An already dried Acrylic Pour Painting
- Plastic sheet to protect your work area
- Modge Podge
- Small Foam Roller
- Sand (I used a light colored sand)
- Vinyl
- Either: Cricut Cutting Machine or X-Acto Knife or pre-cut stencil
Now, I used my Cricut Explore Air 2 cutting machine to cut the silhouette of the seahorse and seaweed (which I created on my computer) out of the vinyl but if you don’t have a Cricut you can buy vinyl and hand cut a silhouette out using an X-Acto Knife (it just takes more time). To hand cut you’ll need to print the design out.
Tape the vinyl to a safe cutting board and then tape the vinyl print out on top and use the X-Acto knife to cut out the shapes. For the Cricut, you just upload your design and send to the cutting machine with your vinyl loaded onto the Cricut cutting mat. You can also buy a pre done stencil and use this over your painting as well. These are sold online or at your local craft stores.
After you have the stencil in vinyl you transfer it or stick it to your acrylic pour painting making sure all the edges and fine details are well secured to the painting by burnishing them down. Then you take a small foam roller and apply the Modge Podge over the stencil making sure to get a nice even coat. Now the fun comes by pouring the sand over the whole painting getting it to cover all the areas of the stencil.
You can leave the sand on there for a little while but it usually sticks right away so you can also just pour off the excess sand on your plastic sheet and let the whole thing dry. I suggest letting it dry for a few hours to make sure the sand and Modge Podge adhere really well together.
Once it’s dry it’s time for the reveal! Carefully remove the vinyl off the painting. You’ll notice that the sand will start to fall off the areas of vinyl but remain where your stencil showed your painting. Keep peeling until all the vinyl or stencil is removed and voila! A beautiful silhouette is revealed!

Now you just have to coat the painting with a varnish to protect it and you have yourself a beautifully embellished acrylic pour painting!
I hope you all enjoy my video and have lots of fun creating beautiful art!!
Frequently Asked Questions About Sand Embellishment
1. Can sand be used as an embellishment in acrylic pouring?
Yes, sand can be incorporated as a creative embellishment to add texture to acrylic pour paintings.
2. How do I adhere sand to my painting?
Sand can be adhered using a strong adhesive or a clear medium.
3. Can I color the sand before using it in my painting?
Yes, you can color sand using acrylic paint or ink before applying it.
4. Can other materials be used in combination with sand for embellishment?
Absolutely, combining sand with other embellishments like shells or stones can create interesting textures and designs.
5. Is it necessary to seal a painting with sand embellishment?
Sealing is recommended to protect both the painting and the embellishment over time.
6. Can the sand be applied to wet paint?
Yes, applying to wet paint can help in adhering the sand, but using an adhesive might provide a more secure bond.
7 How long should I wait for the adhesive to dry when applying sand?
Refer to the adhesive’s instructions, but generally, it should be left to dry for at least 24 hours.

From the age of five, Jennylynn Fields attended Artistically Speaking Art School where she learned the fundamentals of drawing, color and composition. It was these early teachings that fueled her inner fire for artistic development and her love for the arts. Then she attended the Fine Arts program at the University of Alberta where she experimented with mixed and traditional mediums including photography. Turner, Robert Bateman, and Louise Bourgeois were some of the early influences that inspired her artistic passion. After majoring in printmaking and minor in Visual Communication Design, she graduated with a Bachelor of Fine Arts in 2001. Jennylynn continues to express herself through her art and photography.
To see more follow her on CraftyJenn YouTube channel, Instagram, Facebook, Blog and shop her paintings and artwork on CraftyJennArt Store.

I am confused. I get you do a stencil. Then you use mod podge and put it on and then the stand. Then you pour the rest. That part I am not clear about when you do the pour? I read it twice to see if I was missing something. Seems to me like it would mess up the stencil. HELP.
Awesome I am going to have try this. I don’t like just to pour the paint and that is it. I like to have an image. So thank you for sharing.