Whew! Now that the holidays are over it is time to get the creative juices flowing! Like many artists, I put my art projects on hold to enjoy family, food, friends, and fun. But now…it’s time to get back into the groove after a nine day hiatus. I was going to start my day by resuming my morning exercise routine but I quickly found that my body had rusted up and fattened up over the holidays.
Thinking I could now get back to painting in my art room… I find my projects buried under items that had been stashed there to make room for visiting guests. Surprise, my art room doesn’t resemble an art studio anymore. Air mattresses, boxes, gift wrap, and empty luggage now fill my art studio!
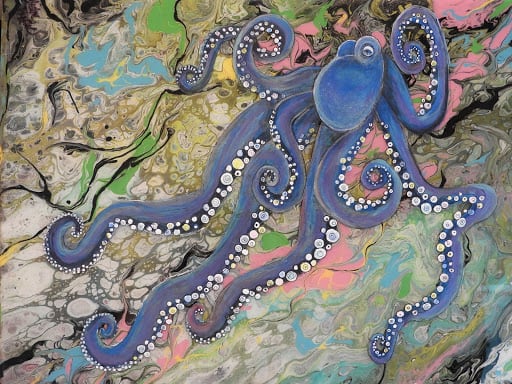
Now that I have cleared a space to work, I’m going to start on my recent pouring and attempt to embellish it with an ocean animal. First, I examine the pouring for movement of the colors and the paint colors for ideas of what to paint and where to place my embellishment. I conclude that the long twisting arms of a octopus would work well with the poured background. I also should confess, painting an octopus is one of my favorite sea creatures. The octopus gives me freedom to create curved lines, use lots of color, and add movement in my painting!
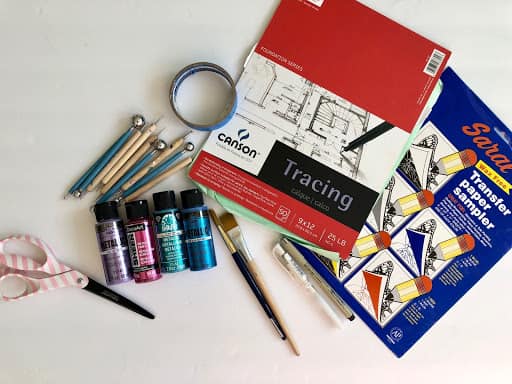
Supplies I Used:
- One completed pouring on canvas or wood panel
- Octopus image for reference
- Signo uni-ball white pen
- DecoColor extra fine marker in black and fine liquid gold
- Meuxan Dotting Tools Ball Styluses
- Assorted brushed and painters tape (holds transfer paper in place)
- Apple Barrel paint in black and white
- FolkArt Metallic in Blue Topaz, Blue Sapphire, Amethyst
- DecoArt Metalic Pink Tourmaline
- Saral Transfer Paper was used to transfer image onto the pouring. The dot makers are great for quick and uniform shaped dots.
For resin:
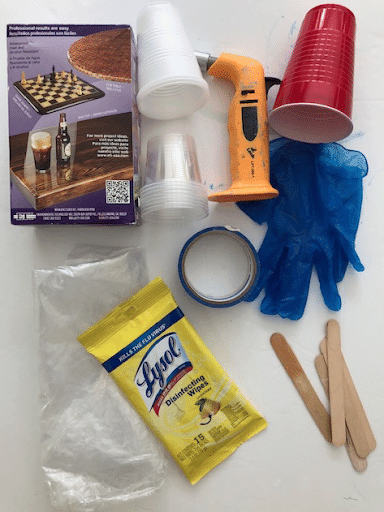
- Envirotex Lite Pour-on
- Clear plastic cups (2 for mixing and 4 cups for elevating the canvas)
- 2 wooden stir sticks
- Disposable gloves
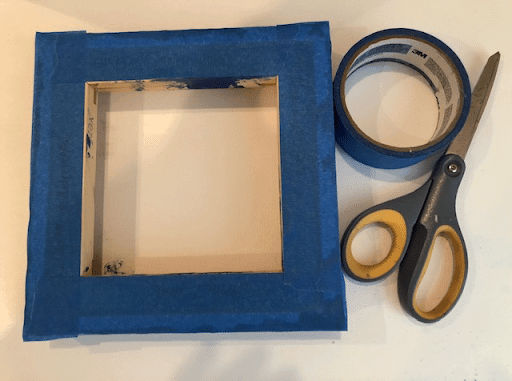
- 3M Painters Tape
- Spatula to spread resin
- Butane torch or heat gun to eliminate bubbles
- Disposable alcohol wipes for cleanup
- Plastic to protect work surface
Oh, I forgot to mention that you don’t have to draw and paint an octopus perfectly to look like an octopus… all that is required is that you have eight arms when you are done! Nice! However, now that I think about it I suppose it could also end up looking like a spider with eight legs…oh, the stress of art.
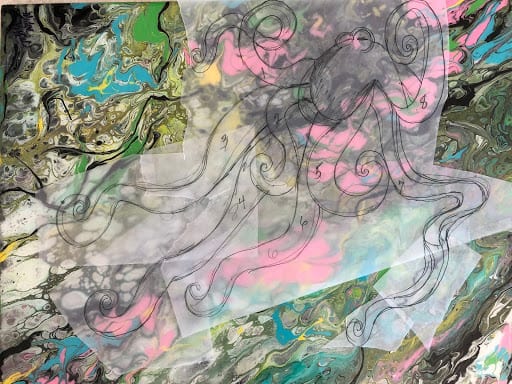
Placing my drawing on my pouring.
I sketched out the octopus on tracing paper so that I could try different placements on the pouring. I also needed to keep track of his many arms!
Note: I had to number them….I didn’t want to lose an arm…duhhh!
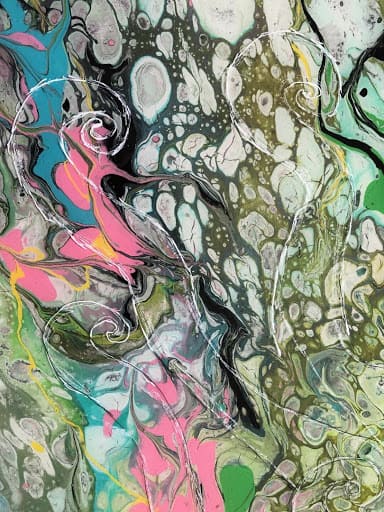
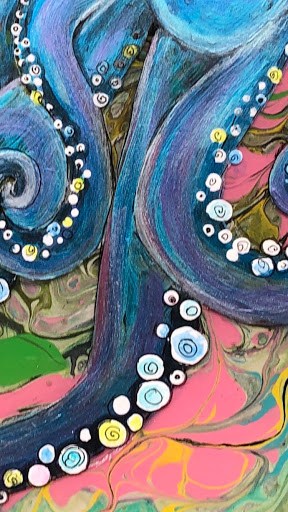
First, I traced the image onto the pouring. Secondly, I painted on a base coat of the various metallic paints. Next, I added the white dots of varying sizes and let them dry. Later, I painted lighter colors on each dot and finally used the white and black paint pens to add details to the suction cup discs on each arm. Easy peasy… Sometimes!
When you are happy with the looks of your octopus then you have the easier option of brushing on an acrylic water-based gloss varnish. Or, you can do what I did, I put on a coat of clear gloss resin. (See details of that process below.)
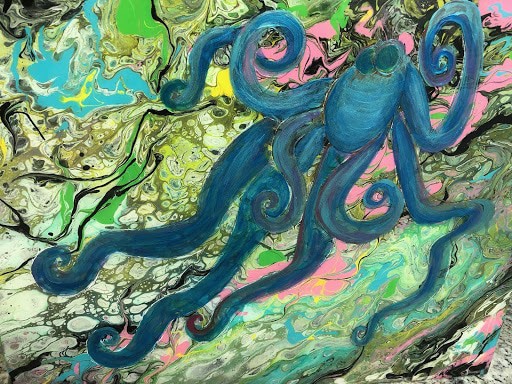
The Octopus
Tell me, O Octopus, I begs
Is those things arms, or is they legs?
I marvel at thee, Octopus;
If I were thou, I’d call me Us. Ogden Nash
The Resin Process
I begin the resin process by cleaning my acrylic pouring (silicone oil removed) and then elevate it on upside down plastic cups so the resin drips off the paintings edge.
Next, I add the first coat of clear resin and let it dry until the surface is hard to the touch. (About 24 hrs.) If I don’t like the way the octopus looks…I can wipe it off with a damp paper towel. Acrylic paint can be wiped off an endless number of times. Yes!!!

Midge’s work is characterized by bright colors and fun tropical designs. Primarily a self-taught artist who is constantly experimenting with different brushes, tools and mediums to achieve a variety of effects. Midge is inspired by the beauty of Anna Maria Island, Florida, where she currently lives.
www.midgepippel.com
Instagram: @Midge_Pippel
[email protected]
https://Pixels.com > Midge Pippel
https:fineartamerica.com > Midge Pippel

so you put on a resin coat before you put on the octopus?
No, I add the resin as a final step after I have painted on the octopus. Thanks for asking. Midge
Yes, I did. But you could paint on the octopus and add the resin last. Whatever is your preference..:however is you paint on top of the resin you can wipe the acrylic paint off easily and then top w a second coat of resin. ????
How do you remove silicon oil?