One cup—one pour, these are the basics we all learned when we started acrylic pouring. Dirty and flip cups and the drag are the simple, quick, almost foolproof ways to create many of our first great works.
Eventually, most of us venture out to create something different, something that might set us apart from other pour painters, and that something is often the mighty multi-pour.
Supplies I Used:
Artist Loft paints (Titanium White, Mars Black and Brilliant Blue)
Metallic Deco Art paints
Three ounce paper cups (use for pours only, not for mixing)
Popsicle sticks
String or ribbon
Floetrol Flood
A multi-pour is simply multiple mixed cups containing at least two or more colors. This does not include the base coat or “individual” colors added to the canvas one at a time. Most tend to agree that an individual pour is at a minimum one ounce of paint.
Can it be considered a multi-pour if all pours were from the same cup of mixed paint? This is up for debate, in reality it doesn’t matter all that much, but you be the judge. Here’s an example:
You mix a cup with 12 ounces of paint, and then you pour three separate tree rings—four ounces each. You have lifted off the poured canvas and started a new tree ring each time. So is this one large pour or three smaller pours?
If this same amount was separated into three, four-ounce mixed cups, it would automatically be considered three pours. So basically, it’s whatever you want to call it; after all, it’s your art.
Why would you ever do more than one pour? The short answer is contrast. Here is one I created about a year ago using two individual flip cups with the same colors, but with differing amounts in each cup.

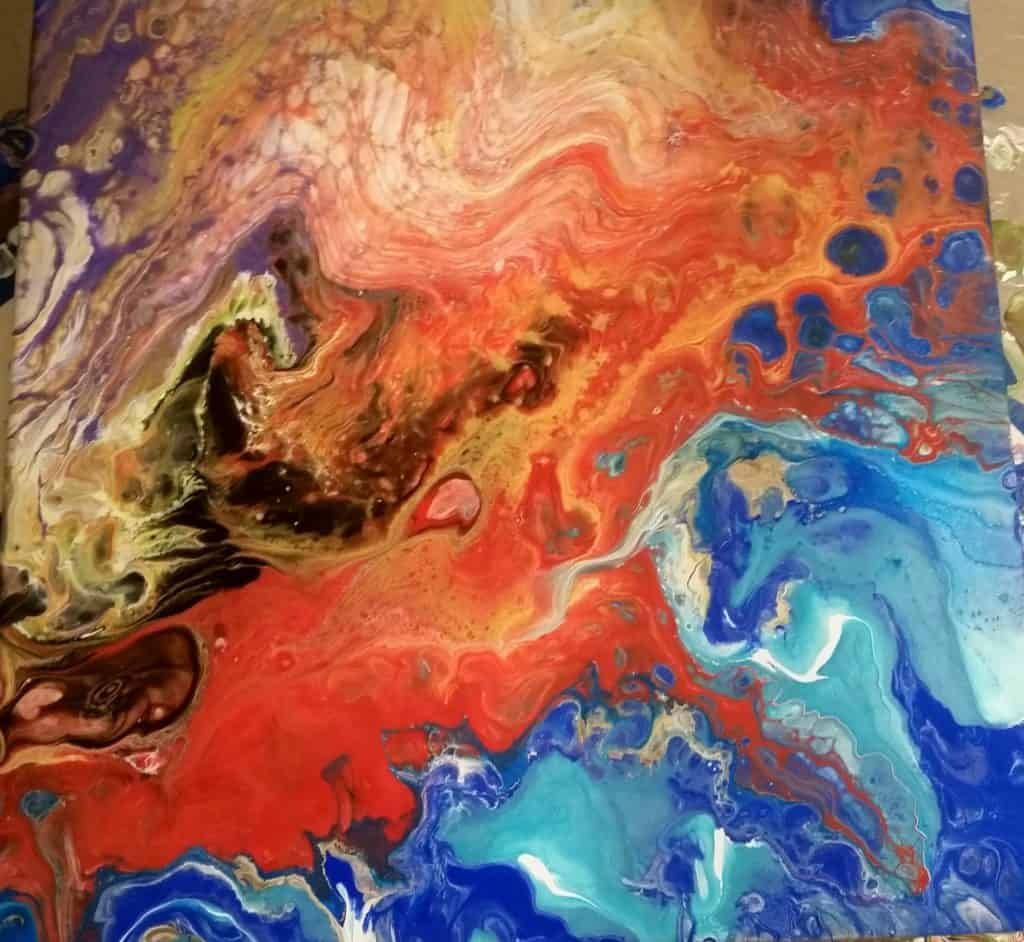
Sometimes you just have to go with it, you wonder why not—and wow, the colors are not supposed to work, but because they are separated the way they are, it flows. This was a blue flip cup and tree ring pour with the red, browns, and purple.
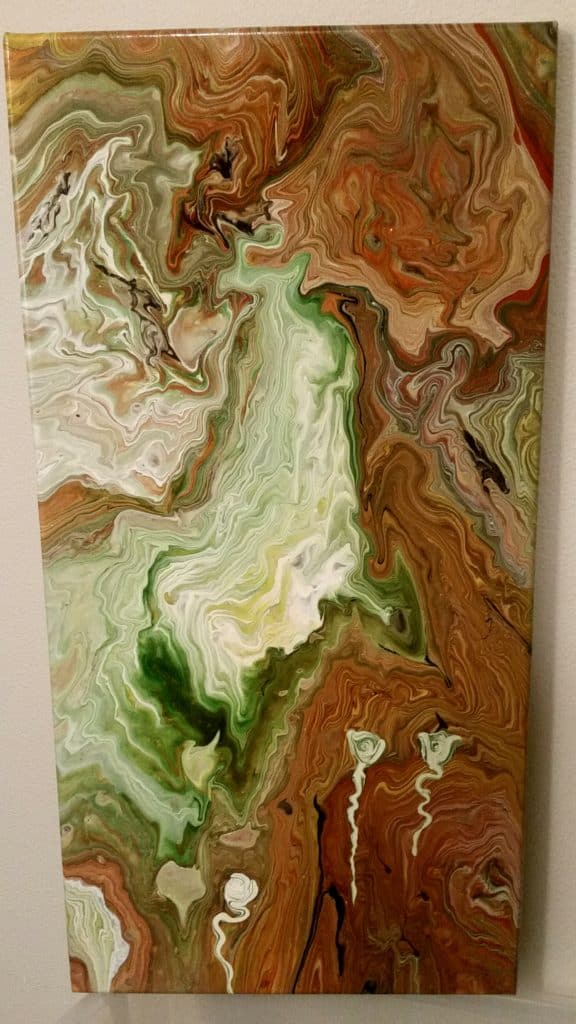
I love tree ring pours, but doing just one never gives me what I want. I don’t really like the circle formation, but the random lines and crevasses are my happy place. For this reason I tend to use more greens, shades of browns, and multiple pours so nothing looks too perfect and the colors reflect those found in nature.
This painting has six tree ring pours and the flowers added for flare, so actually seven pours total.
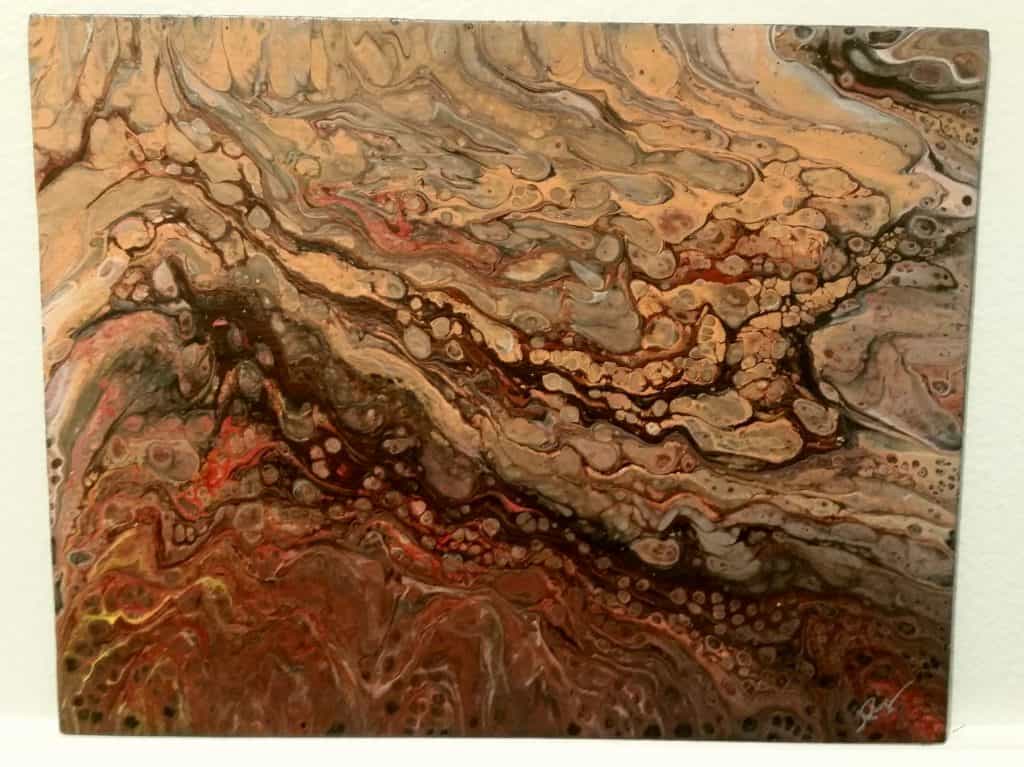
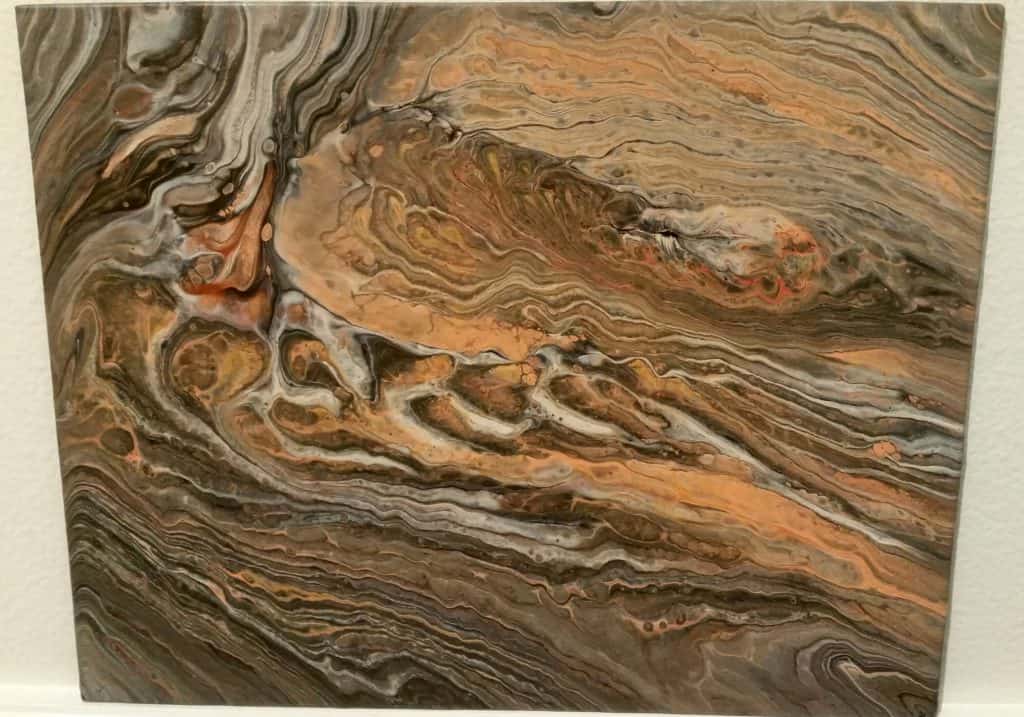
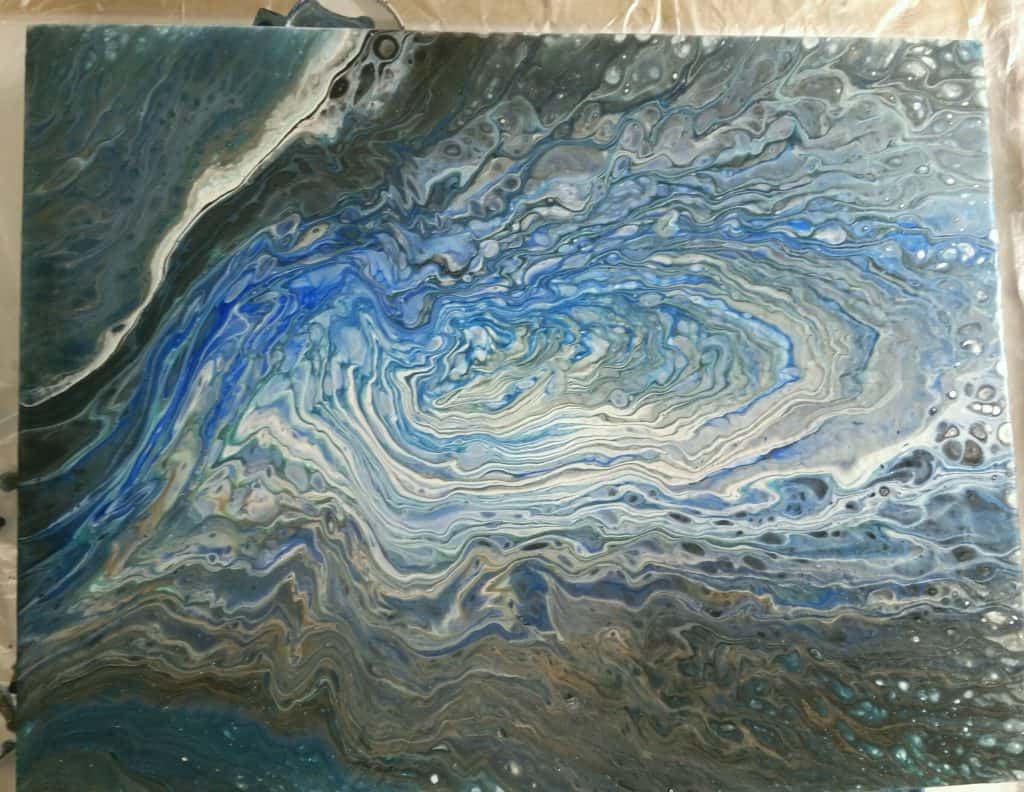
Here are two additional paintings with multi-pours featuring complementary colors in two stretched ring pours.
It may be that you are happy with one tree ring but you either don’t have enough paint to cover the entire canvas with one pour or you don’t want any negative space. In this painting, I loved the tree ring and wanted to keep it as the focus, but decided to add a corner freehand lined pour.
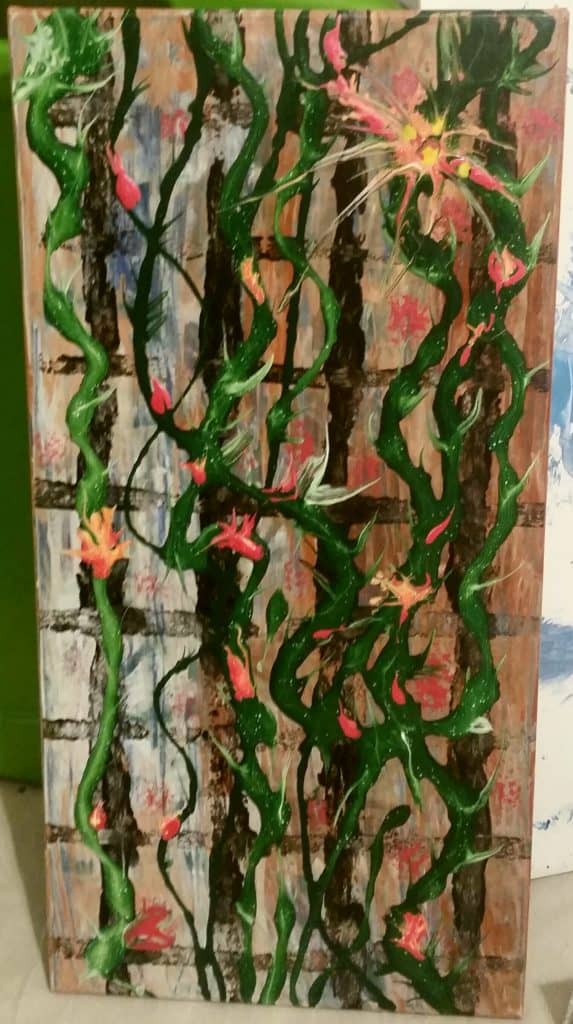
Multi-pours are great to use on those dried paintings you don’t really care for. Here’s one of my multi-pours over a dried painting. It was a blue background, but I only wanted a little of the blue to show through. I decided to pour a combo of brown, white, and cream colors to cover the majority of the blues; then I used a thick ribbon dipped in black to make the lattice.
Next, I poured a mix of greens and white to create the vines. The final pour was of pinks and yellow to create all the flowers. The thorns and bulbs were done with a wooden skewer. This one isn’t my favorite but I suppose I kept it for inspiration, maybe to push myself out of my own comfort zone.
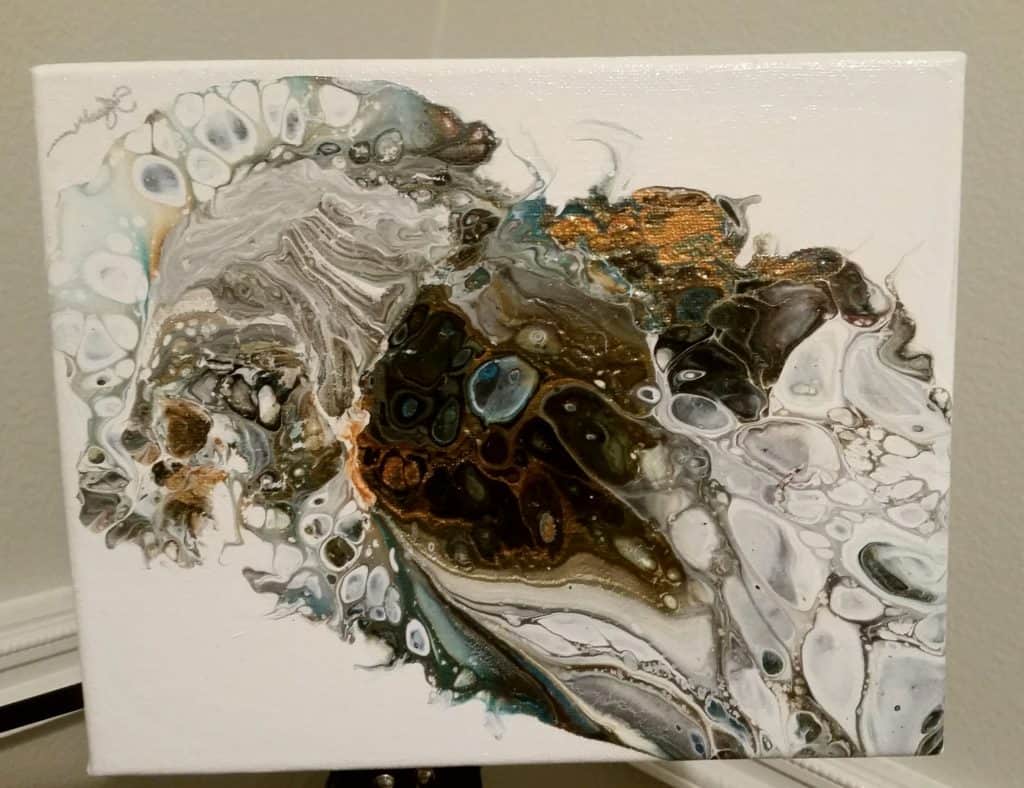
Here is a multi-flip and drag (x3) with metallics on white. I’ll admit it’s one of my favorites.
Multi-pours can be used for contrast and definition, to cover or fix an old pour, to experiment or even provide inspiration for other paintings. No matter what you create, learn from the process, the colors, and the way it makes you feel with one pour, two pours, three pours, or more. Get your creativity on, my friends!
Since she began creating art in 2007, Tina Swearingen’s focus has evolved from repurposed conceptual art into the creativity and flow of acrylic pouring. Her pours are inspired by the movement and colors of Southern Arizona’s amazing thunderstorms, and the majestic beauty of the Pacific Northwest, which she now calls home.

Brilliant I love it
Thank you!
How you been buddy?
Sue, a tree ring pour is one continuous controlled pour where you very slowly pour with circular motion. Think of turning a tiny spoon in a child’s teacup. Most use the tree ring to create close to perfect circular rings, in the center of a canvas. They are beautiful no matter how they are done.
Hi Heidi, I absolutely agree! When I want to do a clean true ring, I use the center canvas and I too am heart broken when the ring breaks off the sides.
I like to use multiple tree rings when going after a granite look vs a traditional tree ring. I don’t paint or pour on anything round, so I’ll typically use a square canvas for one tree ring; or rectangular for a stretched or multiple rings.
Thanks for your insights Heidi!
love your ideas thanks for sharring would like to see a video pouring multiple pours
Thanks Carole, Still working on getting the video set up right. I can’t seem to get the lighting right. I’ll keep trying.
How you been buddy?
I have so much to learn, looking forward to it. I’ve only done 2 so far, Dutch pours on teeny canvases, and I’m very happy with them.
So helpful. Great ideas. Thanks.
Annette. (Australia).