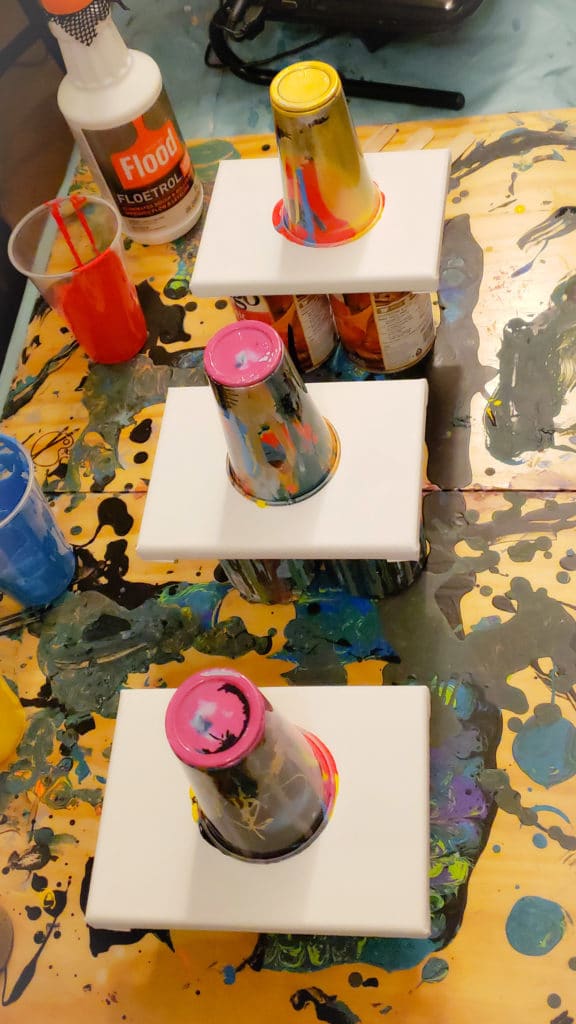
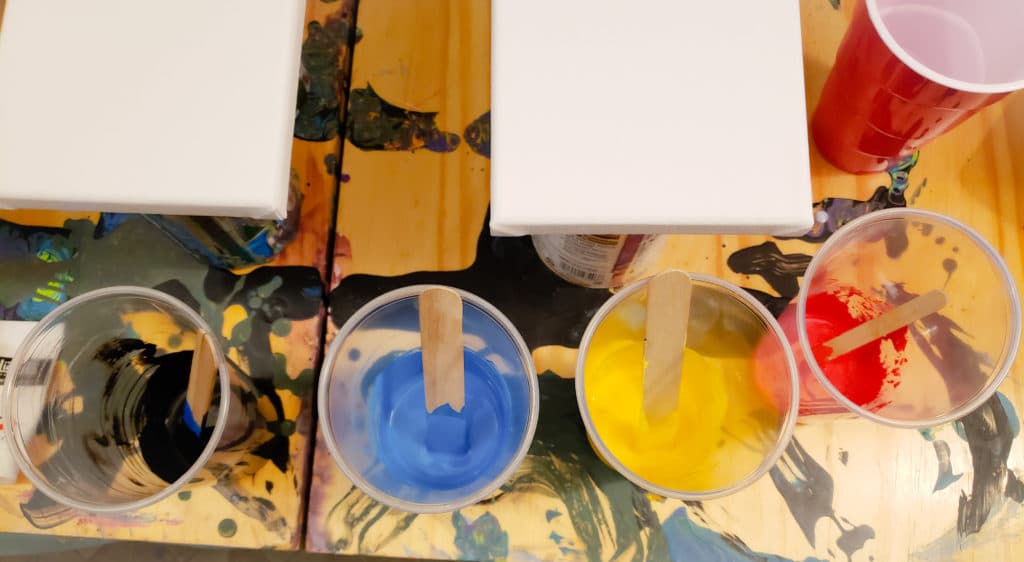
I created this video to give you some insight into producing a pour painting that will give you brilliant color instead of a muddy mess. Pouring paint as an artist may seem very easy to the untrained eye, although after trying this process for a while, I failed miserably many times. I began to think about the process more and more to perfect cell work and avoid muddy colors.
The keys to avoiding any muddy colors has many different factors connected to it. I will go over three main parts to further explain these factors. In this video I have done three separate dirt flip cup pours, and added some leftover paint to produce better effects within the painting due to being unhappy with the flow of the flip cup. I’m a busy person, so that’s how I like my art. It is a good reflection of my mind!

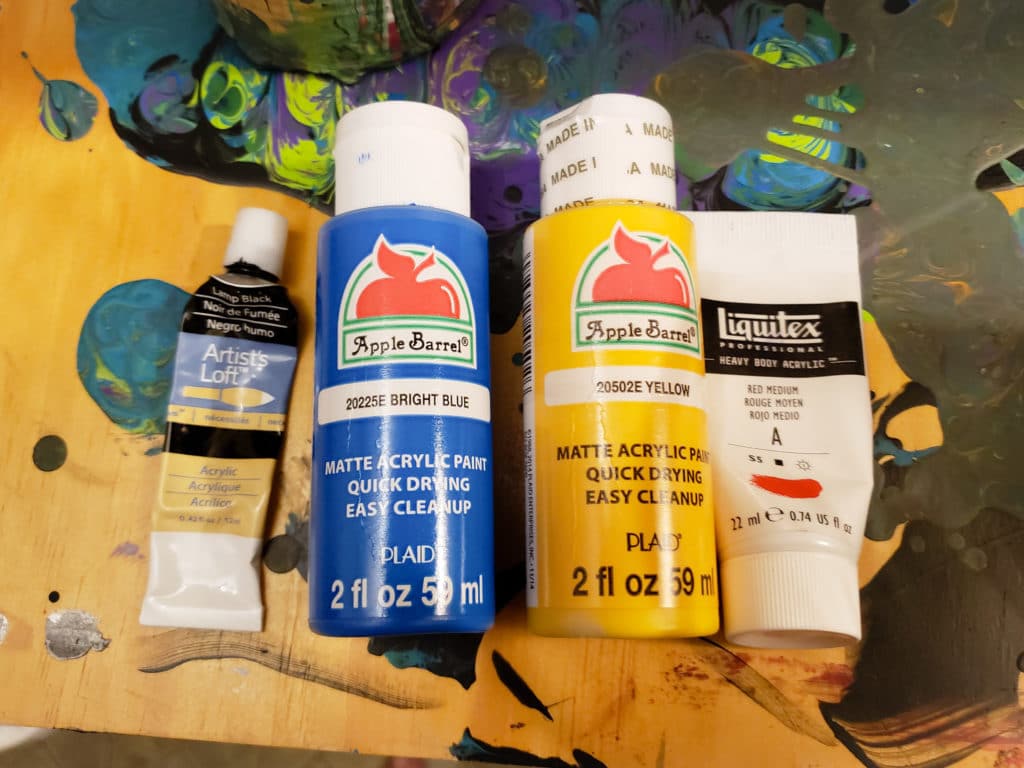
Supplies I Used:
- Apple Barrel Paint (or any paint of your choosing. Remember to stick with one brand
at first) - Floetrol
- Stir sticks
- Cups or containers
- Coconut Milk Dimethicone Oil (Optional for more cell work)
- Painters cloth or covering
- Gloves (Also optional)
Factor 1: Density of Paint
Outlining factors of the muddy color issue in acrylic pouring is the first step to creating more beautiful pours. First thing’s first, let’s take a look at paint density. When creating a layered cup of extended paint, you should consider how heavy the color is that you are applying on top of another color. If you are applying color such as titanium white on top of an array of colors, the white will always sink to the bottom and can cause some adverse effects, thus creating muddy colors. Check out this helpful density chart from Golden Paints.

Factor #2: Color Choice
If you have not invested in a color wheel yet, please do. I have been working off of a color wheel since a very young age. Colors mixed together can always create another. When you have a mix of the wrong colors side by side, it can go terribly wrong and create the undesired effect of muddy colors. Take a look at your color wheel and break down some good combinations and experiment with them. Different brands of paint will also give different shades due to differences in pigments and ingredients. I recommend trying to stick with one brand of paint at a time and focus your mixing with those paints, once that paint has been mastered, give another brand a go. It is easier to experiment with a control, which would be the paint brand. Lifehacker has a great article for beginners with color theory I encourage you to check out as well.

Factor #3: Fluidity
The consistency of your paints can also play a role in color mixing badly. If you add extender to your paint and it gets past the warm honey consistency, you may run into issues with your paint mixing and not producing cells. This issue is defiantly a trial and error when it comes to a new pourer. Do not be too scared to mess around with consistency but do not over do it with pouring medium. Then again, maybe over do it, then get back to me.
Maybe you will have some new results!
For other acrylic pouring resources, check out our free guides below:
Acrylic Pouring Supplies Guide
Acrylic Pouring Medium Comprehensive Guide
The Complete Acrylic Pouring Technique Guide

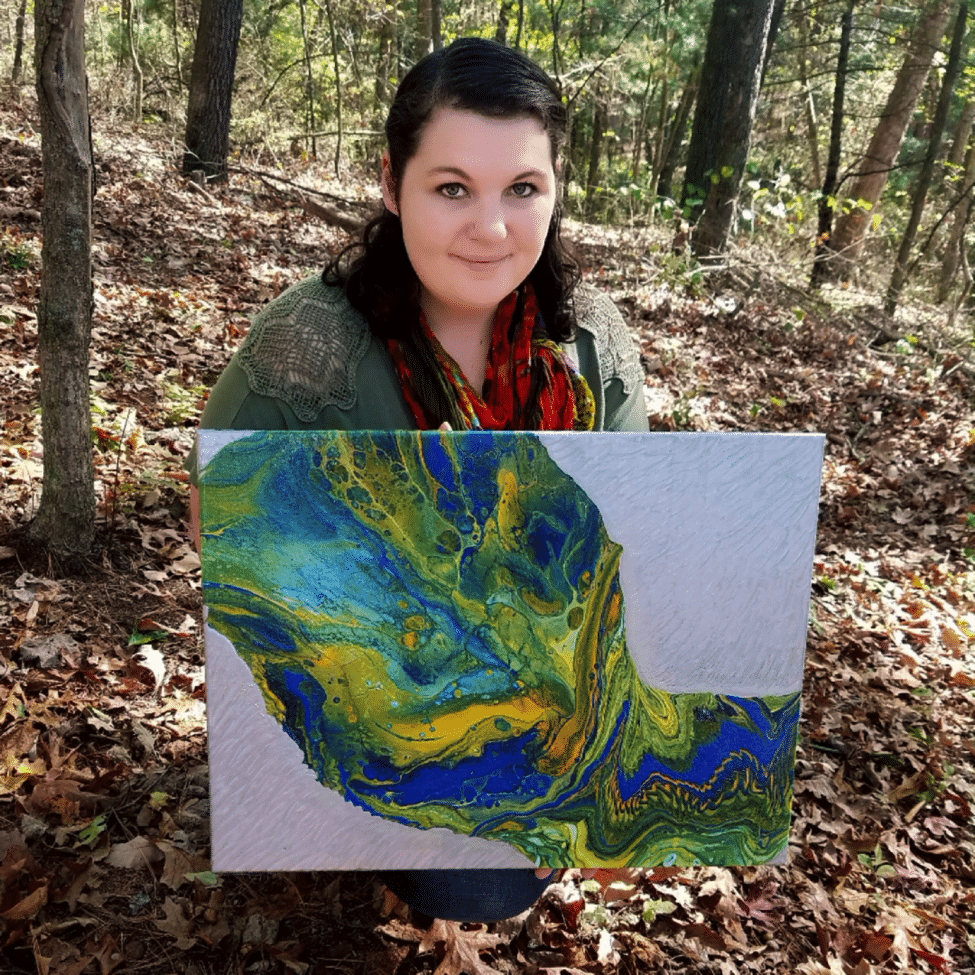
Alisha is a visual artist based in the Blue Ridge Mountains of Virginia. She is a self-taught artist specializing in fluid acrylic painting, artistic furniture, and abstract drawing. Alisha recently started creating art again after the birth of her son and a battle with postpartum depression. Her work features key themes which explore the associations of color and emotion, namely, the ability of color to inspire and promote positive emotions such as happiness, joy, and wonder. She is a mother, artist, and a mess from time to time.

You mention a density chart, but I don’t see an attachment or link for it.
Nor the link to Lifehacker’s article on color theory. 🙁
Just FYI, the three way split screen does not improve the video, just the opposite, it makes it hard to see what is going on.
I agree with all3 of these comments.
Hey,
Just one question ..
How to understand density of colour?
Hi Alisha, thanks for the tips! The Blue Ridge Mountains of Virginia must offer a lot of beautiful nature inspiration! The painting you’re holding in your photo is GORGEOUS!! All the best to you in your recovery from post-partum depression. Art has certainly been therapeutic with my own anxiety- hope it’s one of the tools helping you too! All the best from San Francisco ????