How much time have you spent making your fluid art masterpieces? Mixing those dazzling colors, tilting to create a solid composition and finally applying a finish all take valuable time. Wouldn’t it be fantastic if you could share your masterpiece’s true beauty online to family, friends, and potential buyers? Following this quick guide will help you attract the online attention your artwork demands, no fancy studio or camera needed only a smartphone!
Setting the Stage
The first step to achieving high quality photographs is to find clean, empty wall or floor space that will make a contrasting backdrop. You will always want your piece to stand out, putting a dark canvas on a white wall will give you the desired effect. When choosing your backdrop make note of the sunlight, you want to avoid a glare as much as possible. This is often difficult with resin and high gloss varnish but it can be done if you choose the right place or time of day to photograph.
Do not pick a wall where you will be standing between the direct sunlight and your art, that will cast a shadow and often darken those subtle details and shimmer. Having indirect light, or light that is diffused by thin window curtains is ideal.
Tip: Change the aspect ratio in your camera settings to 1:1. This will allow you to take square photos. If you are using Instagram you already know all the images are square, if you upload a rectangular photo the app with cut off the edges. Even if you don’t use Instagram the square photos are ideal for Facebook Marketplace ads as well, the photo previews are square until you open up the ad.
Finding Your Light
Once the placement of the piece is achieved stand directly in front of it and see where your shadow and the light will be. Sometimes you may have to stand at a slight angle to the piece to avoid a glare or shadow, this is completely acceptable. When you stand and look at it at different angles note where you think it looks the brightest and start taking your photos from that spot.
Explore Your Angles
When you’re ready to start taking the photos make sure you either have a very steady hand or are able to rest an elbow on a static object. I have a chair in my gallery I use to rest my hands and/or elbows on. Alternatively, you can purchase an inexpensive phone stand and set the photo timer while the phone is in place. Once the photo of the piece is captured to your liking move on to other angles. It is best to show your potential buyers the depth, close up details, and size so their expectations are realistic. I suggest including objects if at all possible. For example a stack of books with a candle or a flower vase on a shelf beside the artwork to help visualize the size of the canvas.
Quick and Easy Software
Lastly, download a free app (ex: Photodirector) on to your smartphone. Sort through the photos you like best and open them one at a time in the app. This is where you can adjust the brightness and apply a white balance to get rid of that yellow looking sunlight.
This is very important: Do not adjust the color levels or make any changes that affect the colors of your work, when a buyer looks at your piece in person you want them to see the real colors. Also, when you adjust multiple photos try to adjust the levels equally so one photo isn’t significantly brighter than the next, having consistency is key!
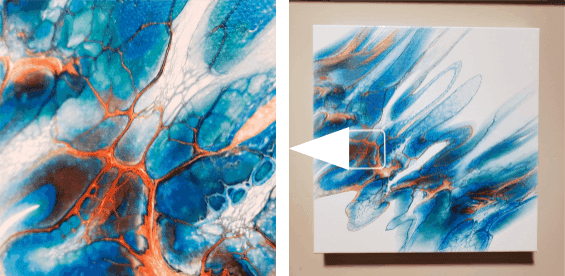
Photographing a small section of painting close up to give the potential buyer a better idea of those little details that are easily missed in the full picture.

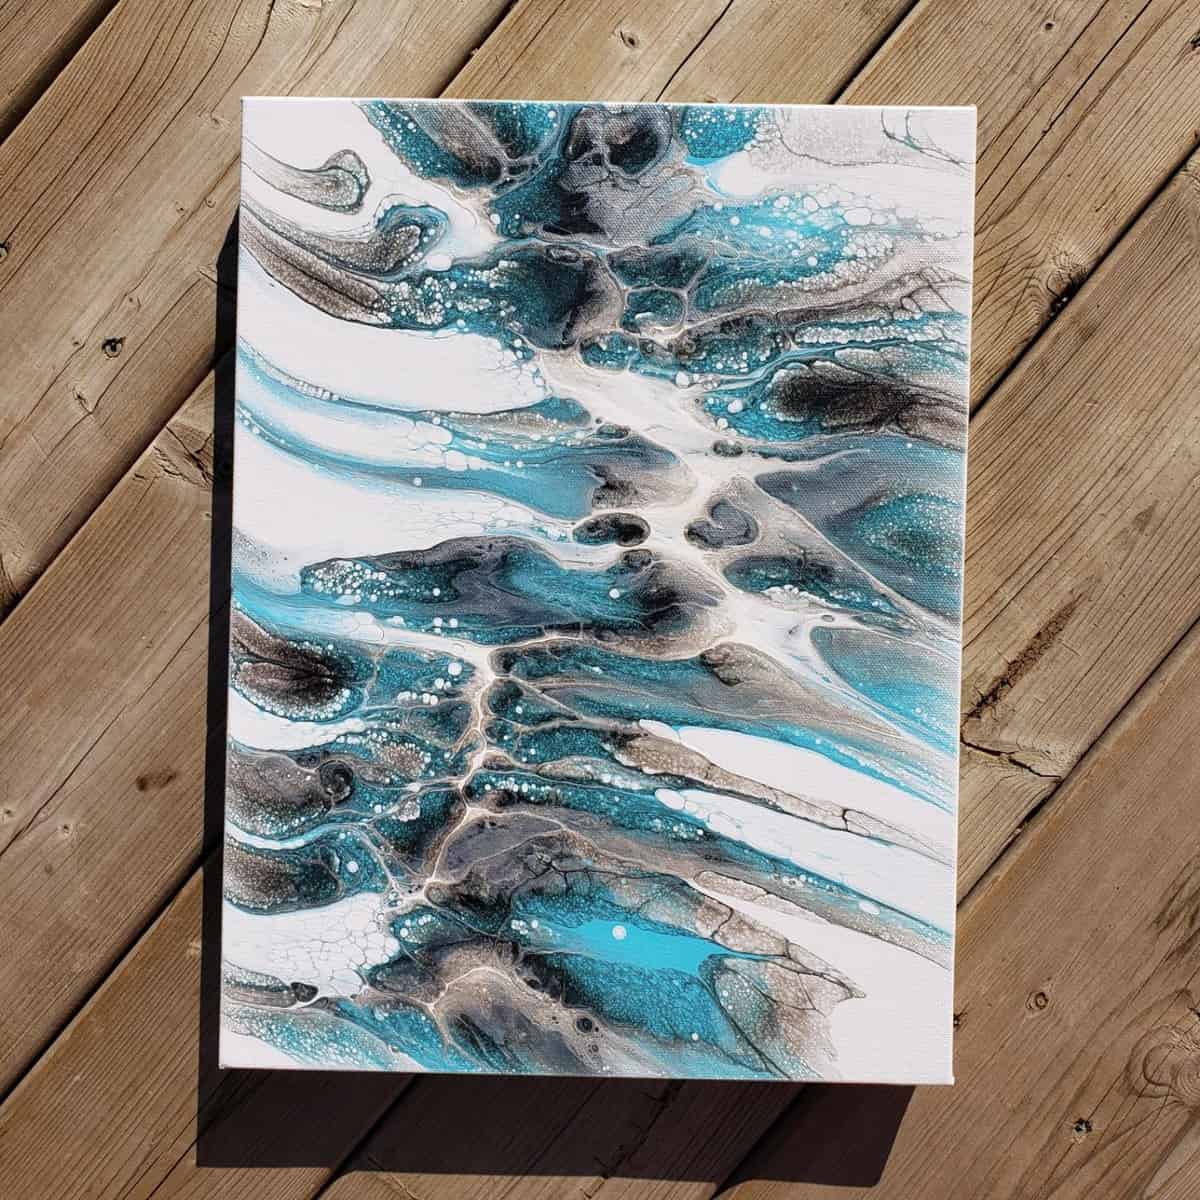
This piece has been photographed outside in the sunlight on my wood deck. The natural wood background is a great way to make the white and blue pop.

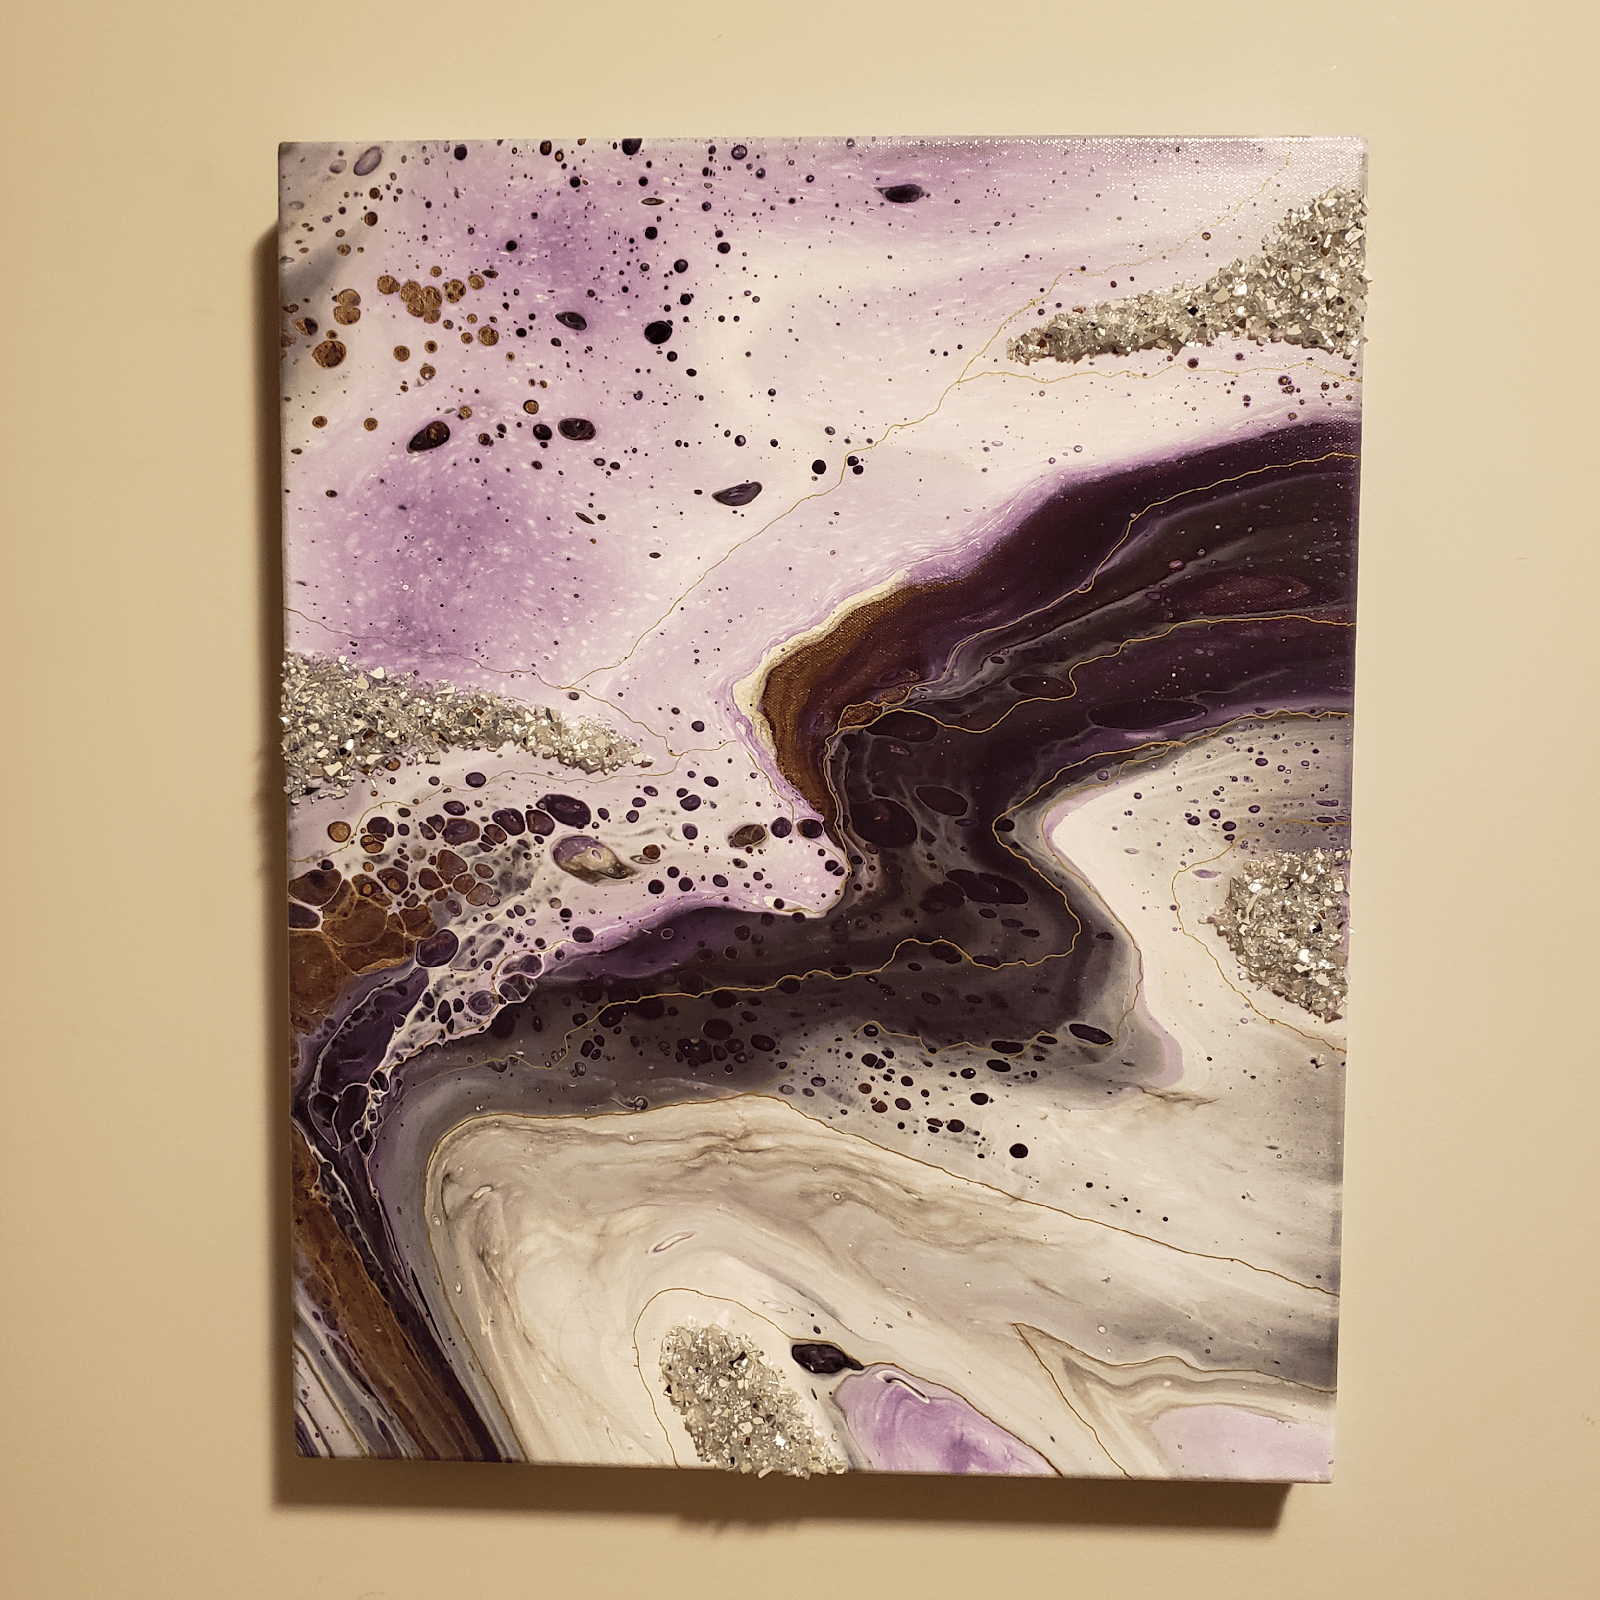
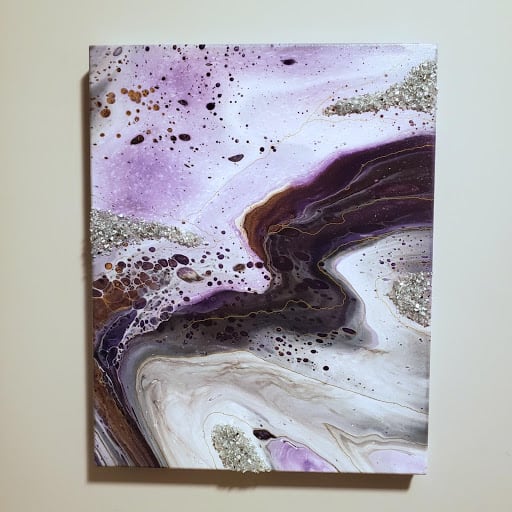
This is an example of what the picture looks like before and after touching the brightness and white balance. Notice the color has not changed, but it looks more professional with the yellow tones whitened.


Jordyn Valcourt is a self taught artist born in Calgary, Alberta. She enjoys working with fluid acrylics, epoxy resin and other media. She graduated from Reeves College with a Diploma in Computer Graphic Design but prefers designing and creating with a more hands-on approach. Fluid acrylics provide the perfect vehicle in which she can create unique and personal works of art.

Hi Jordyn,
I just wanted to share a free app that I’ve had for years and just LOVE it for editing and adjusting photos.
It has an “auto” option that will correct the photo with 1 click-it adjusts the clarity and
a bit of the color. Then it allows you to see a before and after to decide which one you like best. It has an auto contrast correction also.
And there is 100’s of other ways to enhance and/or change photos-some are just for fun and silliness!
You should check it out!
The app is called:
Pixlr
Thanks for the great tips! It’s always disappointing when you try to capture your work and it JUST doesn’t do it justice. So I’m going to cross my fingers, apply your tips and hope for the best.
Thanks again,
Lori
Thank you for your valuable information and tips on photographing your beautiful work. I found them to be a great use when photographing a piece using all types of medium. You are most kind for sharing.
Great advice Jordyn, thanks for sharing.
Great info! I’ve been doing acrylic pouring for a while now. I’m following your advice on how to stage ones art.
I’ll post on different sites when I have my photos completed.
Victor Vega
Good article!
One other tip I have is to hold your art near the screen you’re editing the photo on and adjust the light/saturation/color balances until the screen matches your art. I usually have to decrease the warmth and up the reds/saturation to make my photos more accurate, and even though the camera doesn’t do the art justice, it certainly looks closer when you adjust the color!
I am a beginner but am determined to get the affect. I Am Looking for in my paintings
Hi
I’ve noticed you used the word “touching” insread of “retouching” ,regarding color-adjusting photos after they were taken. The correct term is “retouch” or “retouching”.
That’s great. I was impressed by your writing. I am happy to see such a topic. Please come to my blog and read it.