Creating the diagonal pour is extremely easy, if you can pour paint, you can do a simple diagonal pour. I wanted to show you how to pour on the diagonal and create three different effects: straight diagonal, stretched diagonal, and the ruffled diagonal.
Simply the process of pouring lines, automatically means your lines will not be uniformly straight. If perfectly straight and uniform is what you want, pouring is not the application you are looking for.
Supplies I Used:
- Happy Medium Ready to Pour Pure White
- Happy Medium Ready to Pour Coal Black
- FolkArt Bright Red Metallic
- Apple Barrel Multi-Surface Satin Acrylic Paints in Spiced Berry
- Organix Coconut Milk
- Golden Color Fluid Medium Matte
- Academy Art Supply 11×14 White Canvas
- Mixing Cups: small plastic cups to mix paints
- Glass Pour Cup: any cup that will hold 9 oz, a traditional glass measuring cup works great
Mixing Paints
Happy Medium Ready to Pour Pure White (total mixed five ounces) four ounces for undercoat to prep the canvas, and then and an additional one ounce for the pour cup.
Happy Medium Ready to Pour Coal Black (total mixed two ounces).
FolkArt Bright Red Metallic (#493) 1:5 paint to Golden Color Fluid Medium Matte (total mixed three ounces) Add two drops of Organix coconut milk and only stir mixture three to four times—this allows the silicone to form larger cells.
*Note: Of course you can use any silicone you wish, but if you are using the Organix coconut milk for the first time, be careful as the pump squirts a stream. You want drops, not a stream of silicone. Be sure to test out a couple of drops prior to using it over the paint.
Apple Barrel Multi-Surface Satin Acrylic Paints—Spiced Berry 1:5 paint to Golden Color Fluid Medium Matte (total mixed three ounces).
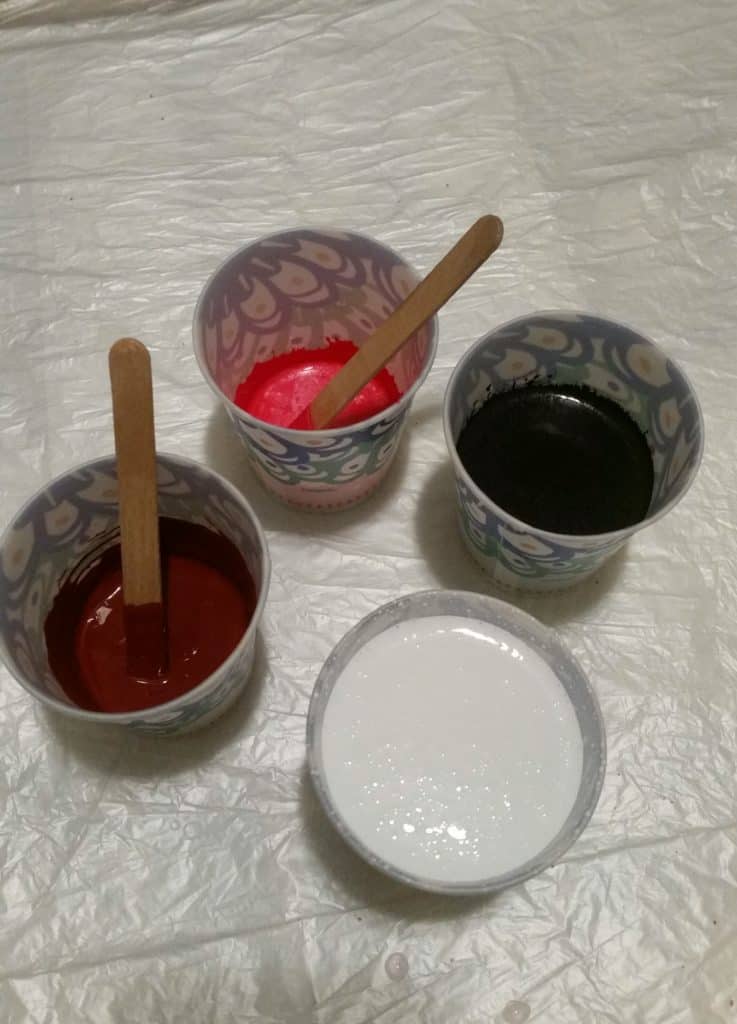
Pic2. mixed paints
Pour Cup
The pour cup starts with just enough white to cover bottom of the pour cup. Add one fourth ounce of black, dime size white puddle, one fourth ounce of berry spice, dime size white puddle, one fourth ounce of bright red, dime size white puddle, one fourth ounce of black. Then repeat the process until you have nine ounces of layered paints in your pour cup. I ended up with black on top, that’s why I had a larger black space on mine. Remember to add the dime size of white between each layer.
*Note: You could also do this using half ounces for each layer for a completely different effect.
Prep the Canvas
I used the remaining four ounces of white paint as an undercoat on a 11×14 white canvas. Cover each corner, then the sides, and finally pour remaining white into middle of canvas and smooth over entire surface. Allow run off if needed, until you have completely covered the surface and sides.
Starting the Pour
I started at one corner, making sure to fully cover the corner. Next use a side to side motion, sweeping across the entire canvas each time, laying down a layer of paint. Pour to the right, then to the left, then the right… left, right, left, etc.
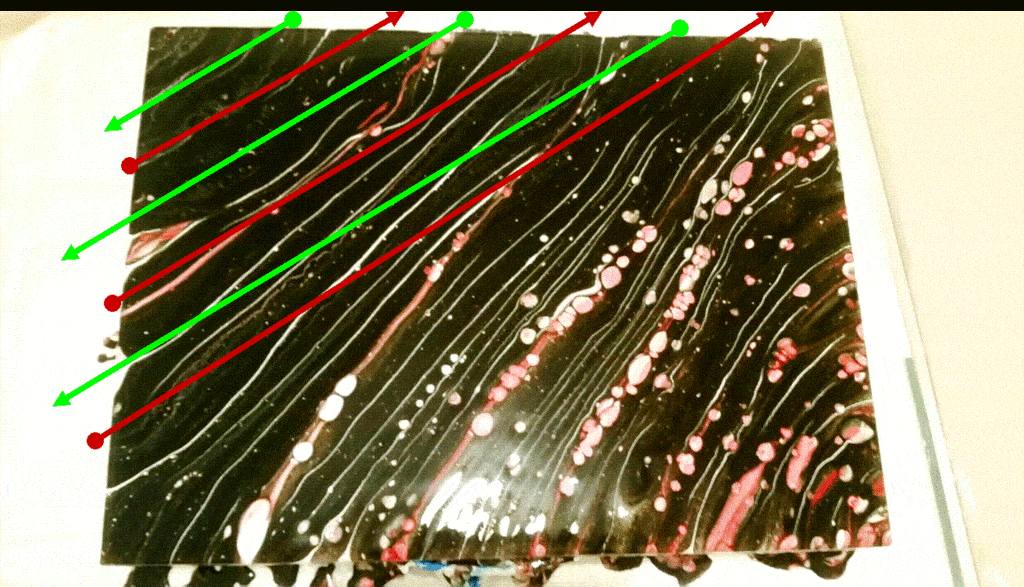
You can start from the same side on each pour, just be careful you don’t drip as you come back across the canvas. I always mess it up unless I alternate my directions… right, left, right. The more paint you pour at one time, the less stripes you will have overall; the less paint you pour, the more stripes you’ll end up with. Again, be sure to go all the way across the canvas with each pour.
Stretched Diagonal
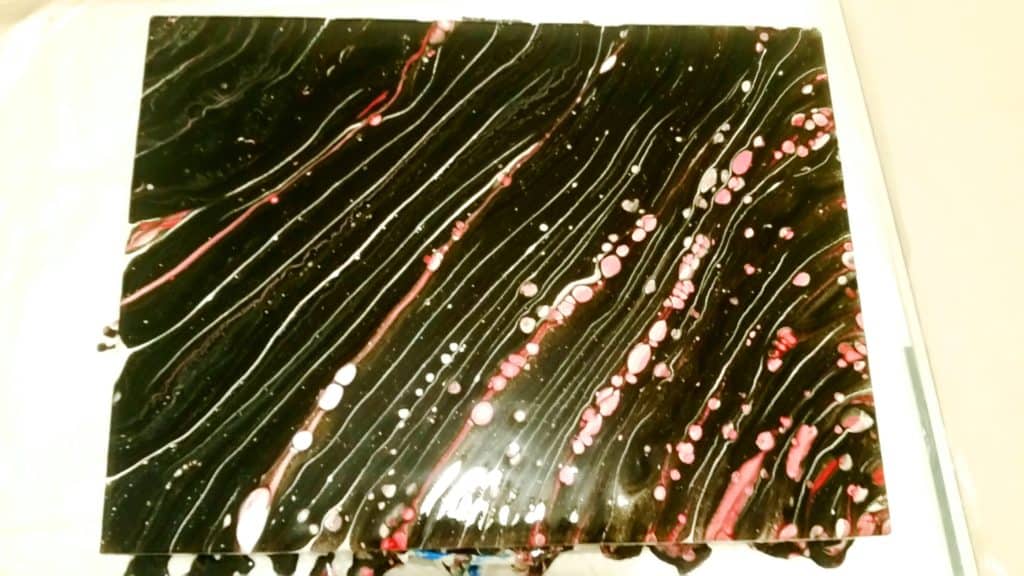
In a stretched diagonal, basically keep your lines straight as you make your passes. Every now and then, add in a slightly curved line. As you can see I have a mixture of straight and curved lines added for my stretched diagonal. After pouring the stripes, I quickly passed a torch over the top to pop any bubbles. Notice there are many stripes, meaning I used a small amount of paint with each pass across the canvas. I probably ended up with 40 to 45 stripes on this 11×14 pour.
Tilting on the Diagonal
Here are some tips for tilting on the diagonal.
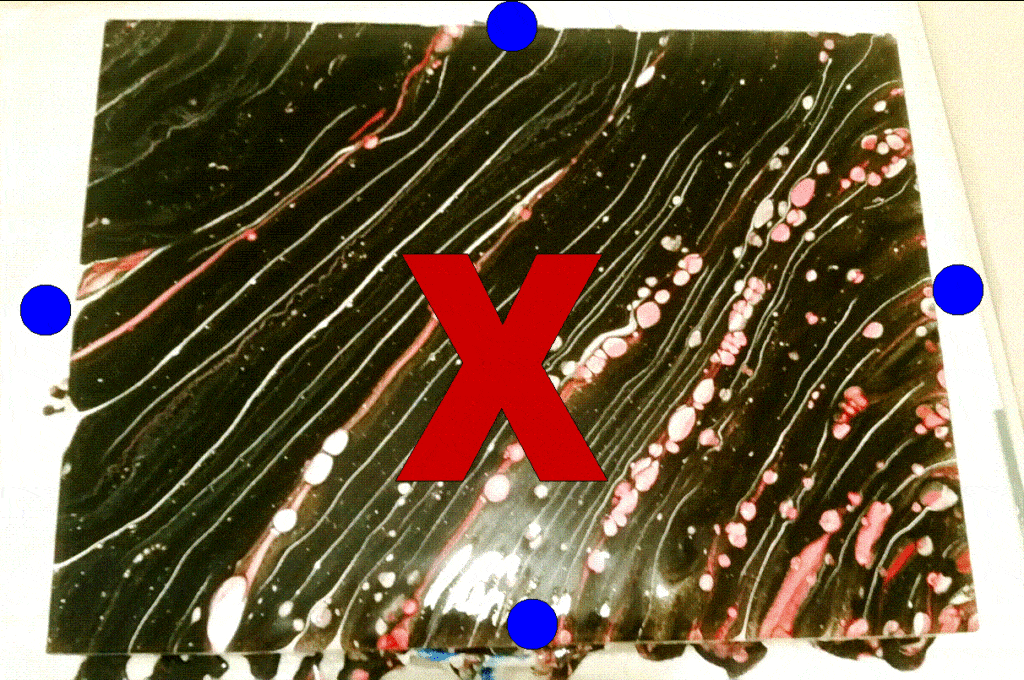
1. Don’t tilt to the sides as this will cause your lines to warp and for the most part disappear, basically creating the same look as a simple pour.
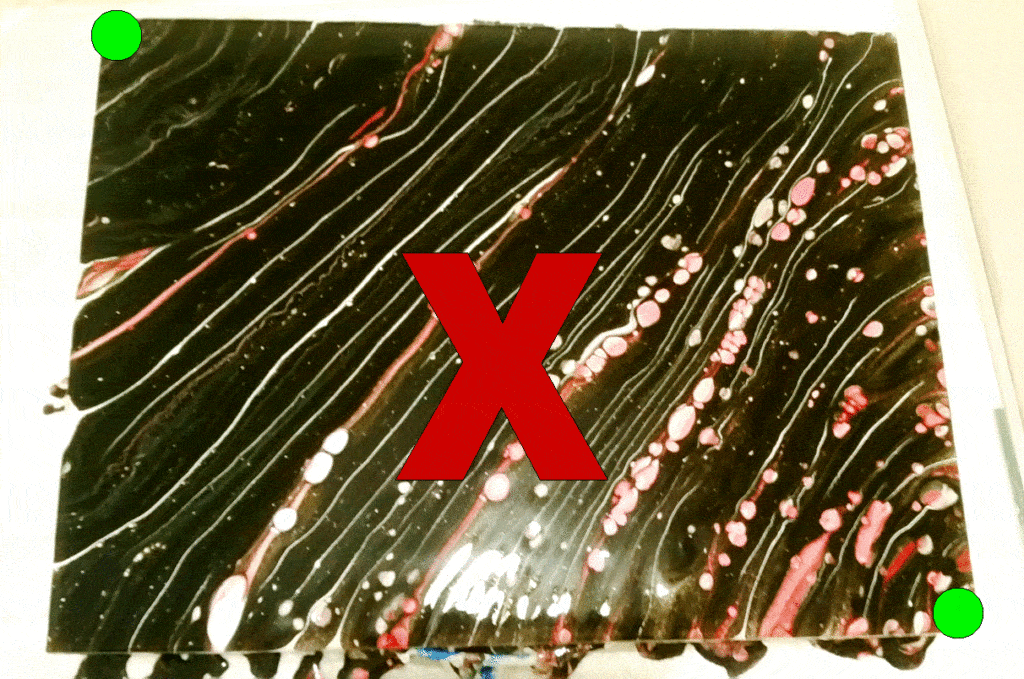
2. Don’t tilt to the same corners that you started pouring your paint on, this will cause your lines to warp and become much wider.
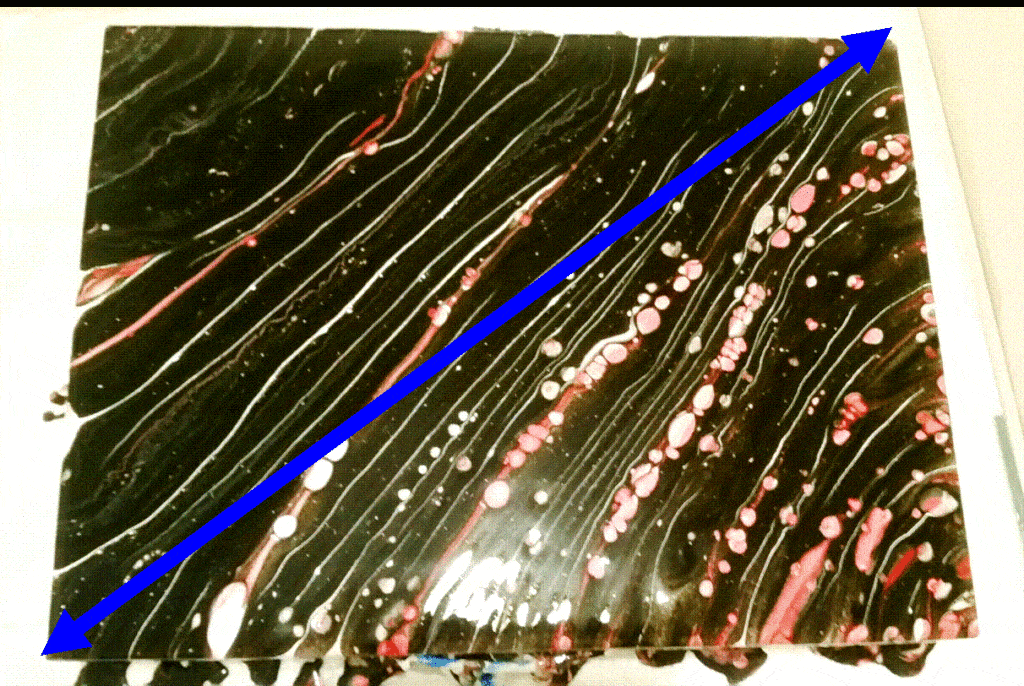
3. YES! Do tilt to the opposite corners you started with. This is how you will keep your lines as close to a striped painting as possible. Simply tilt back and forth between the two corners only, until the excess runoff is complete.
It may feel awkward as you tilt to just the two corners, and especially on the diagonal, but it’s worth it. Once you finish tilting, pass a torch quickly over the top and let it dry.
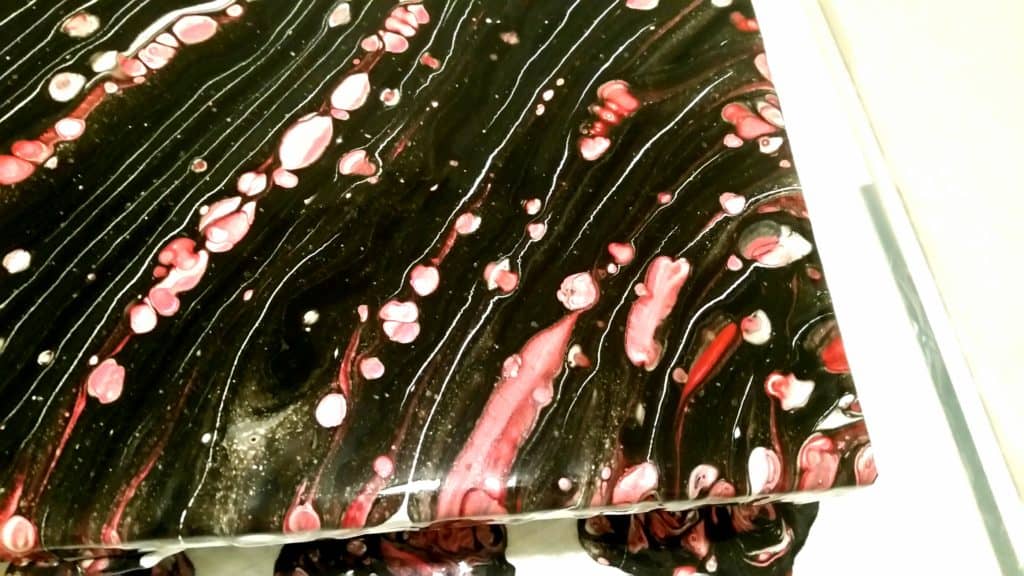
Give it time. This is five minutes of letting the painting set. Cells are popping and as they do, the lines also continue to shift.
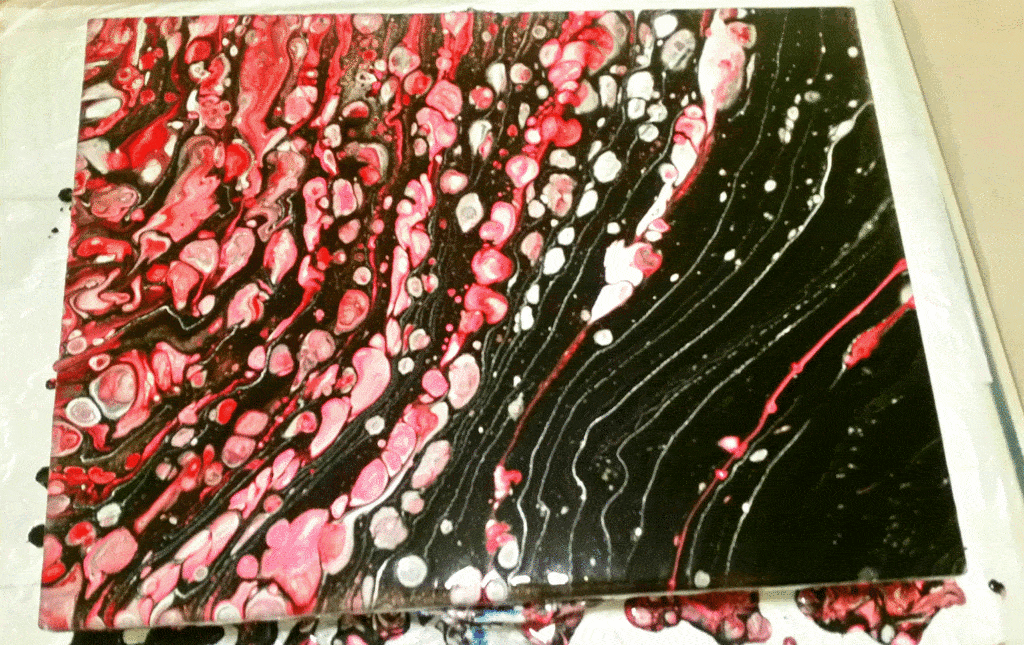
Here’s 20 minutes after… lots of small cells forming.
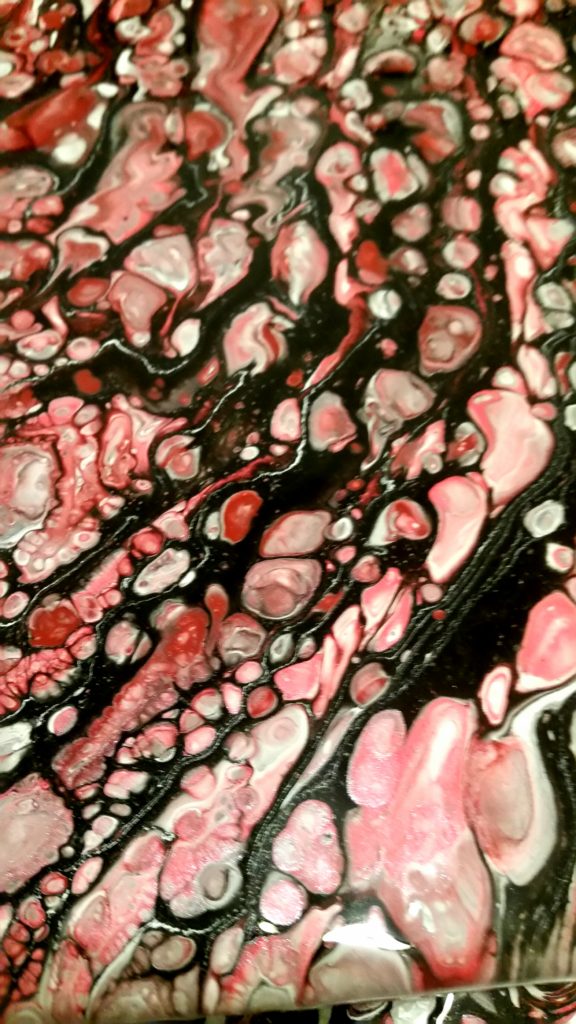
Don’t forget the wonderful large cells we all love.
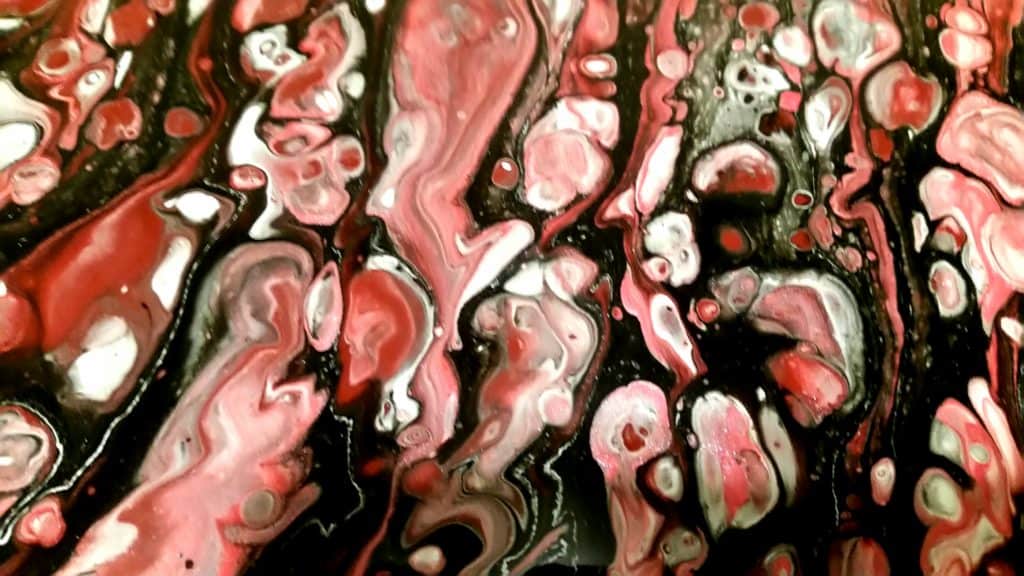
The next morning, even more cells have popped up both large and small, and of course with this your stripes have continued to adjust.
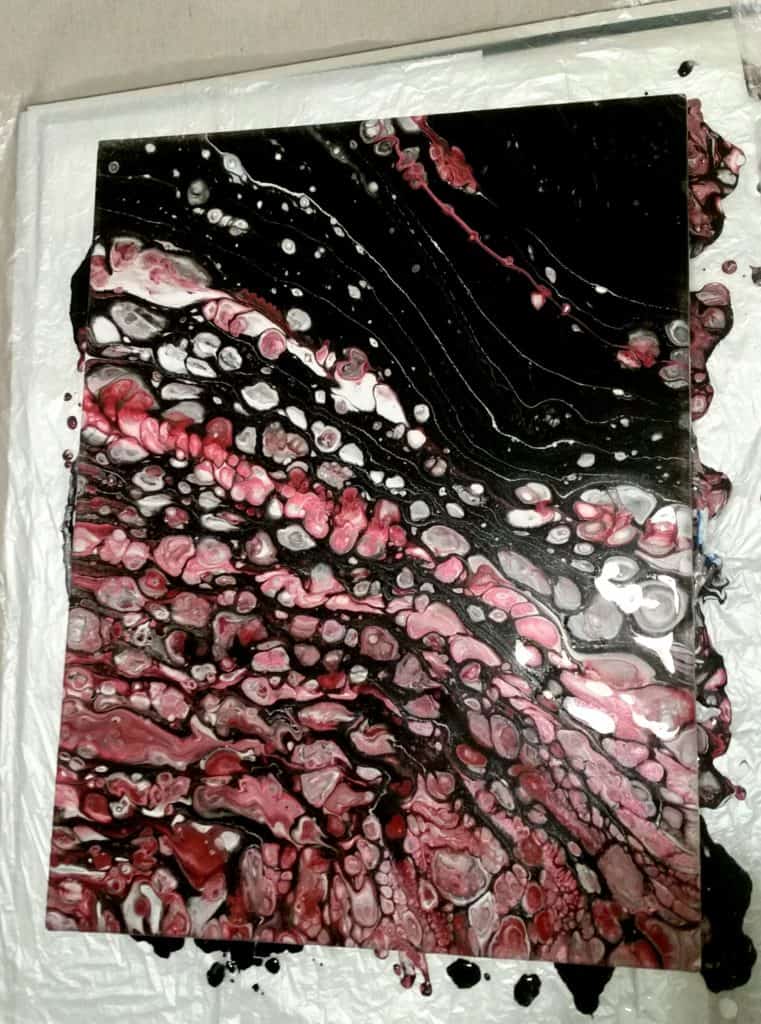
Straight Diagonal Example
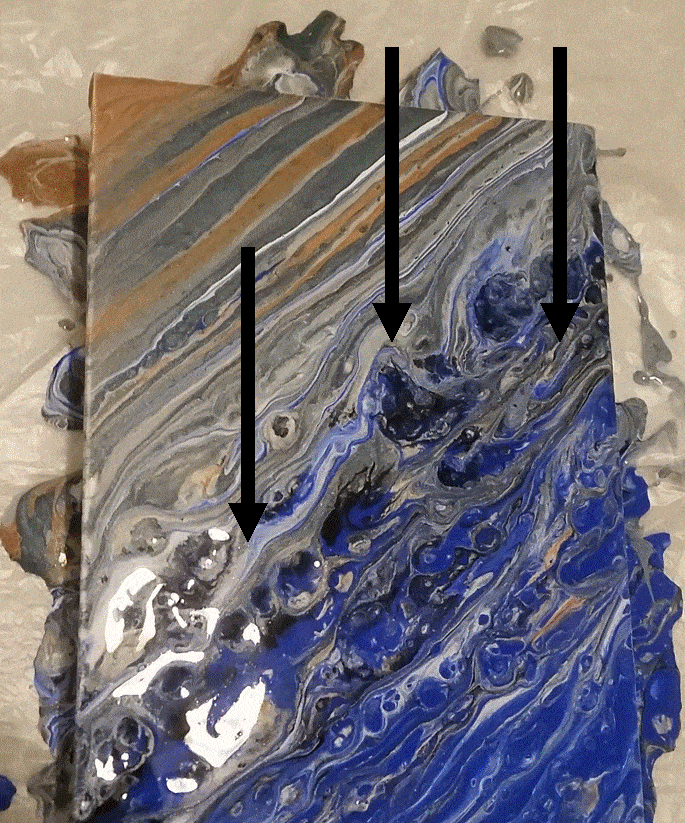
For the straight diagonal, simply keep your lines as straight as possible as you go back and forth across the canvas. No silicone should be used as it will shift your lines. Here is a recent example of straight diagonal, see how the bronze lines are as uniformly straight as possible when pouring your paint. Tilting is the same as above.
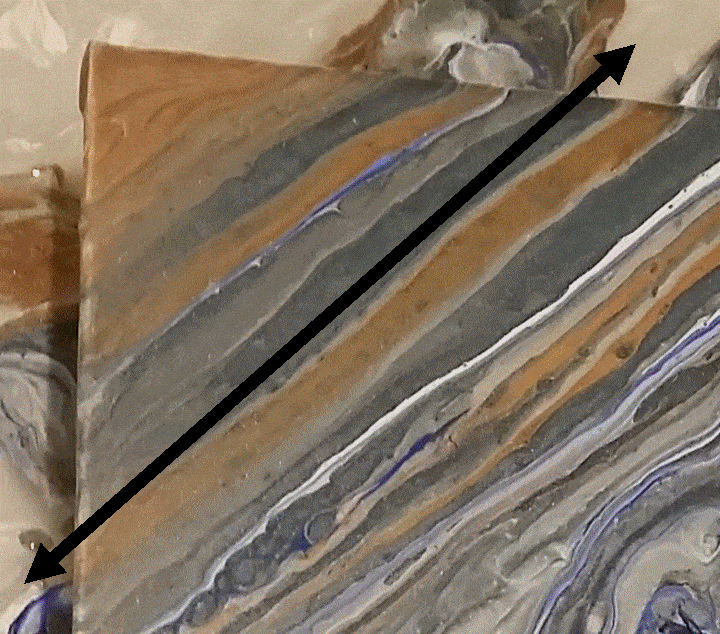
Ruffled Diagonal
The ruffled diagonal is used to create a variation in the diagonal straight look. Silicone is optional. Here the blue lines directly below the bronze are created with the ruffle diagonal process, with silicone. To create the ruffled look, slow your pour down to a jagged (ruffled) drizzle as you move across the canvas. That’s it, literally slowing down as you pour across the canvas. The paint will actually overlap itself creating a ruffled pattern. You might want to try it off the canvas first, but it is really that easy. The slower you go, the larger the ruffles will be. I love the wavy like pattern it provides, and it can be a nice way to break up the straight lines of a traditional diagonal as seen in the bronze lines above the blue. Tilting is the same as above.
Never be afraid to try something new, or add something to a traditional pour. After all, your desire to create something from nothing probably brought you to paint pouring to begin with. So let your creativity flow, pour on my friends!
Frequently Asked Questions About Diagonal Pour
1. How does diagonal pour differ from other pouring techniques?
Diagonal pour involves pouring the paint diagonally across the canvas, creating unique patterns.
2. Can I use multiple colors for a diagonal pour?
Yes, multiple colors can be used to create vibrant and varied effects.
3. Is diagonal pour suitable for beginners?
Yes, with practice, beginners can achieve beautiful results with this technique.
4. How long does a diagonal pour take to dry?
Drying time can vary, but typically it can take 24-72 hours.
5. Can I use silicone in a diagonal pour?
Yes, silicone can be used to create cells in a diagonal pour.
6. How do I prevent the colors from mixing too much in a diagonal pour?
Pouring the paint slowly and carefully can help in preventing the colors from overmixing.
7. Can I use a pouring medium in a diagonal pour?
Yes, a pouring medium can help in achieving the right consistency for the pour.
Since she began creating art in 2007, Tina Swearingen’s focus has evolved from repurposed conceptual art into the creativity and flow of acrylic pouring. Her pours are inspired by the movement and colors of Southern Arizona’s amazing thunderstorms, and the majestic beauty of the Pacific Northwest, which she now calls home.

Thank you for the information, even for small details about the quantity of the paints, how to tilt, etc.
Your welcome Marina.
Never seen this technique before——love it!!! With such clear instructions it’s great inspiration to try something new….thanks for sharing!!!