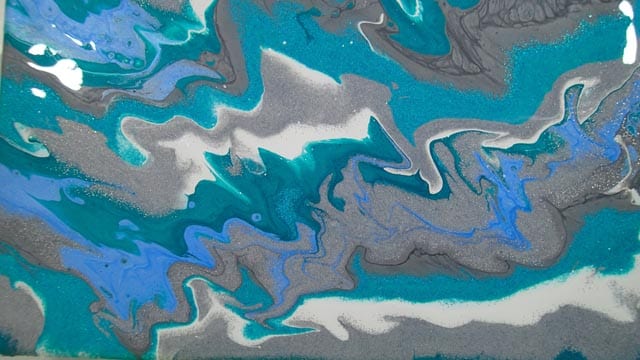
Seriously, you are going to love this. Or maybe you’ll hate it. Depends on whether you are a glitter and sparkle person or not. I love glitter, sparkle, and metallics so anytime I can have the excuse to use them in my pours, I’m a happy lady. Today I’m focusing on pouring, no fancy dirty pours, no puddles, no flip cups, no cells. Just me, a blank canvas and some cups of paint. And glitter – oh yeah, I think I already mentioned the glitter.
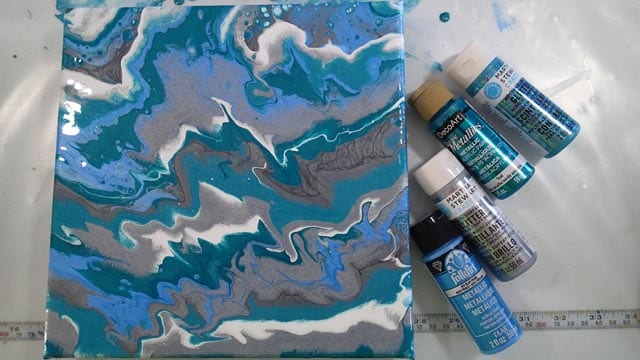
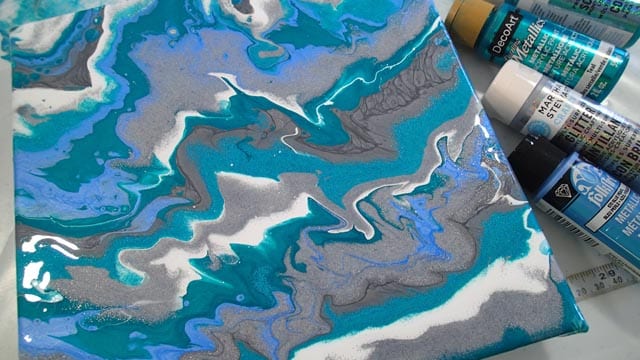
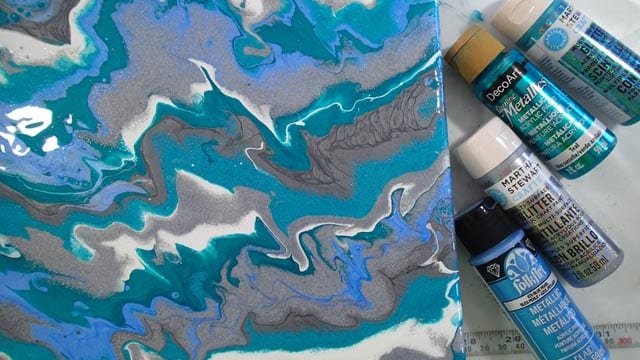
My colors:
- Martha Stewart Glitter paint in Turquoise
- Martha Stewart Glitter paint in Sterling Silver
- Deco Art Metallics in Teal
- Blick Titanium White
- Art Alternatives Silver
- Folk Art Metallic Blue Pearl
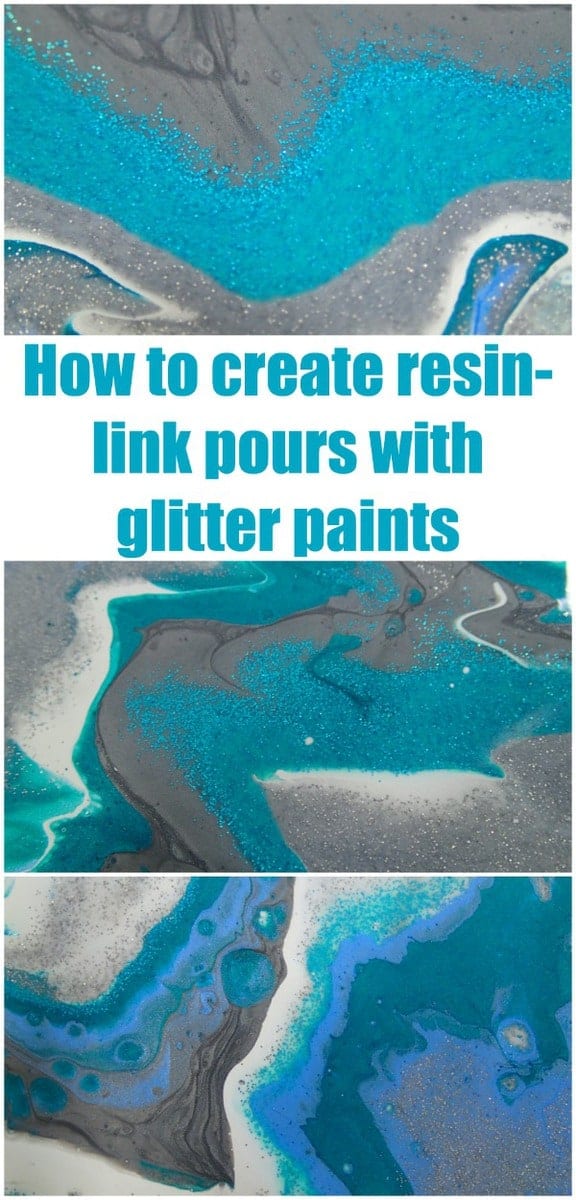
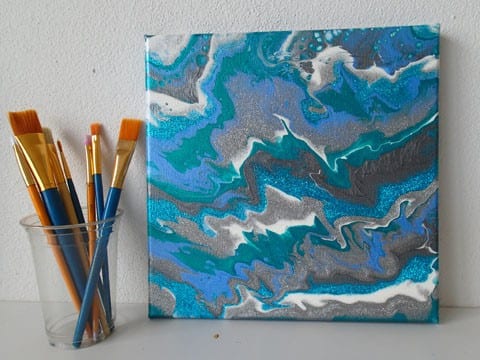
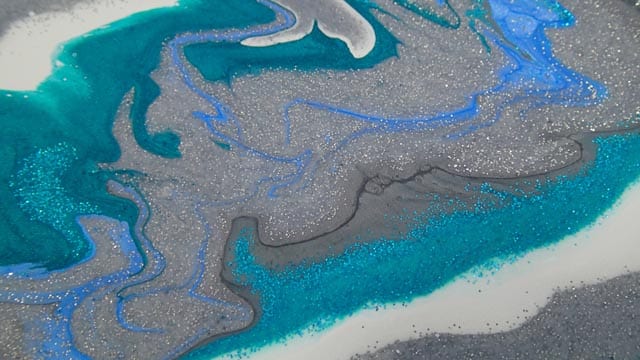
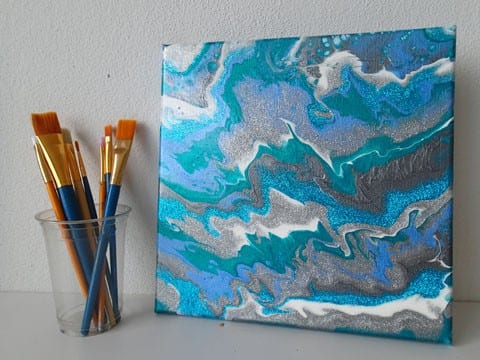
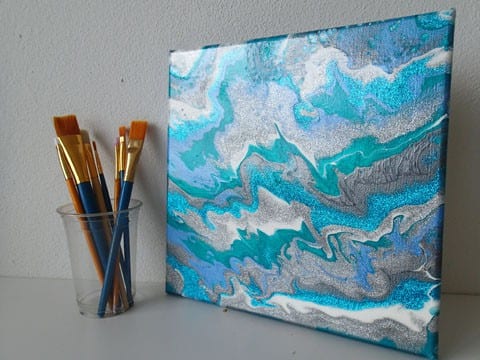
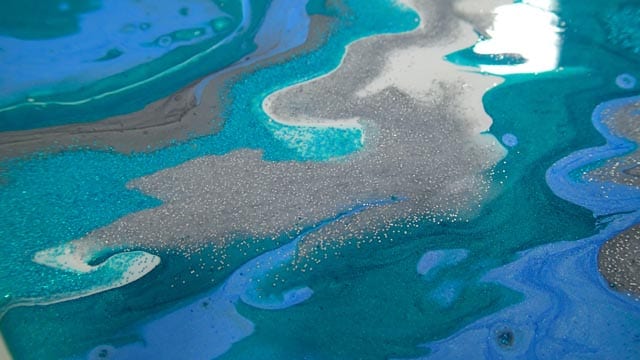
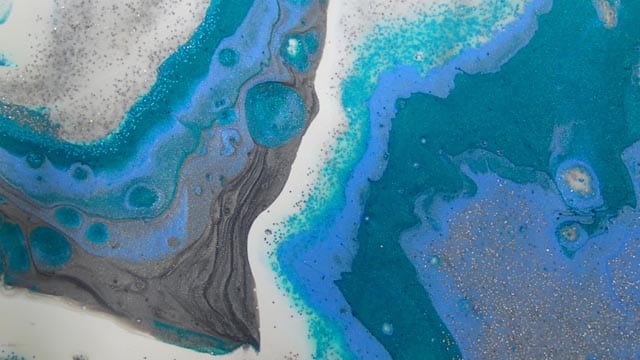
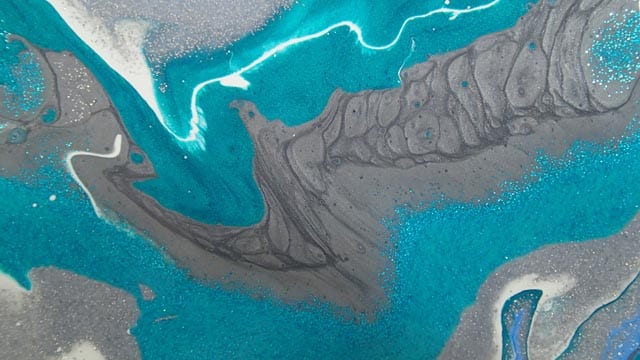
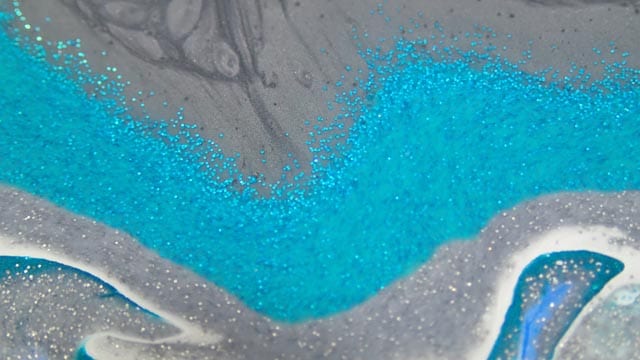
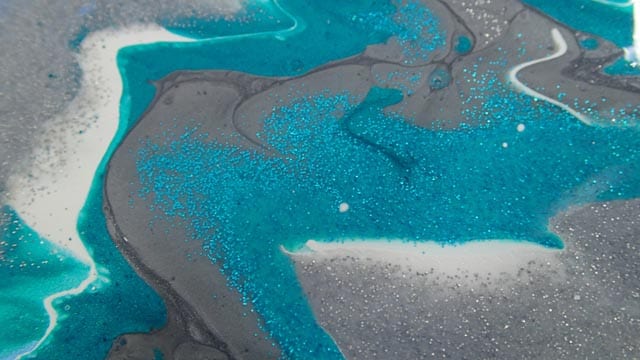
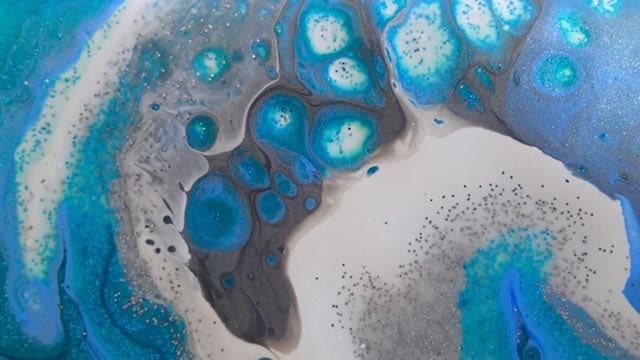
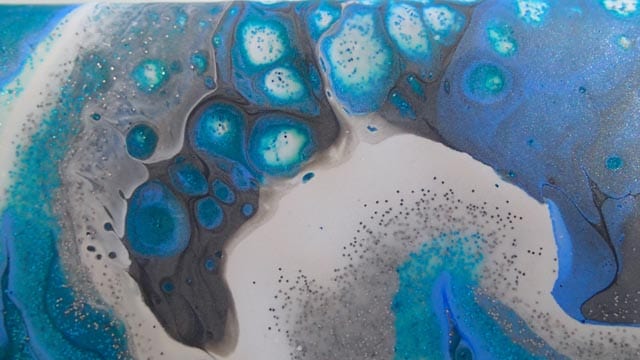
I can’t tell you how much I love how this turned out. In truth, those glitter paints go a very long, long way. The glitter in them is really concentrated, and it doesn’t sink into the other paints at all, so you’ll get the benefit of all of it in your pour. The sits nicely on top of the other paints too, and gives a really astonishing look. If you love the look of the mica in resin pours, then I think you will love the 3d effect you get by using these glitter paints in your pours.
TIP – use a little bit. You don’t need to use anywhere near as much as I did in the video, unless you want gazillions of glitter in the finished work.
See what I mean about the glitter? Wow – wee. It’s an amazing paint. I bought the full set here which includes Peridot; Turquoise; Amethyst; Tourmaline; Garnet; Fire Opal; Florentine Gold; Sterling; Obsidian; and Sugar Cube. In this pour, I used the Turquoise and the Sterling Silver. You can get cells with this paint too, if that’s your thing. It turned out really beautiful in this swipe I did earlier, with Sugar Cube.
Check out the slideshow below for more gorgeous photos, both wet and dry, and close-ups of all the great details. You’ll love how that glitter looks.
After being told in high school that she was so bad at art that she should switch to another subject, Deby didn’t paint again for 35 years. Then a stroke released a new wave of creativity and she began exploring with dot painting, abstract and eventually acrylic pouring, and at last the joy of working with color returned. You don’t need ‘talent’ to be an acrylic pouring artist – just enthusiasm, some basic instruction, and a willingness to try, fail and try again. Paint along with her and learn from her many mistakes, and you’ll soon make great art together.

Could you do this on a tabletop?
Absolutely you can. I’ve seen some awesome tables in our Facebook group.
Would you please tell me what pouring medium etc. you had in the little pots. I love the result you achieved.
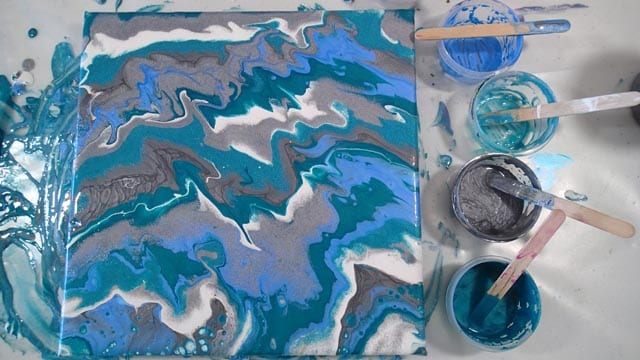
The paints in this one were all mixed with Floetrol. About 1 part Floetrol to 2 parts paint, but it does vary slightly depending on how thick the paint is to start with. The thicker ones also need a touch of water adding too.
I love your postings . I’ve tried to do it with no success. I just end up with no cells and muddy work. What am I doing wrong
If you are getting muddy colors then it sounds like your paints are too thin and are mixing together too much. Thin paints don’t make cells either. Try using less water and see what happens.
I also had this problem when i started. i call the gray, grenenish.sludgy hur my signature co!or… Lol But ive slowly been able to avoid this by watching a bajillion videos and pickiing up the following tips that helped me so so much! Ive remedied it mostly by doing the following things in order to see improvement in less mud more color really quickly.
1. As debbie says defi itely sednif ur paints mix less with each other if they are.a.tad thicker. I stir the cup of color and lift my popsicle stick up.and i get a thin stream of paint coming off itnwith 3 quick drips at the end of the stream before it starts taking a bit longer for the drips to fall. I hope that makes sense. 3 quick consecutive ones then suddenly its a second or two between any additional drips that fall.
2 the very biggest issue i nad, was being unable to force myself to back away and quit manipulating and tilting and “fixing” and adding and considering to swipe the corner and saying why not?.and hating it and adding more.paint to.cover it up… and tilting more. That was.the.primary issue i had.
3 i have also found that if i look at my colors and wouldnt like two if them mixed to make one color, i am careful to avoid laying them on top of each other in my dirty cup. , But u can still use colors opposite each other on the color wheel such as red and green or blue and orange. Ususally i just will put a titch of my background co!or (white or black) between the two colors that create my signature sludge color. That is the next thi g for sure to try of the above dont make a substantial difference in your results.
4. If u dont want the background or negative.space.color in your pour another way that.helps is to pour the opposing colors down opposing sides of ur cup carefully so they dont mix as much if they were right up next.to one another.
5. If all else fails, notice shdn pouring a dirty cup, if you are.pouring opposing colors in the cup, to lower how far each color falls into the cup, pour them in lower or down the side of the cup to avoid too many colors being busy on ur canvas and trying to make it work wifh all those.colors intermingling as you tilt.
Hope some of those help.. You will figure it out about the time you have spent the.kids co!lege find on paints and supplies. Lol its.so addictive. I am a color nut.
Wow, I just love your video’s. I am in South-Africa and nobody knows what is floetrol! I am so frustrated, what else can I use to get sells.? Thank you.
I understand your frustration, but good news, there are lots of other products you might be able to find or try. Check out THIS article about different pouring mediums. Even if you can’t get the exact same ones, you may find something similar in your art stores or DIY stores I hope. Good luck.
Hi Melanie I’ve tried 3in1 oil just a couple of drops. Also silicon spray just a short spray and they both produce cells. Hope this is helpful
Hi Melanie have you tried Flood SA… they have floetrol.
I should have also said PVA glue works for me as a pouring medium
The result was spectacular, I did not think it would look so amazing when all varnished. Not too much glitter in my opinion, love it.
Thanks Debi for all the info. Your painting is lovely. I tried a M.S. gold glitter and it turned out well, but my other colours did run into each other a bit, so thanks for the tip about less water in the paints.
Wow debi thanks for this amazing arcylic paint pouring i just love n adore them…really want to join ur club…..give me more updates on the latest designs and sell my works…what else can i use in place of floretel.pls advise..thnks debi…..
I like the way Debbie explains every step.. I am a beginner & trying to get over my problem of pouring techniques.. My work usually ends up Muddy.. I don’t know how much the paint should b thick for different techniques.. & always short of cells.. ????