An artistic process like acrylic pouring offers challenges when we first start out. For me, the main issue was carving out pouring and storage space in a crowded 500 square foot apartment.
My guardian angel does not pour, so I had to figure it out myself. I discovered that being organized is key for both storage and workflow in a small space. Read on for details. I hope my experience helps you create your pouring space today!
Making a list
I started by listing what was essential, along with the location in the apartment that best supported my pouring needs. My list looked like this:
1. Water source: kitchen
2. Areas for mixing and pouring: kitchen countertop and dining room table
3. Storage: kitchen and dining room
4. Drying space: dining room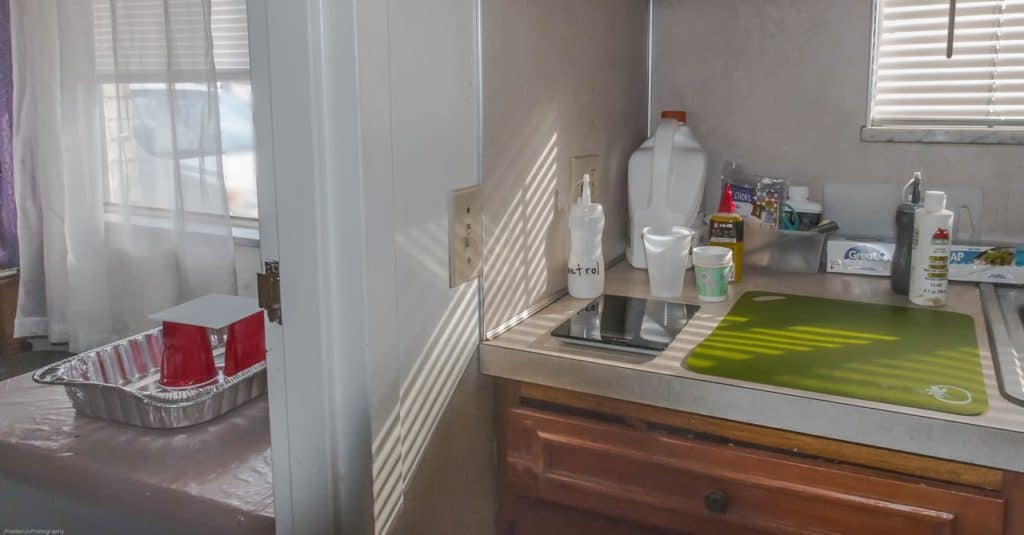
No doubt, the kitchen and dining areas are my best bet for pour space. Walking into the rooms with fresh eyes helped me see the counter to the left of my sink and the dining table just a wall away. Moving two pieces would allow for storage across from the table.
Aesthetic considerations
The BIG question became, How much paint paraphernalia could I tolerate being visible to myself or guests?
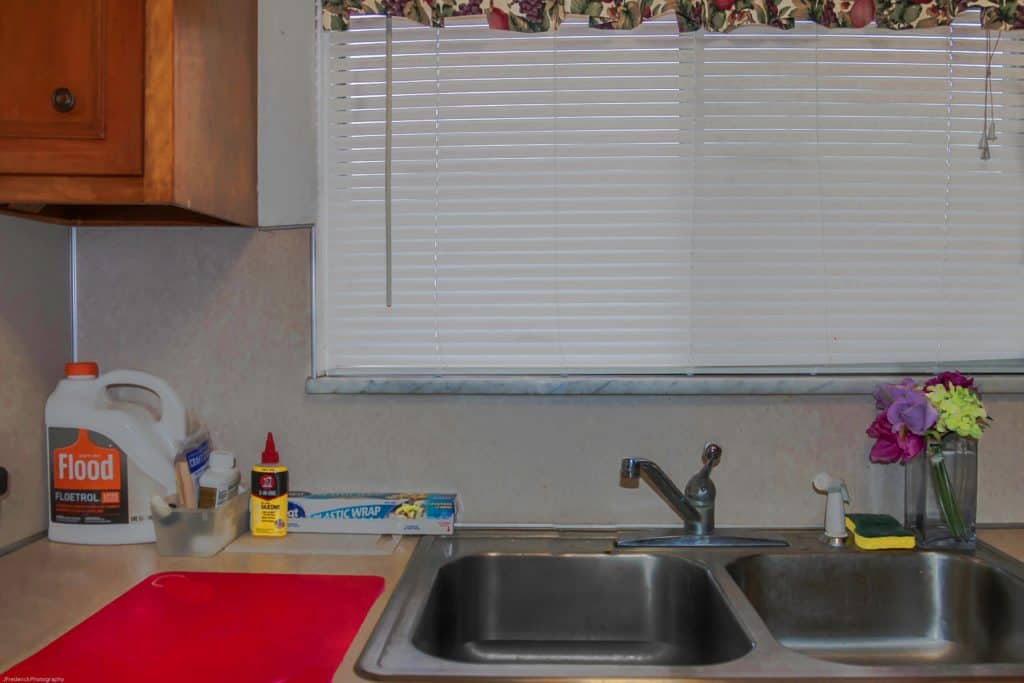
In the kitchen, the mixing space near the sink is not visible from the dining or living room. That meant the Floetrol and a plastic container for craft sticks could permanently sit at the back of the counter.
Cups for mixing, silicone, and larger bottles of paint needed a place to hide when not in use. The cabinet above that section of the counter was rarely opened—Bingo.
In the dining room, I decided that I could store pouring necessities on open shelving IF the items were neatly arranged. That allowed me to move a set of glass shelves from the computer room to the designated wall. The small bottles of paint now double as a colorful decorative display. Come along for a tour of the workflow.
Workflow
Setting up for a pour begins in the dining room, where all necessities are stored on the glass shelves. I cover the table and carpet with drop cloths and line an aluminum pan with plastic wrap to catch the drips. Then I set up two or more cups to balance the canvas panel inside the pan.
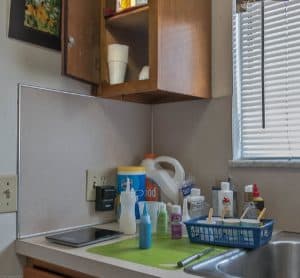
Next, I carry my selected paint colors to the kitchen and move all other necessary items from the cupboard to the counter.
Above, you can see paint for a recent puddle pour ready to be carried to the table. Following a major mishap, I utilize smaller cups and transport them in a basket to prevent spills.
Here’s a view of more items transferred from the shelves. A tray (originally for chicken breasts) with a paintbrush, gloves, wooden skewers, straws, and extra cups are to the right since I am right-handed. Paper towels and plastic wrap are in place.
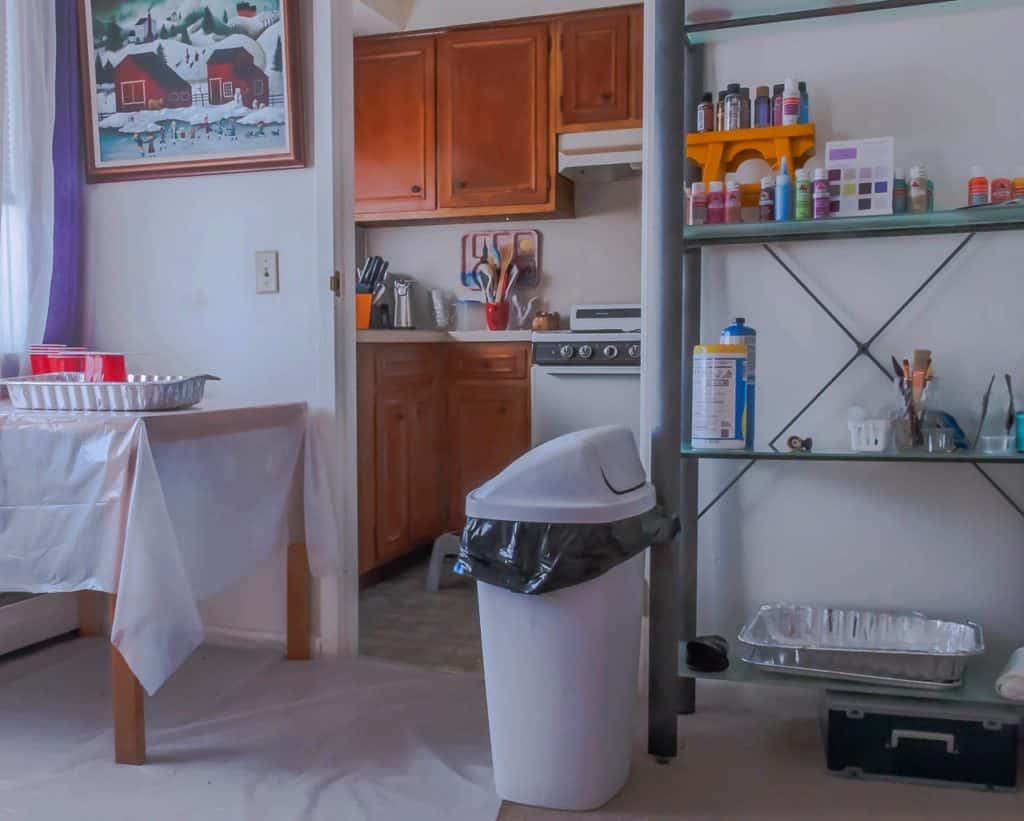
The proximity of the kitchen mixing station, table, and storage shelves is evident here. Items can be retrieved by taking a few steps. The torch is a good example: It sits on the second shelf at the end nearest to the table, making it easy for me to grip, assemble, and fire up. The garbage can is handy for whisking away cups, sticks, and used paper towels. Once finished, paintings dry on the top shelf.
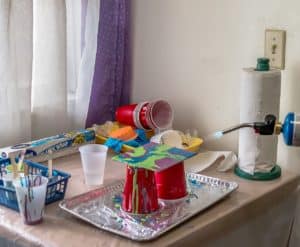
With the pictures drying, I clear the pouring table and return the garbage can to its home in the kitchen. The plastic drop cloths come off the table and floor and I quickly fold them and place them in an aluminum pan on the bottom shelf.
After carrying everything that needs washing to the sink, I can move the chairs back to the dining table, set it for supper, and call for takeout!
The space sounds great for making art, but can I still carry on with real life?
Yes. The space is very flexible. Drop cloths can stay on the table and floor if I hit a lazy streak. Eating in the living room at the coffee table or eating out will take care of hunger.
I pour almost daily with no interruption of my journaling, photography, watching television, bathroom access, or sleeping. Additionally, my apartment is more organized than before, with a shelving display that sparks conversation.
So don’t let space constraints keep you from pouring. Have at it, my friends, and enjoy your creativity!
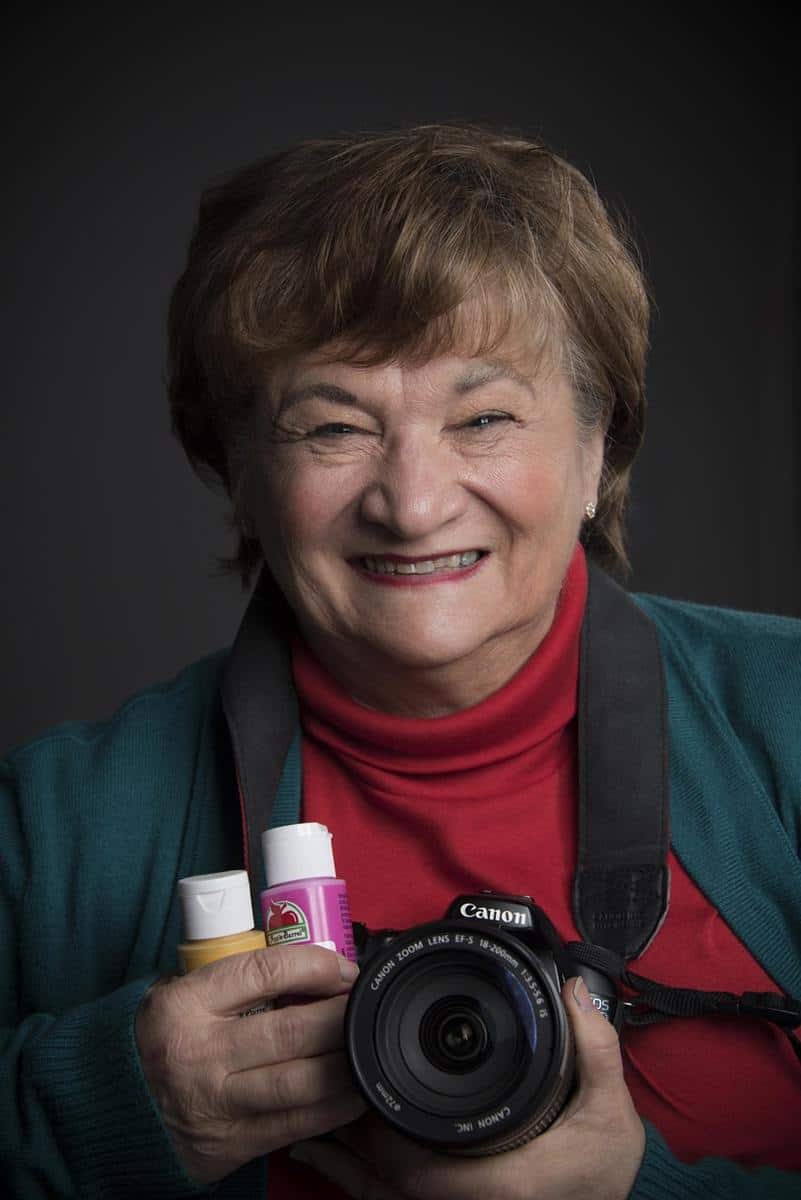
Janet Frederick is new to acrylic pouring—about a month and a half, to be exact. This retired Ohio elementary physical education teacher maintains an active lifestyle with exercise classes, photography adventures, pouring, making new friends, and spending time with family, photography, and art buddies. Maintaining contact with her daughter, old friends and past students keeps her energetic and forever grateful.

Loved your explanation of your oganization methodology and relation to work process flow. Thanks very much for taking the time to set your thought process and resulting organization out for us.