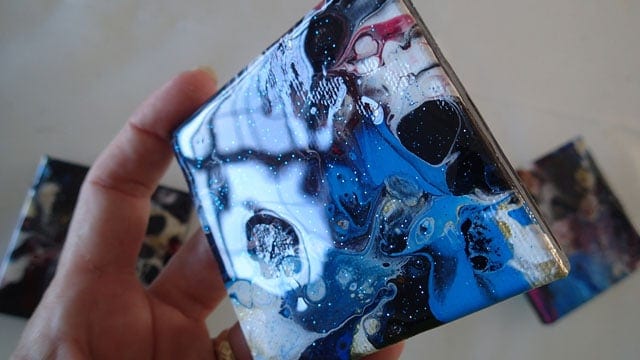
This is about the most nervous I’ve been since I started pouring. Today I am trying a new product. I am going to attempt to coat two of my mini 3-inch canvases with Art Resin using some acrylic pouring resin techniques. Wish me luck!
In this video I go over a simple, single resin technique. If you want to really nail the basics of resin and learn some new techniques then I recommend Ann Upton’s Resin Course. She’s a resin expert and is very well known in the resin scen. She’s developed this course to teach beginners the basics, and the more advanced some of her specific techniques she uses to create incredible beach scenes. You can also bundle the course with a resin kit that will make sure you have everything you need to start working with resin and follow her course. Anyways, back to the post!
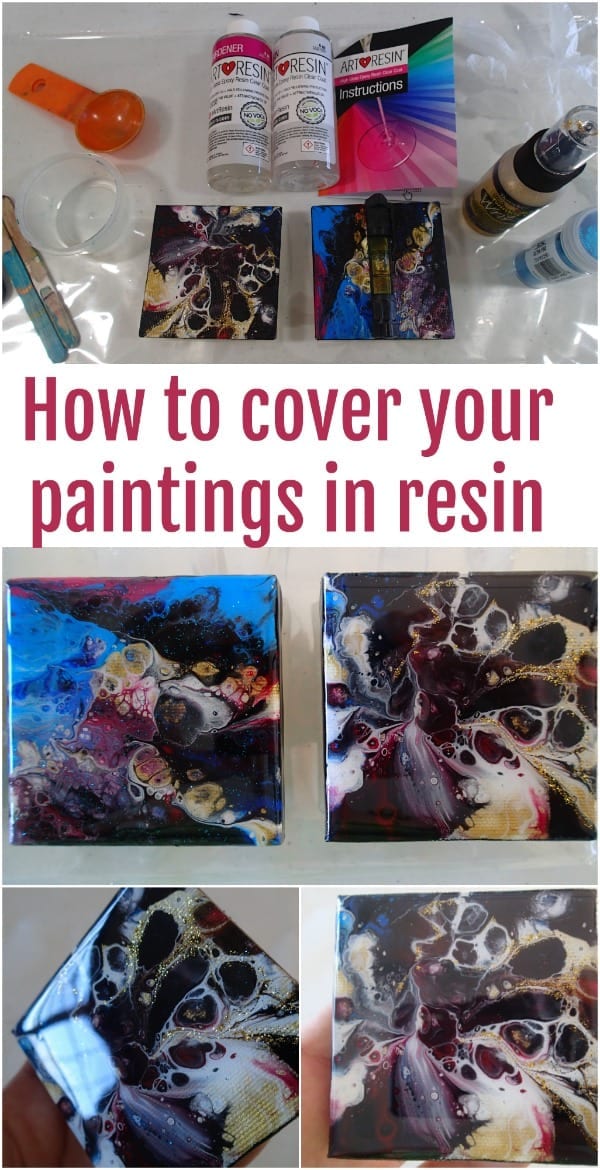
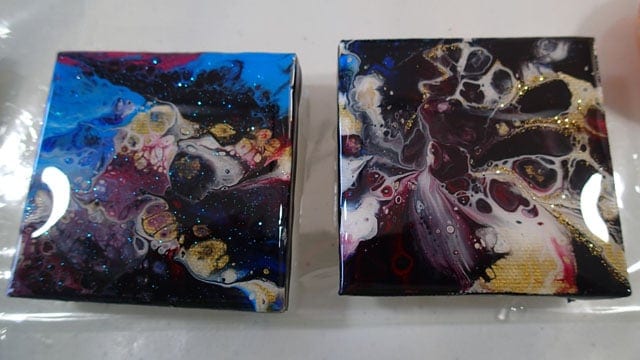
I was able to pick up this mini pack of Art Resin from my local stationery store. It was expensive, and there is only 4oz in each bottle so I have to be careful I don’t make both a big sticky mess and a very big expensive mess. Therefore I’m starting out with two very small mini 3 inch canvases to cover. Each already has a dried acrylic pour painting.
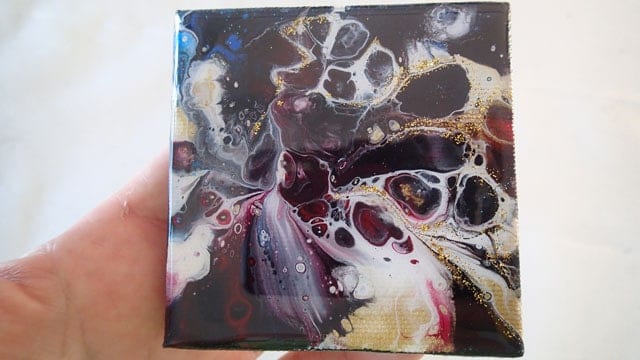
On one canvas, I added a few gold accents using this DecoArt Gold Glitter Paint Writer. OMG, that is really nice. If you want to add a little glitter detail to your pours and have some good control over where you add it, these glitter writers are ideal for that. Usually I would just varnish over with my favorite finish for acrylic paintings, but I thought it would be nice to add that glitter accent under the resin.
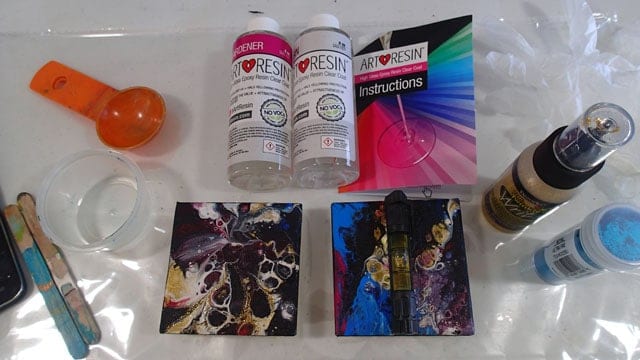
Used in this project:
Mini 3 inch canvases
Gold Glitter Writer (also available in other colors)
ArtResin
UltraFine blue glitter
Masking/painters tape
Mini levels
Pushpins(oh dear, find out why these were a mistake)
Gloves
ArtResin Calculator – how much resin you need for your project based on size
I carefully set up my two mini canvases with masking tape on the back side to catch and remove any resin drips, then pushed a pushpin into each corner to keep them raised off the surface. These were new pushpins and you’ll see in the video how they created a big problem! Take great care if you are using them on mini canvases!
So there we are. The good, the bad and the downright ugly. In fairness it was not the problem with the resin, it was entirely user error and the fact that I pushed the pushpins right through into the surface of the painting and didn’t then notice until I had the resin already on there and starting to set. What a mess I made! The first one is beautiful, the others will need another coat to cover up the mess I made handling them the first time.
But I learned a lot. I’m sorry to report that I fell totally in love with adding resin to my paintings. WOW! Does it give an incredible finish, and the ability to add extra sparkle makes me a very happy lady. But the prices do not make my bank manager very happy. The ArtResin was SO easy to use. No fumes so a mask wasn’t necessary although of course you should use gloves and work in a well-ventilated area. If you are sensitive, you might want to consider working with a respirator mask if you want to use resin. Other than that, grab yourself one of those little kits and give it a try! Don’t forget to add a little extra sparkle to your life 🙂
Here’s some pictures in a slideshow you can scroll through. I’ve shown the bad parts too and will report back again on if I was able to cover them all up easily with a second coat.
After being told in high school that she was so bad at art that she should switch to another subject, Deby didn’t paint again for 35 years. Then a stroke released a new wave of creativity and she began exploring with dot painting, abstract and eventually acrylic pouring, and at last the joy of working with color returned. You don’t need ‘talent’ to be an acrylic pouring artist – just enthusiasm, some basic instruction, and a willingness to try, fail and try again. Paint along with her and learn from her many mistakes, and you’ll soon make great art together.

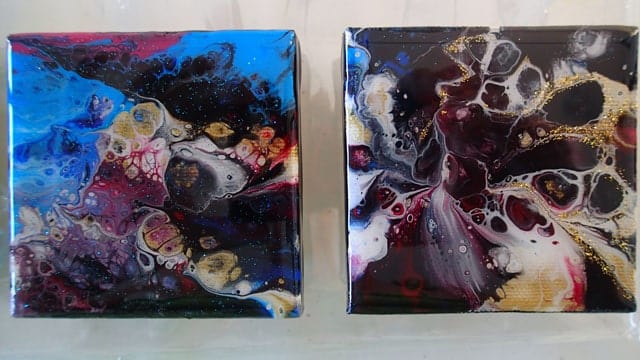
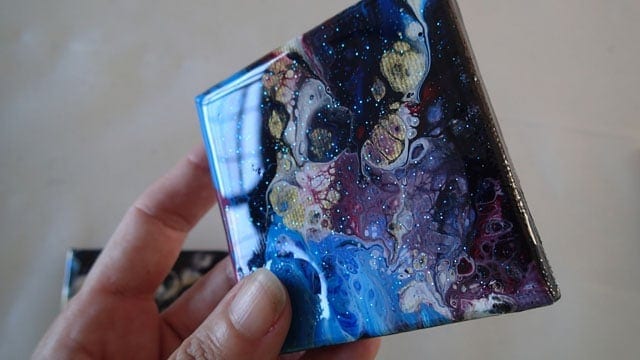
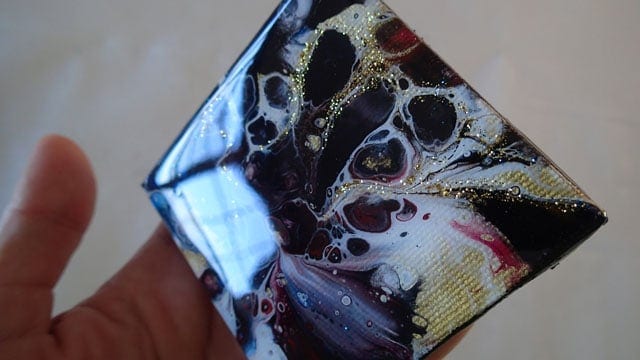
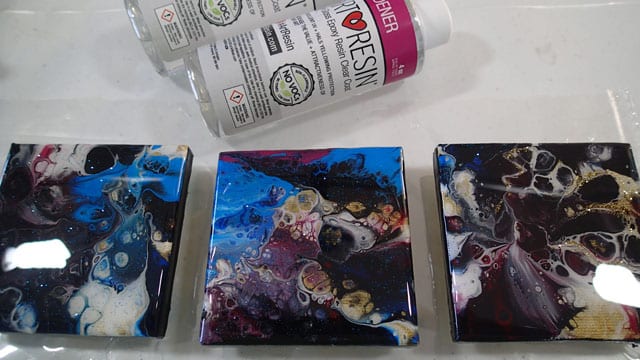
Thank you for showing how the Art Resin works. My order just arrived a few days ago and I’ve been a bit hesitant to use it. Now I feel more confident so will give it try later today. Love how the three canvases turned out, even with the finger prints, they are really stunning to say the least. Love how they glitter and gleam so nicely.
There is nothing else like resin, is there! It’s deeply rich and makes the painting pop. My first ones had silicone craters and that’s before I knew what to do about them.
I’m curious as to how you did the glitter. Did you use glue after your painting dried, or did you drop them on while it was wet.
I did the glitter two different ways, both of which I show in the video if you have a chance to watch it. With one, I highlighted certain areas with a glitter writer and allowed it to dry. Then I also added a little sprinkle of glitter into the resin before I added it to the painting. Both gave such pretty results.
They look beautiful. I am just watching videos i have not started to arylic pour yet. But i was wondering why you didnt just pour the resin and let it flow? Like you would with the paint and not use a stick and have varied thickness? Is there a reason or just the fact that there would be more waste?
I was practicing and testing. I wanted to see how easy or difficult it was to manipulate and whether I could control it to get a ‘bubble’ of resin on the top without it pouring over the sides. If you just let it flow like paint and pour over the sides I think you would lose a lot and its so darned expensive! So I spread with a stick to get even coverage and then the resin self levels so there is no varied thickness as far as I can see.
Great video. I’d love to know if a second pour worked to fix the mistakes. I’m also curious if you poured the resin over the sides, if they look good or if the resin just press off
Yes they came out beautifully when I added the second layer. You couldn’t even see any flaws from the first one. I was being a bit careful with my resin because its so expensive and I wanted to save every little bit, but yes you could certainly allow it to pour over the sides and then smooth it out. It should stay, although not as thickly as it would on the top.
Loved your video.
Can i pour resin over a acrylic pour that has mod podge sealer on the
Thank you, from Jeanne
What’s the update on the second layer of resin. Did that work to fix the problem areas?
Yes I didn’t take any video, but a second layer covered it all up perfectly and you couldn’t even tell there was anything wrong underneath. It’s a miracle!
How do you cleane the silicone residue off the painting before you apply the resin?
I have a quick step by step for that here Janet – https://kit.com/acrylicpouring/cleaning-and-varnishing-acrylic-paintings
I tried the resins last summer but I mad a mess . On one side it is still sticking, could I pour more resin on it and would it be ok.I loved the way you did it so I will try it you r way
Did you have to clean the silicone oil off before pouring the resin?
Hey Sherri, great question. Here’s a blog post that discusses this directly: https://acrylicpouring.com/need-clean-off-silicone-paintings/
I would like to know, since i do portraits and a lot of work goes into them, how to go about using a coat of resin on the top? Do you have to seal painting first? Just curious, hate to ruin a painting
When adding embellishments like shells to a beachy acrylic pour, do the embellishments go before or after the resin coat?