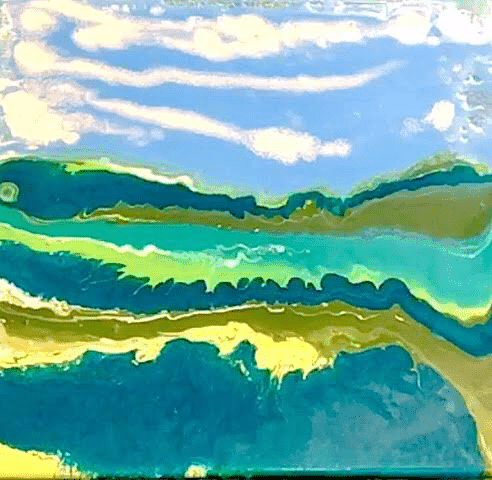
For the second video of this series I decided to use a different technique. Instead of pouring lines of paint and tilting them, I decided to try swiping the paint across the canvas to get the horizontal lines of my abstract landscape. I also tried something I haven’t done in awhile which is to pour over one of my previous paintings.
As I mentioned in the first video, the goal for this series is to figure out how to use acrylic pouring techniques to create paintings that retain the beautiful unpredictability of a pour, but at the same time are recognizable as a landscape.
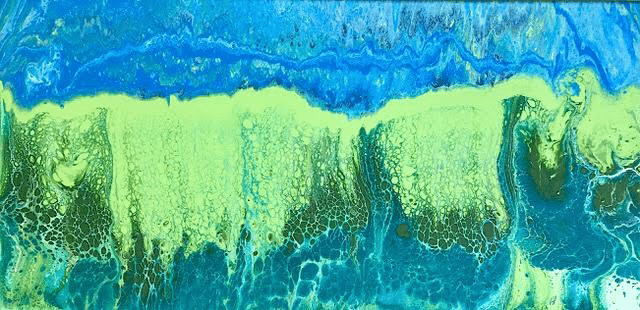
I felt my first attempt (see below) was a successful pour but it was still too abstract. It is fairly easy to imagine this painting as landscape but I want something more clearly defined. I thought one way to make the painting look more like a landscape would be to create better layers or striations of color on the canvas.

When you watch the video I think you’ll agree that pouring lines of paint and then swiping side to side made for a more convincing landscape. Another addition that really helped was adding a much lighter blue to the top third of the painting. That light blue combined with some drizzled white paint definitely comes off as sky. As I move forward in this experiment I will keep those tricks in mind. One thing I feel I’m still missing is a well defined horizon line. I’ll try to tackle that in the next video.
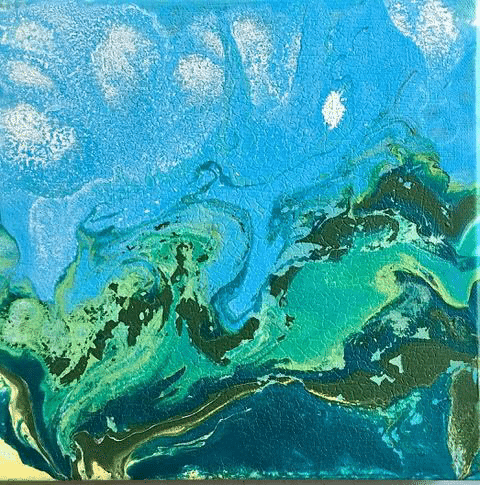
Another thing I did in this video was reuse an older painting that I wasn’t happy with. I think people are hesitant to recycle an older painting even if they don’t really like it. If you have worked hard creating something, it can be tough to part with it. I would urge you, if you can, to say goodbye to those canvases that you aren’t happy with. If you don’t like a painting, you probably wouldn’t be comfortable selling it or even giving it away since it isn’t your best work. So paint over the darn thing!
One last thing, every few weeks double check and make sure the drying area you use for your paintings is still level. Turns out mine wasn’t. I don’t know if the dog bumped the table or if something simply shifted but when I went to bed my painting looked like this:

When I woke up it looked like this:

Yes I was disappointed but these things happen. The important thing is to learn from your mistakes and move on. I hope you enjoy the video and thank you for going on this pouring journey with me.

Steve Shaw is an artist and teacher living in Atlanta, Georgia. His days are spent in the classroom teaching his students the basics of art and self-expression. In the evenings and weekends, he paints. Steve has shown his work in several galleries in the Southeast and has illustrated three children’s books. Recently Steve has discovered acrylic pour painting and is putting all his other projects on hold while he journeys down this artistic road.
To see more, follow him on Instagram, visit his website, watch his videos on his YouTube Channel and purchase his paintings at Etsy.com.

Yes, Ive painted over canvases a few times. Saves money on not buying new canvases.
Ive attempted to create a scene, landscapes are my favorite, and my results are similar to yours. I’ll try again and see what happens. Keep at it, Steve!
Hi Hunter,
Thank you for the reply. Each week I feel like the landscapes have gotten a little better as I have learned more about the process. Wait til you see the 4th installment in the series – I think I finally nailed it. 🙂
Yours,
Steve
Love it – really beautiful
My canvas many times gets these bubbles on the canvas after it dries-
Any suggestions why that happens
Thanks
Do u gesso over the old painting b4 u start new pouring?